So, not technically Glowforge-specific, but a dandy tool for people who work in Photoshop:
As of the CC 2018 Update, Photoshop now has a super sweet symmetry painting tool built in. If you go to Edit> Preferences> Technology Previews, there’s a box you can check for “Paint Symmetry.” Once you’ve done that, you’ll now see a little butterfly icon in your paintbrush tools, with a selection of available symmetries to use. Being in the “previews”, this feature is still sorta in beta I suppose, so it’s not exhaustive and some of the options are a little silly, but it’s still really fun to play with.
It does not. Vectors are more Illustrator’s jam, but Illustrator is already able to do symmetry pretty robustly using Transform functions on layer appearances. I’ve used that in the past to do stuff like this, which is vectors.
I’ve never really used Photoshop, but I poked around a bit and it seems like the symmetry thing doesn’t work with the pen tool, which is apparently what one uses to draw paths. Maybe somebody who knows how to do this can explain it.
I guess if I really needed it, there are similar things available through pricey Illustrator plugins, I was just looking at one the other day.
Yeah, it appears to be a specifically paint-targeted tool.
It can be done in illustrator without the pricey plugins. It just takes a little know-how and set up. Or you can use http://www.madpattern.com/ to get some starter templates to work with (and once you understand how they work, you can easily expand on them.)
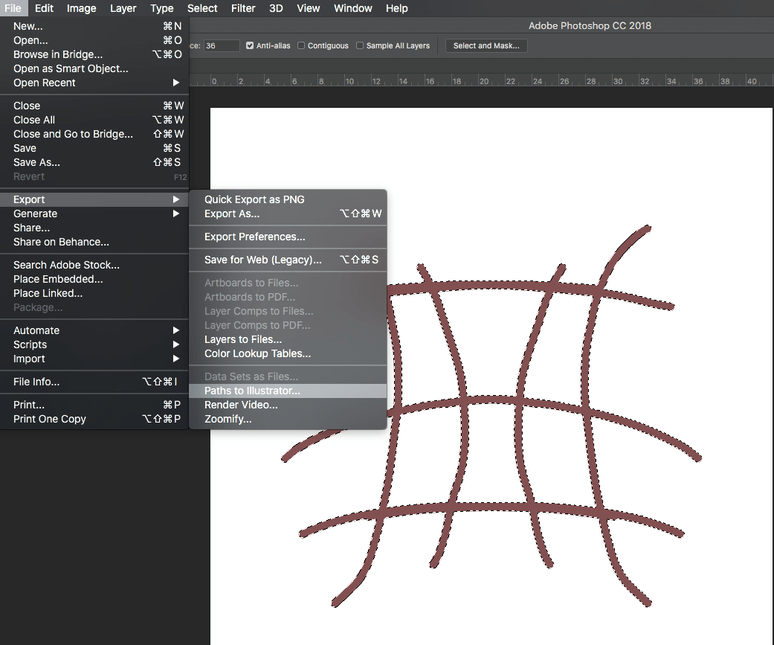
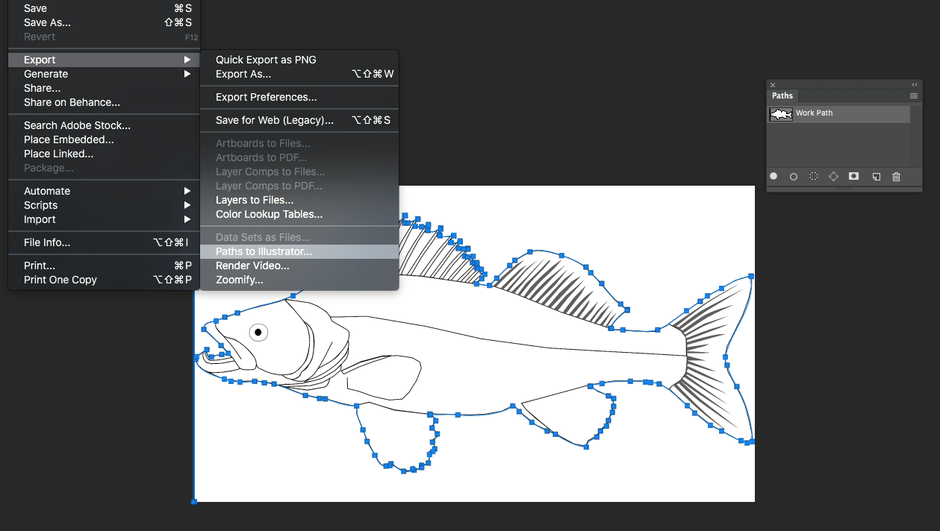
Just need to make your selection into a path and Export to Illustrator.
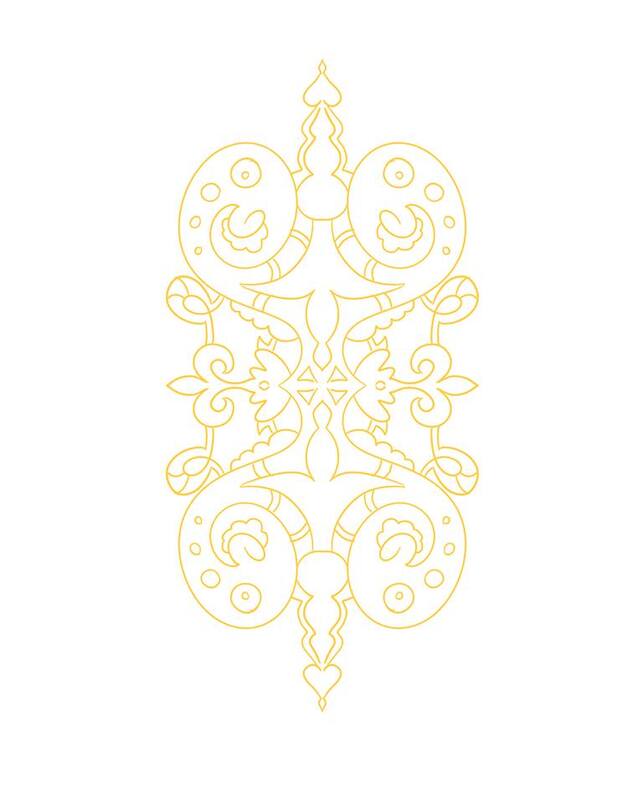
My 10-second drawing with the symmetry brush . I used the magic wand and clicked on the colored area (you could also click the background and select inverse)
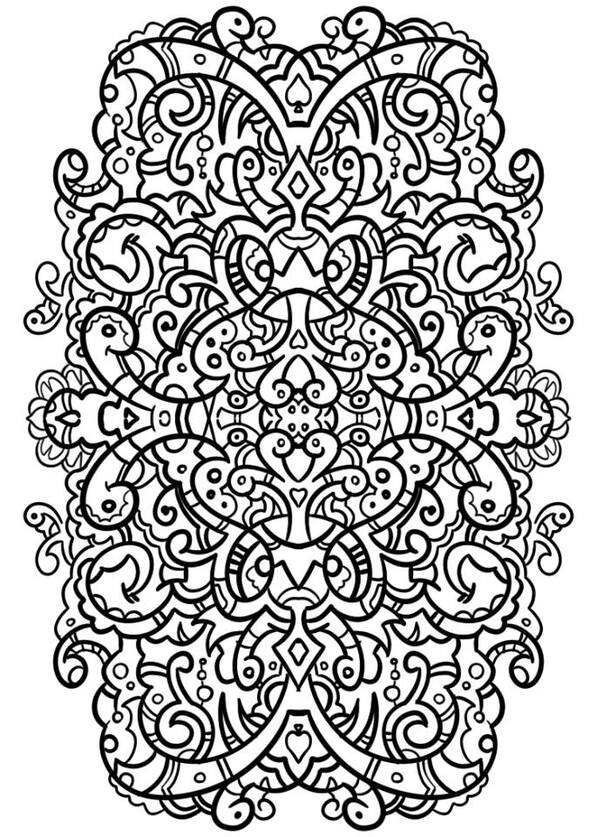
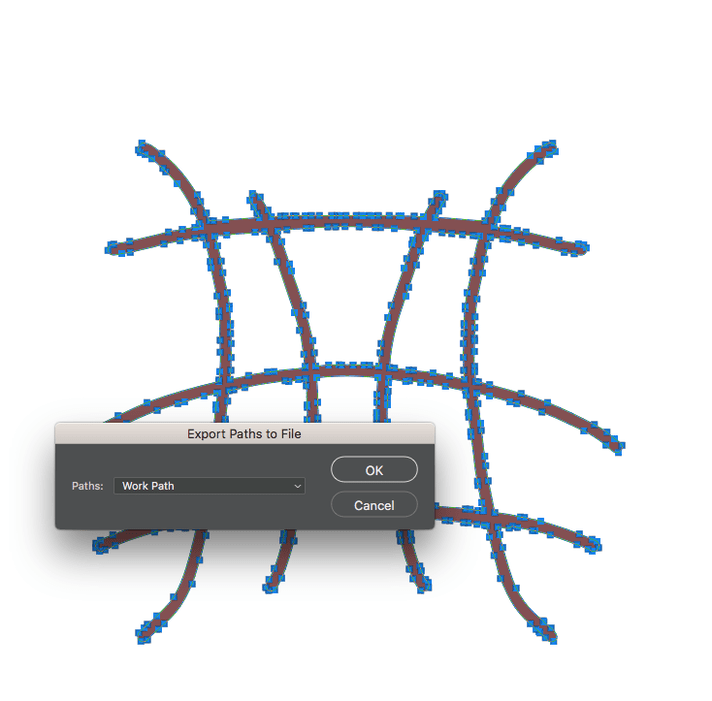
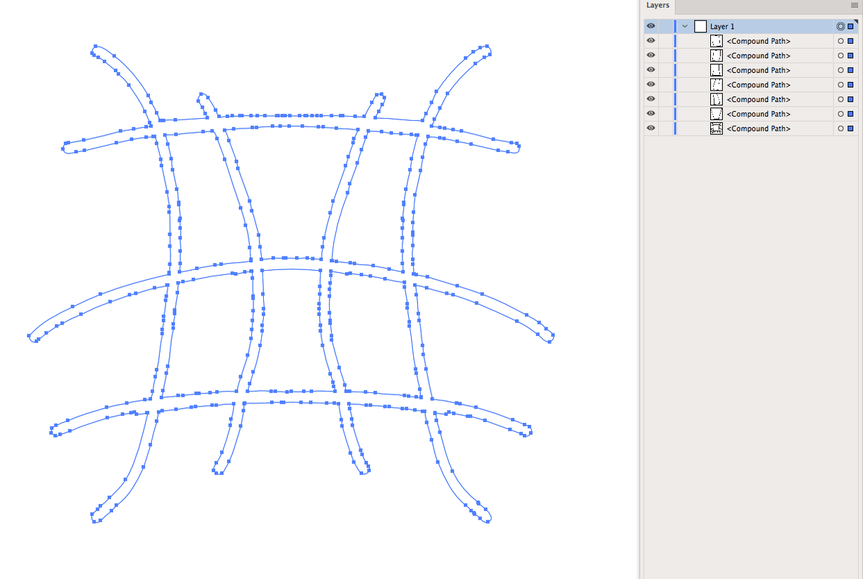
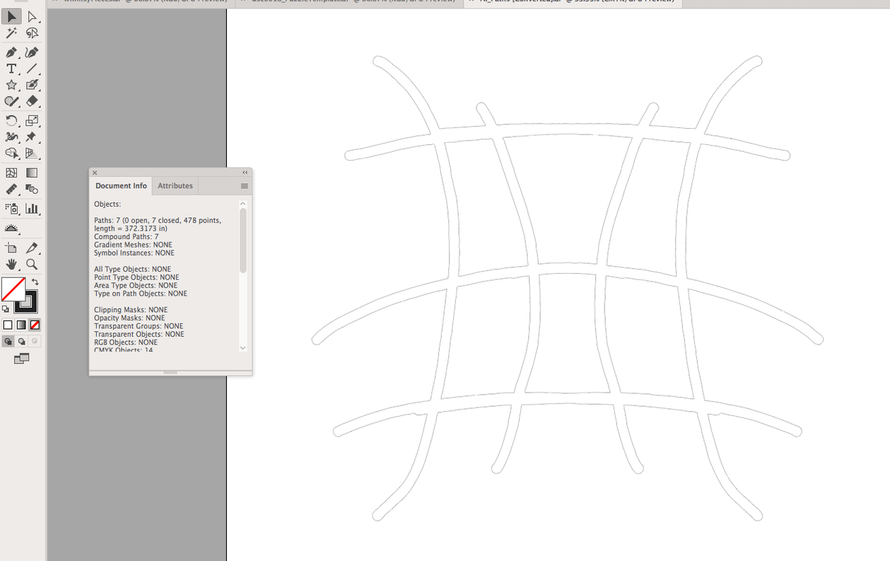
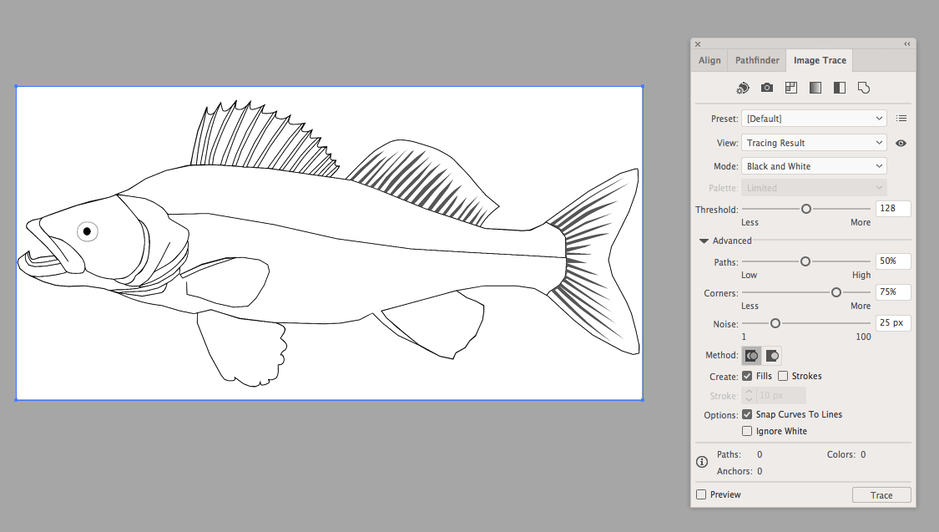
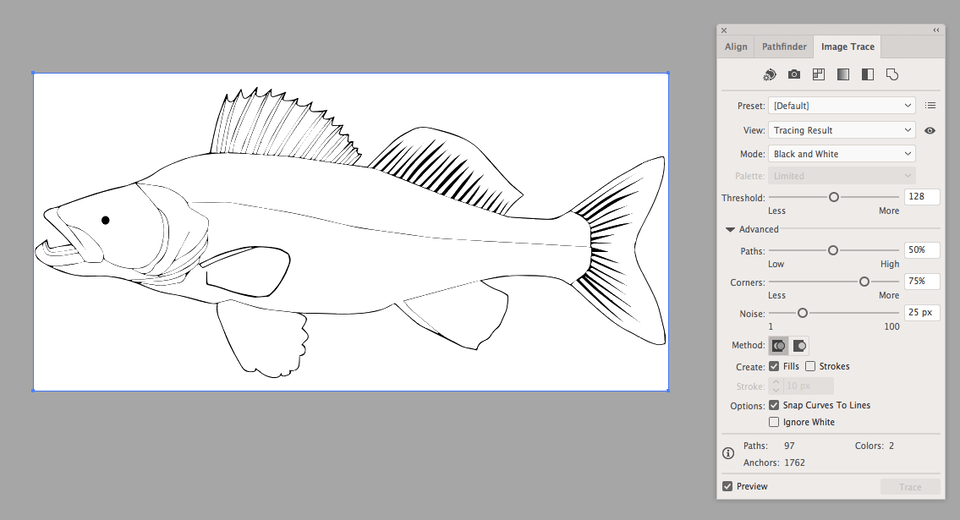
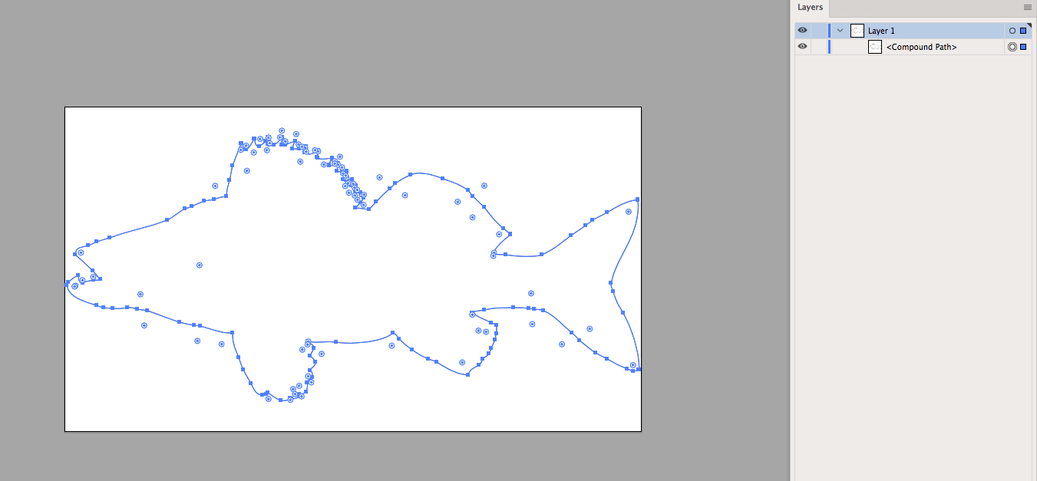
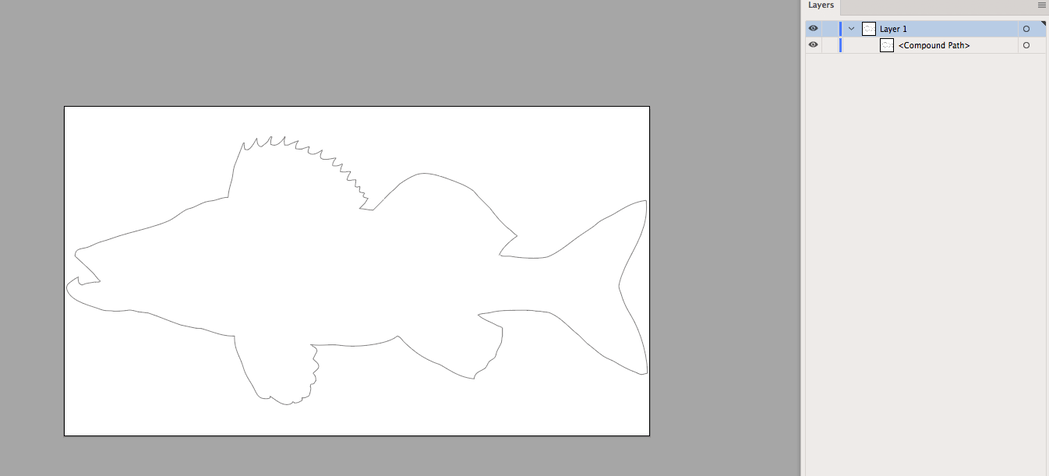
But, all I want is an outline. I could finagle with the settings and get something a little easier to work with… (and it would help to set “strokes” instead of fills) but - it’s going to still want to trace pretty much everything, so I have a lot of paths inside that I will have to delete and clean up.
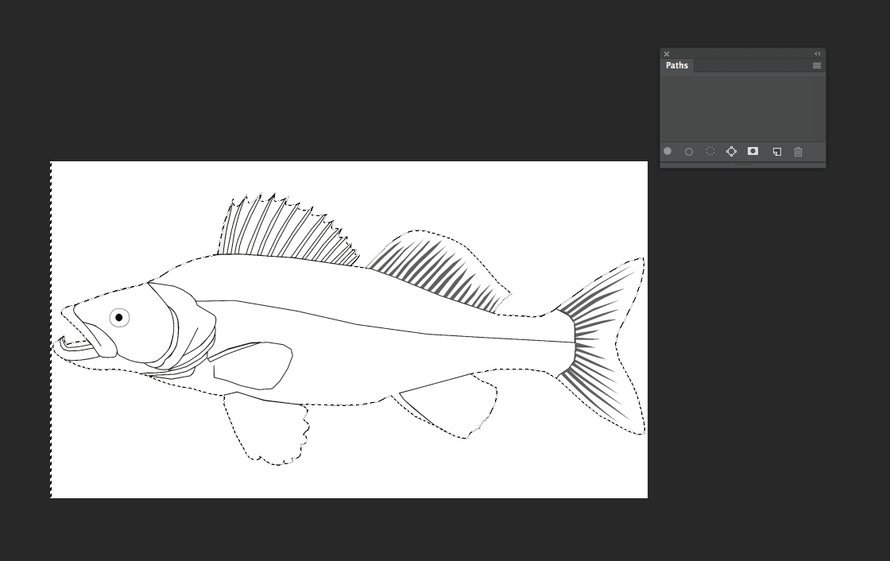
I had the paths panel open, so I just clicked the little selection kinda looking icon (4th icon on bottom of panel), which is make a path from selection.
What are you talking about? I don’t see non-contiguous in there (thank you!!) definitely contiguous - you don’t want it automagically select the interior fill
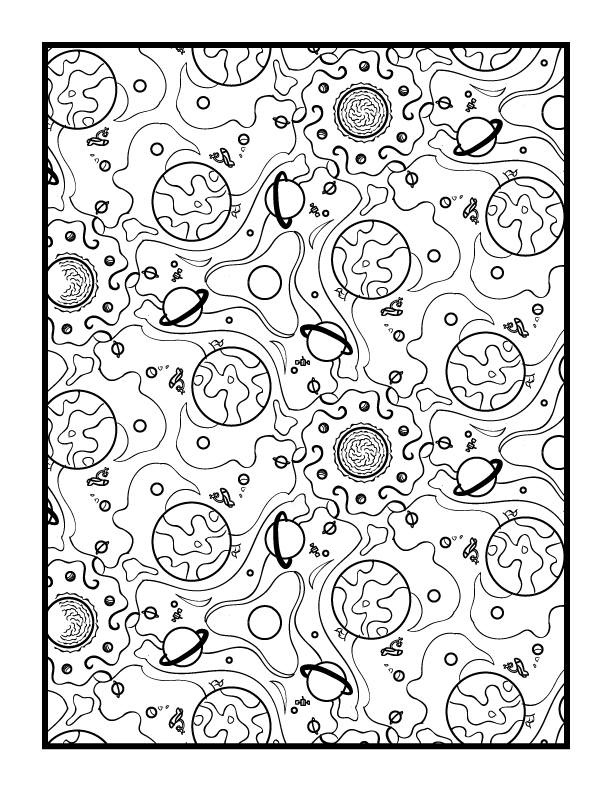
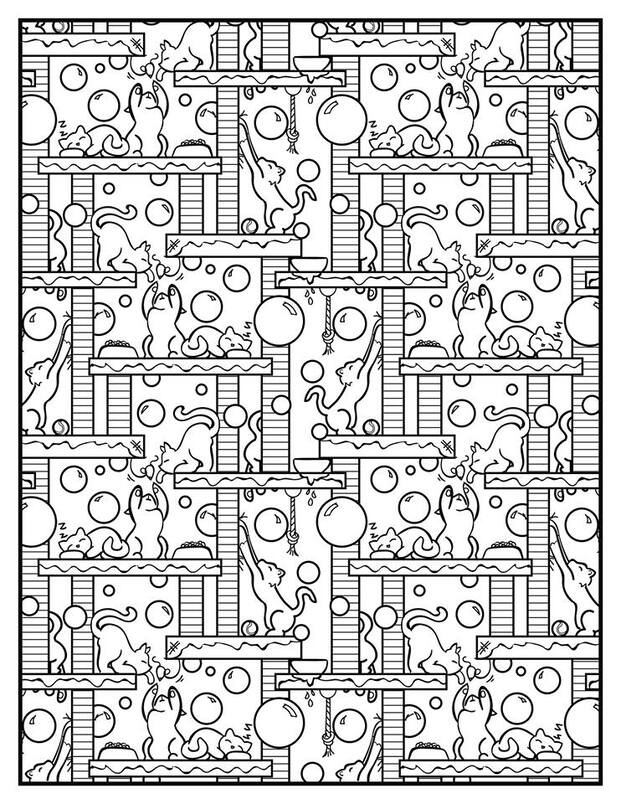
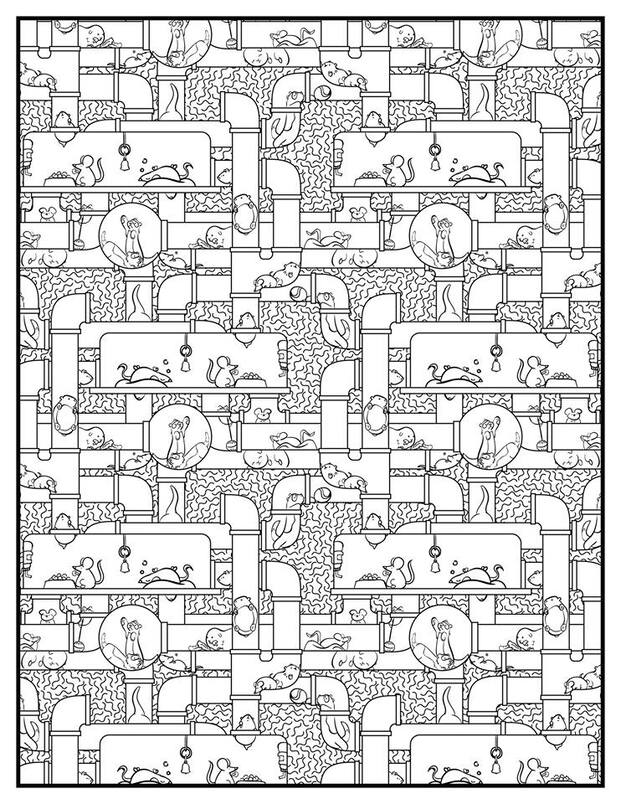
These all came from when a friend was in the hospital due to a particularly hard pregnancy and she wanted stuff to color since it was basically the limit of her movement. It ended up turning into a brief foray into the world of adult coloring with a lot of sweary word art which was fun for a while. I ended up even bringing a ream of printed “F*ck Cancer” pages to the hospital to give out to their - well, mature probably isn’t the right word, but non-minor - patients.


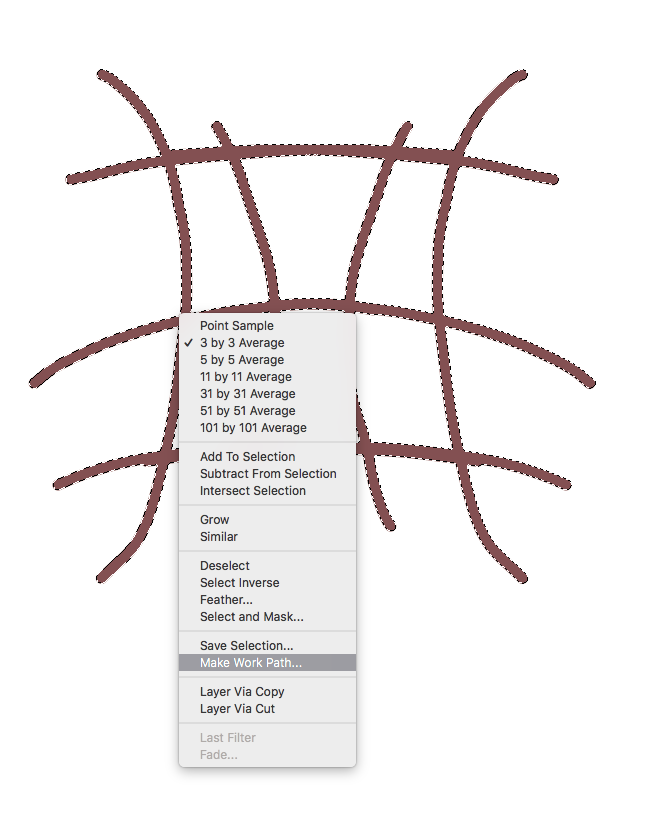
 (thank you!!) definitely contiguous - you don’t want it automagically select the interior fill