The trace tool in Illustrator can be a great tool but sometimes you spend more finagling with getting a clean trace than you should. The following is a quick way to get easy outlines of objects (very useful for cutting). You can also use it to send any Photoshop path to Illustrator in a vector format - useful for things like the Symmetry Brush in this post.
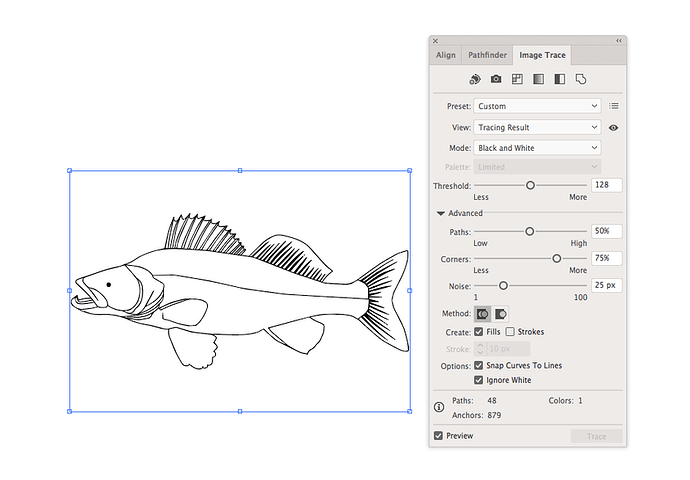
I want to trace a cut line of this walleye fish. I could use the Illustrator trace tool and delete the unneeded components. Or, I could spend time manually drawing it with the pen or pencil tool. Or, I could take about 30 seconds and combine the power of Photoshop and Illustrator. I prefer option 3.
This is a decent trace. But, it wants to trace all of the interior components and I’ll have to delete those manually. You could probably mess with the thresholds and noise to reduce the number of paths. But, right now it’s 48 paths - and I only need 1 - the outline.
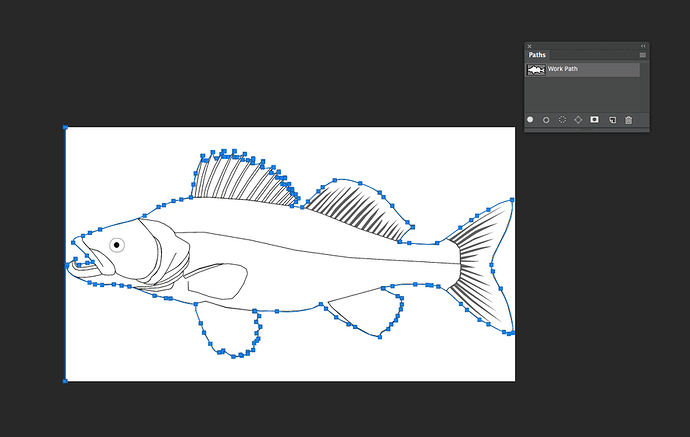
Enter Photoshop. I made a contiguous selection of the white background with the Magic Wand tool and then inversed the selection. Make sure that contiguous is selected. You do not want it selecting the white on the interior of the object.
I had the paths panel open, so I just clicked the little selection kinda looking icon (4th icon on bottom of panel), which is make a path from selection. You can also just right-click while everything is selected and choose “Make Work Path”.
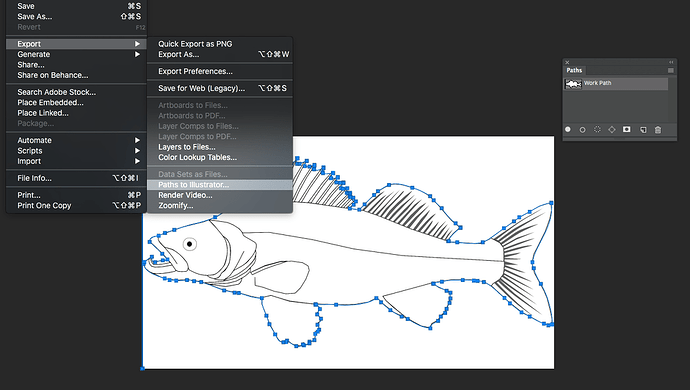
Now that I have a nice outline, I just need to move that path over to Illustrator so I select File > Export > Paths to Illustrator. I select the path and proceed. It prompts me to create a new AI file and name it, so I do.
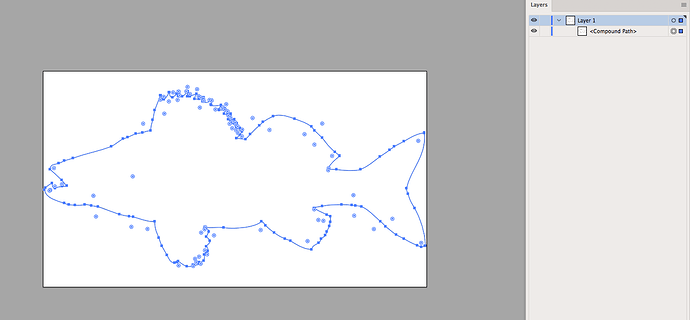
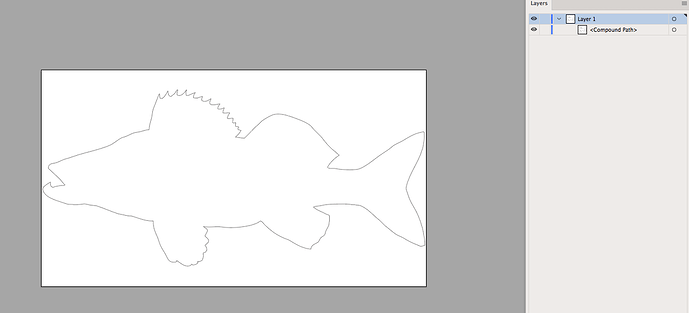
I open the file in Illustrator to a blank compound path.
I assign a stroke and have a perfect vector outline in way less time than it took to type this and upload the screenshots.
