Okay there are a couple of experts on photo engraving on the forum…I am not one of them. This is my first real crack at it, and I’m having to test it to get a decent output.
I’ve got a nephew getting married next month, and I thought it would be cool to make them a little set of his and hers keychains, (or coasters, or a cheese board or something) with their photo engraved on it. (The only one I have is one I pulled from their Facebook page though, so it’s not the highest quality to start with.)
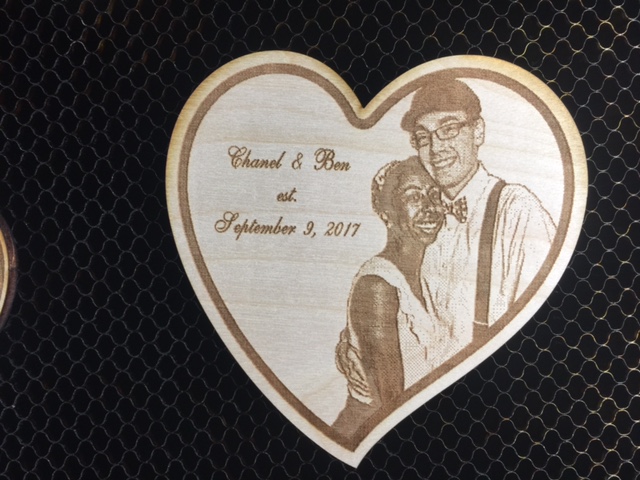
I tried the Floyd-Steinberg first and the results seemed to be trying to do a bit of a depth engrave on the photo, and the results were too uniform to even make out features…so not so good for this.
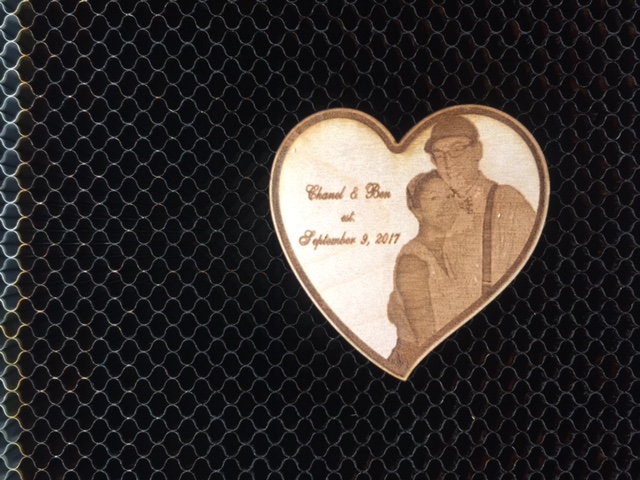
Next shot was using the Ordered Dither, and I like the results a lot better, but it’s still a little hard to make out Chanel’s features:
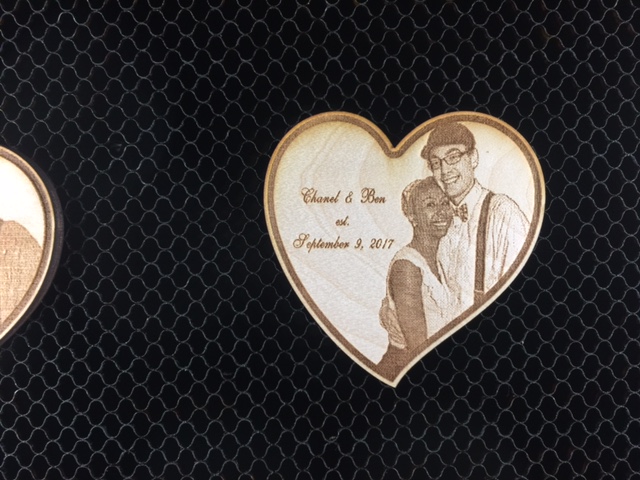
So i took the photo back into Photoshop and really blew it out. (Probably a little bit too much, but i can knock that back a little later. Still using the Ordered Dither:
So what do you think? About halfway between 2 and 3? i did run a second pass on the engraving to darken it a little, which I probably won’t do when running the final version, but I wanted to see what the effect was.
Bring it into photoshop, set a layer to neutral grey and overlay. Then use the burn brush in the area’s you want, you can go back and forth with that, or get it close and use opacity to fine tune the effect.
The results are good. But I think selective dodging and burning could really set engravings apart from a lot of the other work you see out there done on laser engravers. The technique might be a bit different than going to print (more extremes) but it’s the little things that will make it come together.
For the absolutely best printing/display results in any medium, proper prep is key. For example, on-screen display uses different sharpening levels than photo papers, canvas, wood; size and viewing distance make a difference.
It’s really looking nice! I’ve done no photo engraving so I have no advice other than I do remember Dan recommending starting with a 600 dpi or better image (obviously no help to you here).
I haven’t heard that term in a few years! I taught one of the variations of Lindy Hop, known as East Coast Swing dance for over 10 years. VERY fun type of dance, easy to learn, difficult to master.
Probably not a deal on PG materials, but in general you have to watch your powers and speeds carefully when you’re engraving. Because what gets you darkness is char, not zapping per se. So especially if you’re doing more than one pass, extra zapping can actually make things lighter. (I’m pretty sure Jules knows this, but it’s important for people to keep in mind.)
You are going to make me finally learn GIMP. The successive improvements really showed me how preprocessing makes a difference. I generally don’t see laser engraving a photo as appealing. Good in concept but rarely executed to show that the desired result is good in its own right and not just a gimmick that kind of approaches something that just works as an engrave on a specific material.
This demo tipped photo engraving at least to a nine on my post-o-meter. Thanks.
More to come actually…I’m going to strongly recommend removing any masking on PG materials before engraving. You’ve got to rework your settings to make sure you get through the masking first. (It’s that sensitive.)
Ugh!
Update: Holy cow! You talk about a difference in results on hardwood versus ply! And it’s going to take serious fiddling. There’s a bloom on the hardwood, the plywood just becomes a muddled mess if you engrave through the veneer.
yeah, the mdf that makes it cut so nice also makes it less suitable for engraving. if you ultimately do wish to do photo engraving on play (maybe you’re doing something structural) you might find better luck by talking to a local producer.
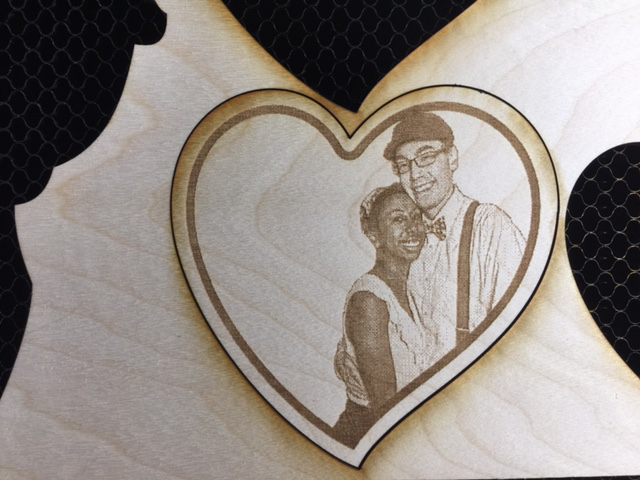
I’m not a fan of photo engraving specifically on wood, myself. I really hate sepia photos. BUT… what I would suggest that if a person must, then it’s best to work with the traits of the media.
Give this a try perhaps? Take the original photo, and use a sepia filter to get a look on the screen that you can accept. After it’s how you like, convert it to a greyscale image. Then run the Auto Contrast filter on it – this will drop your blackest grey down to the floor (ie black) for your laser setting’s “char level”… which, for wood with the settings like that above, is more like a dark brown – similar to the sepia-brown after photoshopping it with the sepia filter.
I’m totally with ya on that one. I don’t see the appeal (aside from the novelty of it). But when I’ve shown people my photo engraves their jaws drop and they tell me how they need to have one and how amazing it looks. Meanwhile I’m thinkin’ “Give me a high-quality photo print any day of the week.”