I’ve been fighting some pretty hard project paralysis for a while. In the run up to the beta for Pro Passthrough I wanted to give myself a nice challenging and large leather project. I also didn’t want to throw a nice expensive piece of leather at software that early in beta. So, I waited for a sale to roll around and picked up a $40 “C-grade” 7-8 oz double shoulder on the theory that, worst case, it wasn’t a big loss.
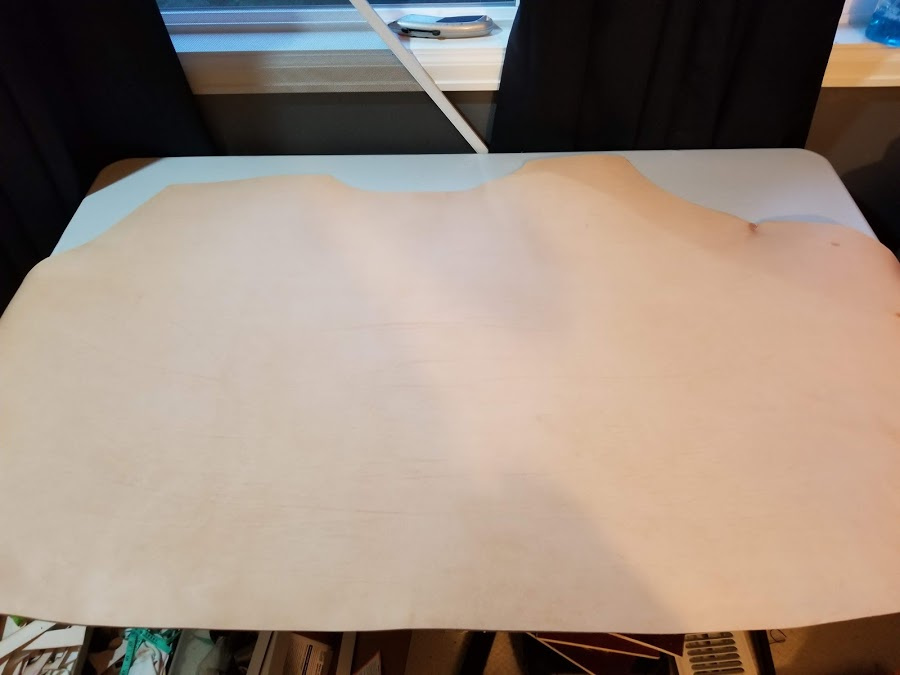
All in all, it’s a decent piece of leather, minus some surface imperfections and a blemish or two along the edge. For a sense of scale, that’s a 48 inch by 24 inch craft table… which meant that I had plenty of leather to do something interesting with… if I could just figure out what interesting thing to do with it.
The design paralysis set in pretty hard. I figured “messenger bag… this really should be a bag that takes advantage of a nice large single piece of material…” but then I got lost in a bunch of decisions. Size it for my work issued laptop? Something bigger? Pockets? Somehow, I bought something cheap so if I screwed up, it was no big deal… and then left myself second guessing everything since once I cut into it… well, then you’ve cut into it!
In the end, I had to cut off a long strip at one edge to get it down to Passthrough width anyway, so I designed a bag around the size of gusset I could get out of the off cut.
Right, so that’s as far as that design ever went. Lots of things can be recovered… losing power mid project is very much not one of them. Re-enter the project paralysis. I could just cut that piece out of the larger bit of leather… I could still make that bag. But… I had something bigger planned, didn’t I?
So, what to do with the smaller remnant? Why not take it as an excuse to finally learn how to tool things? But what? Grrr… project paralysis. (In fairness, between March when my passthrough project failed and May when I got going again, there was a lot going on…)
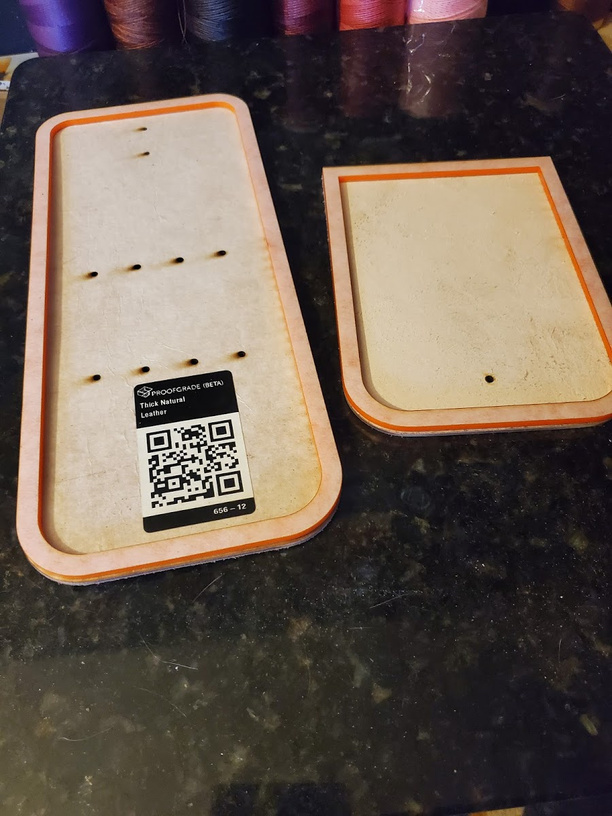
When I finally got going again, I figured I’d do something small with bits of scrap ![]() leather that I had lying around. That and some scrap acrylic. Simple pouch? Easy border? Something to get used to having a swivel knife in my hand…
leather that I had lying around. That and some scrap acrylic. Simple pouch? Easy border? Something to get used to having a swivel knife in my hand…
So it started here:
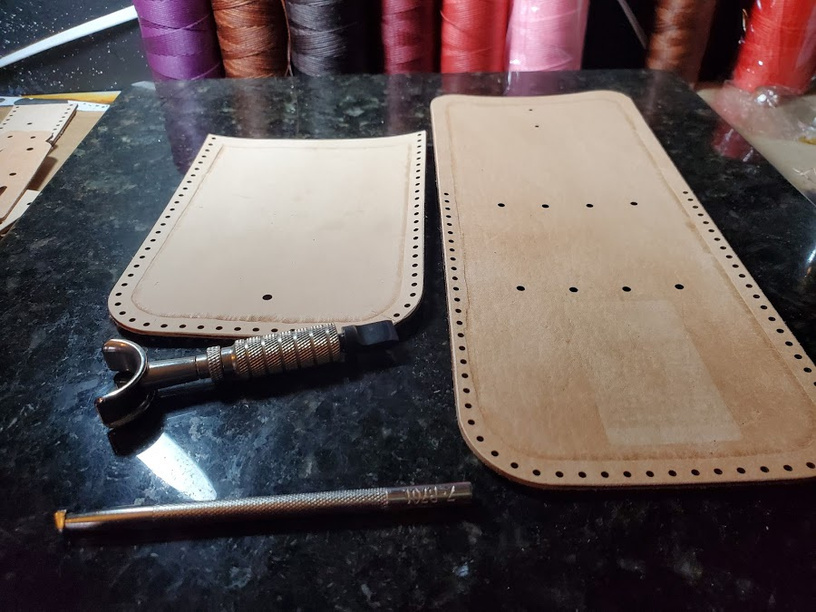
Did I mention that I went digging deep into my scrap bin? Some of which is in less than great shape. But, a little work with a swivel knife and a bordering tool and I had a lesson in how easy this isn’t:
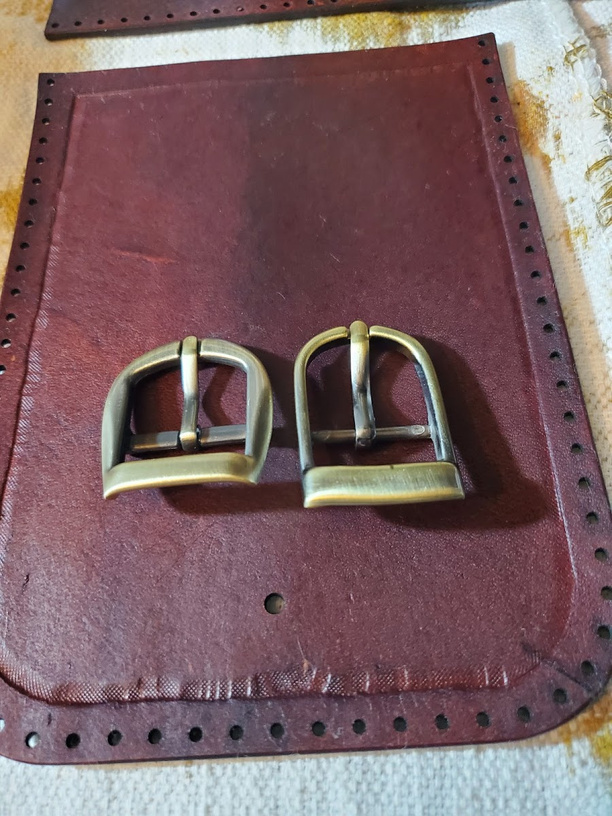
That’s okay! That’s why we have scrap bins! Still, it almost felt like a shame to use the good hardware next to my horrible tooling…
Yeah… just a little chewed up there… But in the end, it wasn’t a bad little pouch.
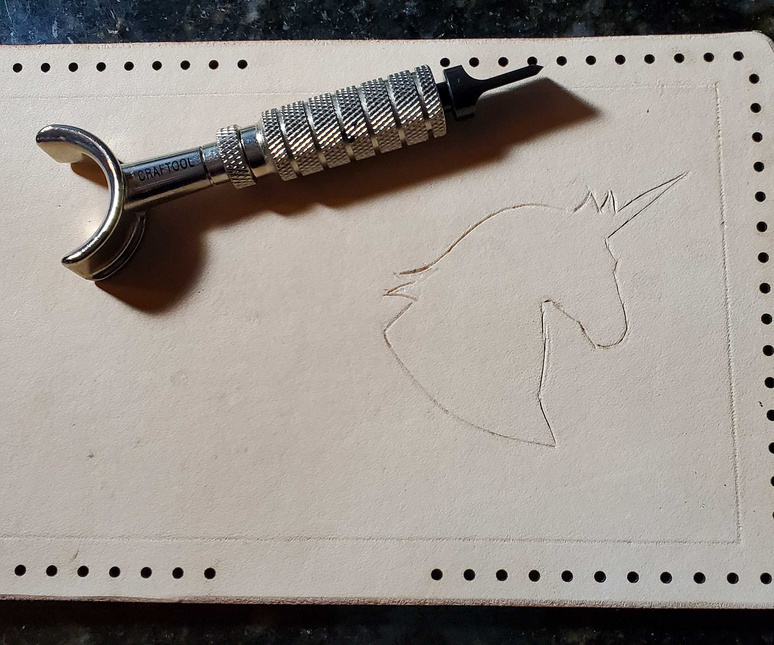
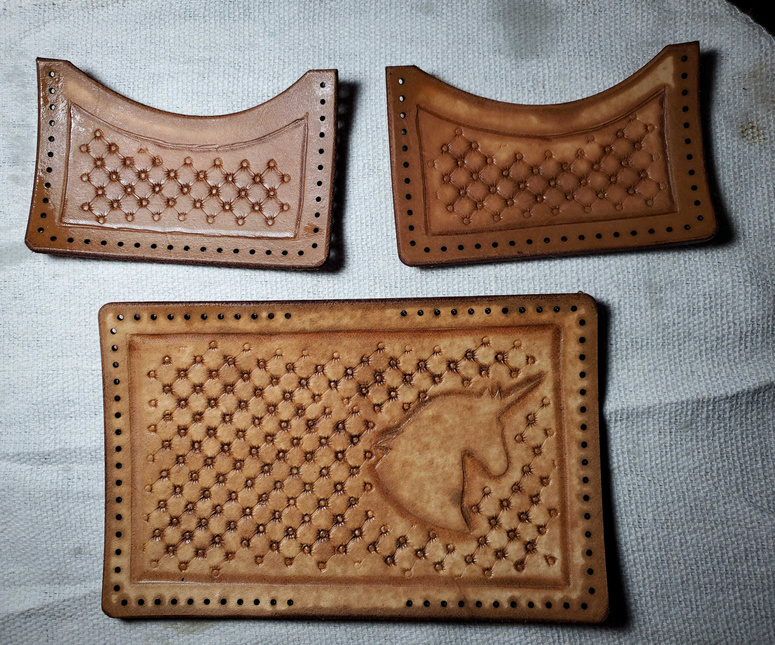
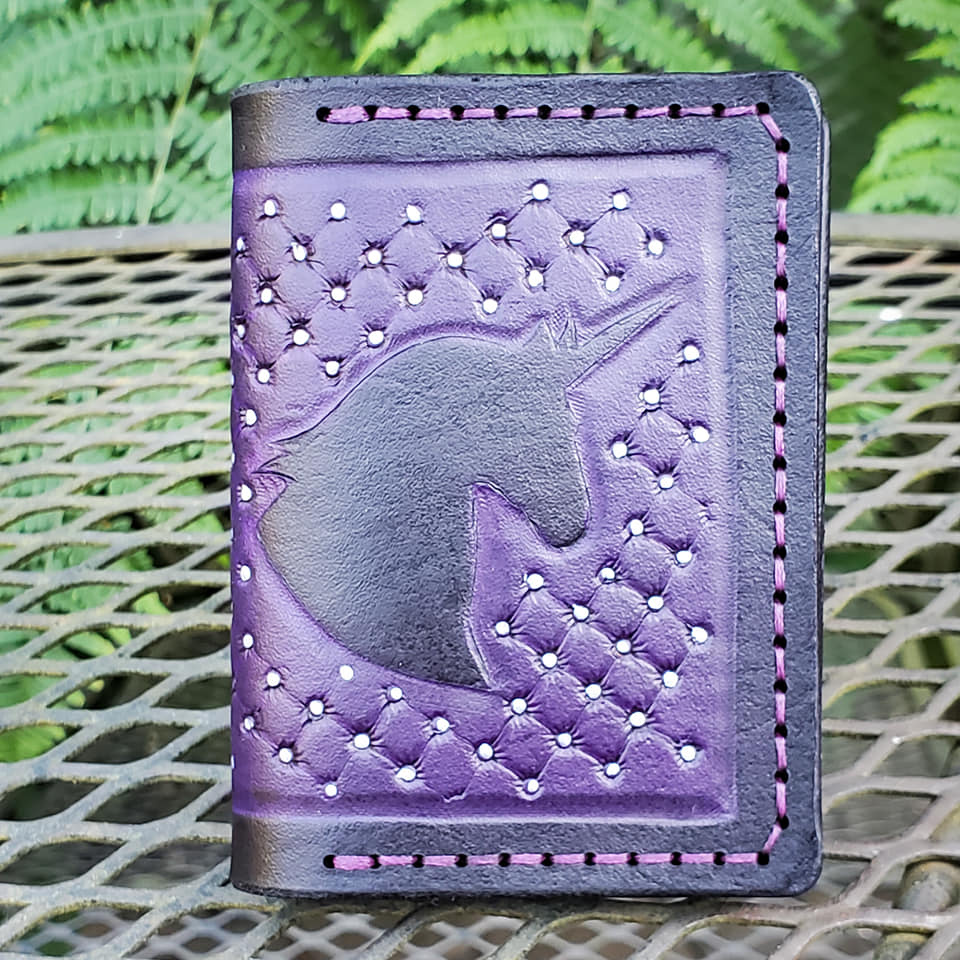
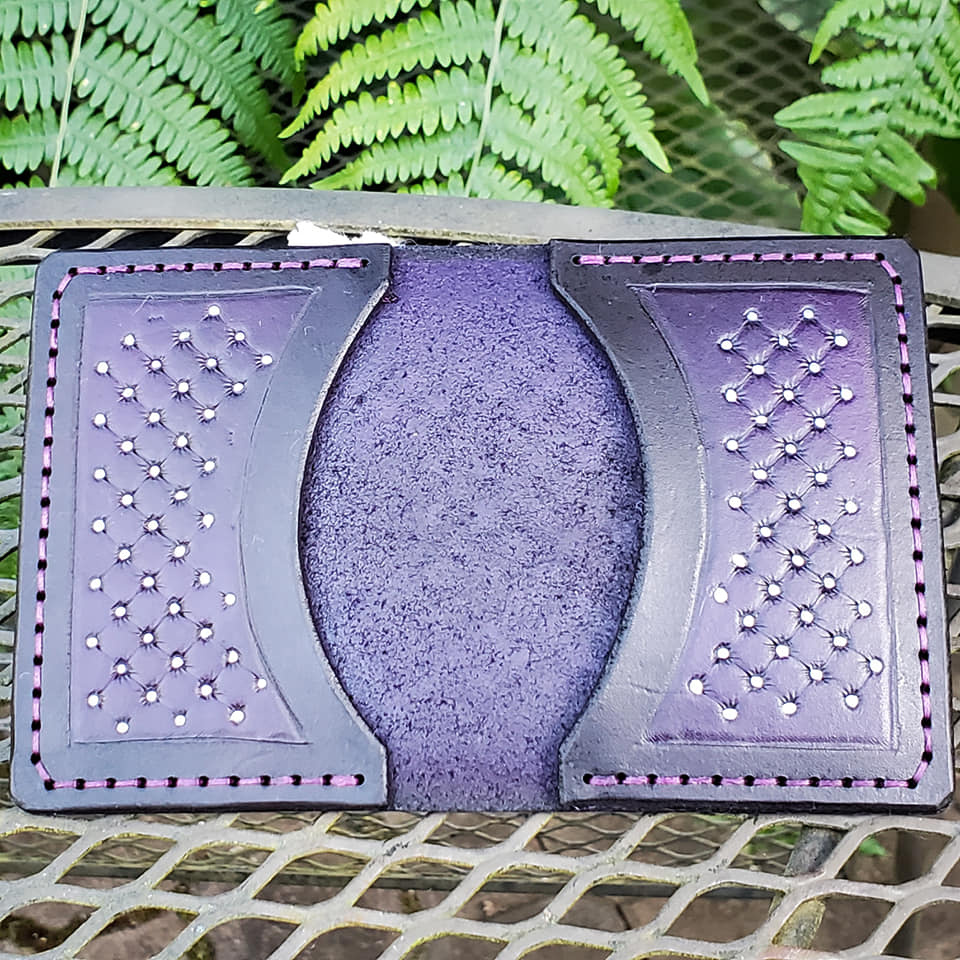
So… back to the big piece of leather, right? No. More time in the scrap bin, this time to see what I could do with a texture stamp. I didn’t want to stamp anything large, so… quick card wallet design!
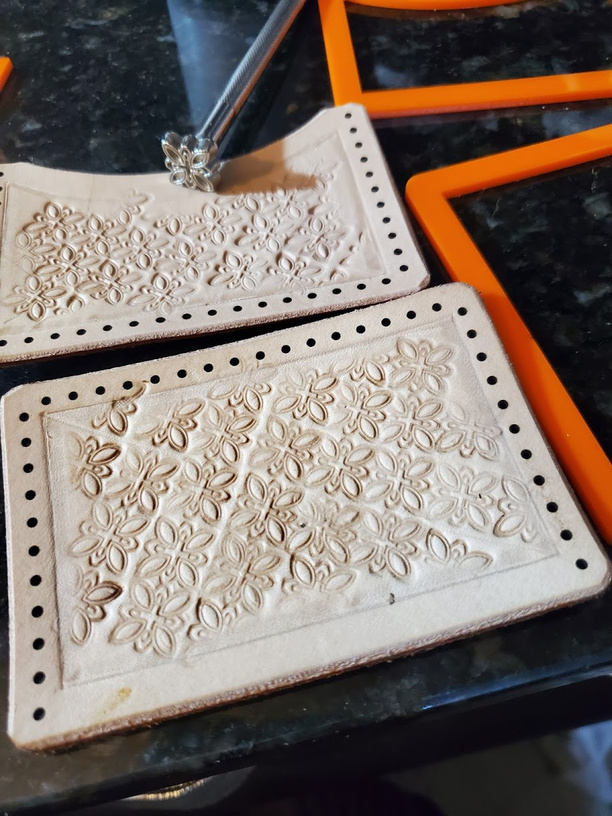
That’s… not as easy as it looks either. Also, that stamp is one of many that you can get in a cheap $20 collection of 20 tooling stamps on Amazon or in your local leather shop. You can do amazing things with cheap tools… but having played with the cheap set… you can also save yourself a lot of frustration with good tools (more there later.)
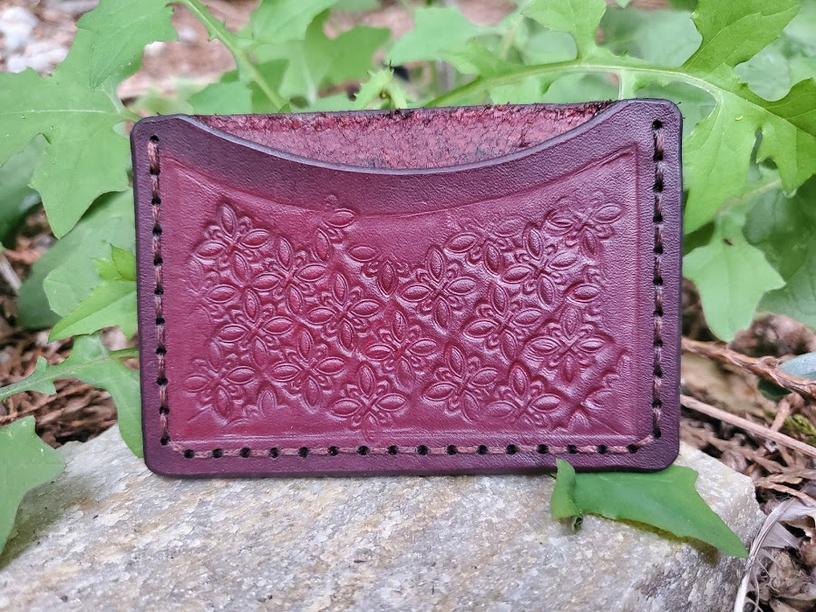
Oh, and the wallet? Not horrible… but not great either. Still, it was an opportunity to practice border painting and that came in handy.
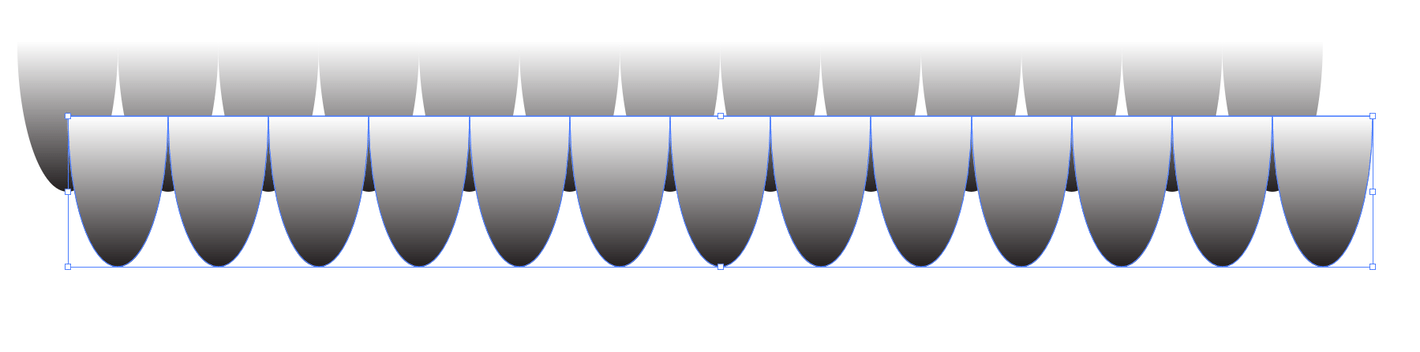
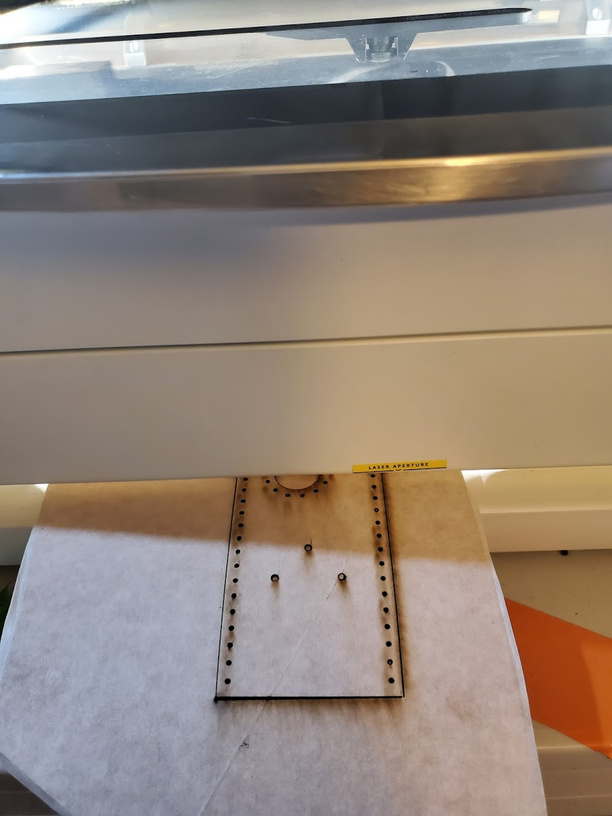
What I wanted to do though, was something that had a scale patterned look to it, and I didn’t have a stamp for that. But I have a Glowforge! So I designed a quick texture plate, and figured I’d see what I could get out of a set of wood clamps and a granite slab to press against.
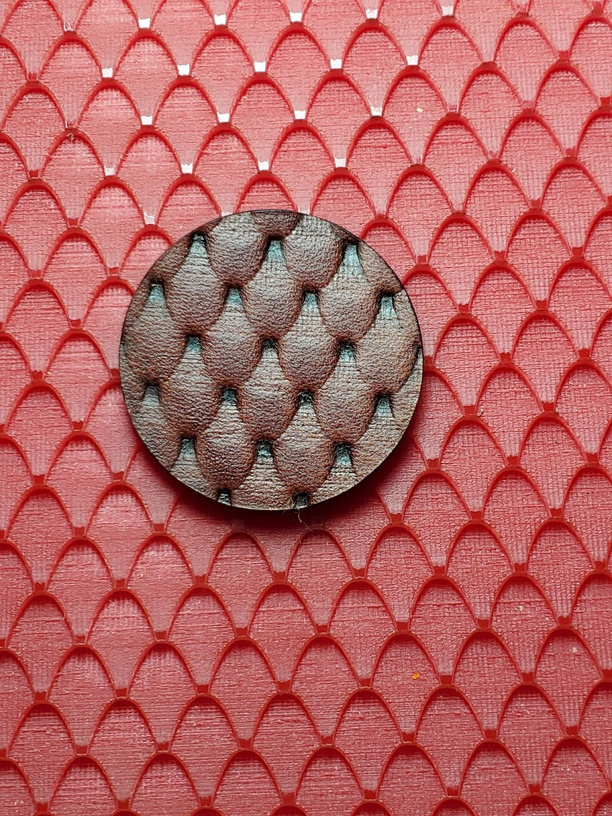
Scrap bins are wonderful. Even little random bits become useful for testing dye or paint or techniques like this. But it still wasn’t really the result I was looking for. So, I bit the bullet and ordered new tools. If you already do leather work, you probably know where this is heading and how hard it can be to wait patiently for things to reach Seattle from Bulgaria… And if you didn’t know where this was headed, I want to highly encourage you to pay Sergey Neskromniy’s Etsy Shop a visit.
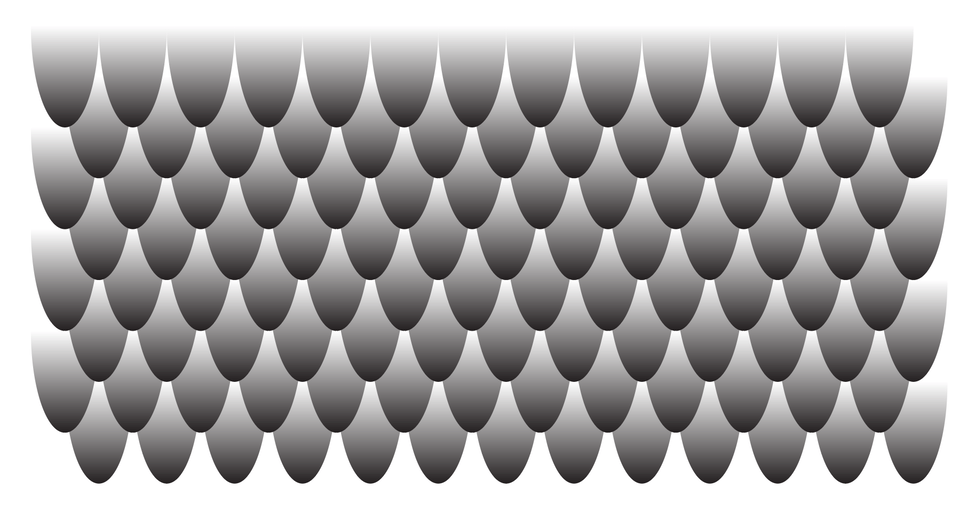
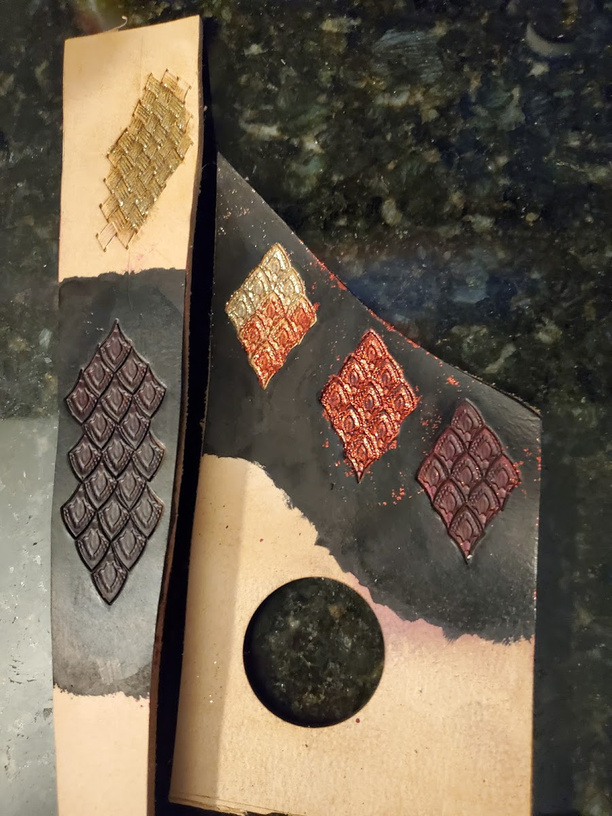
Not horribly long after, I had some new treats to work with…
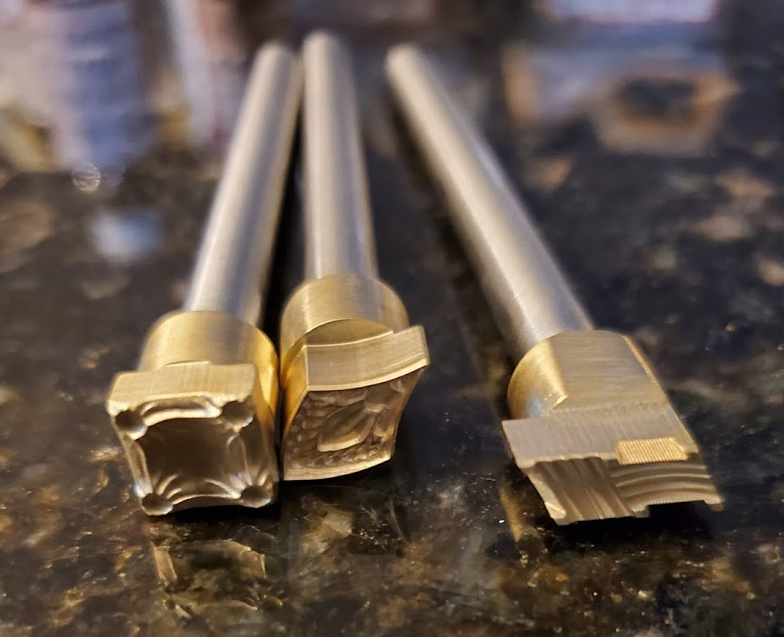
And the results from those?
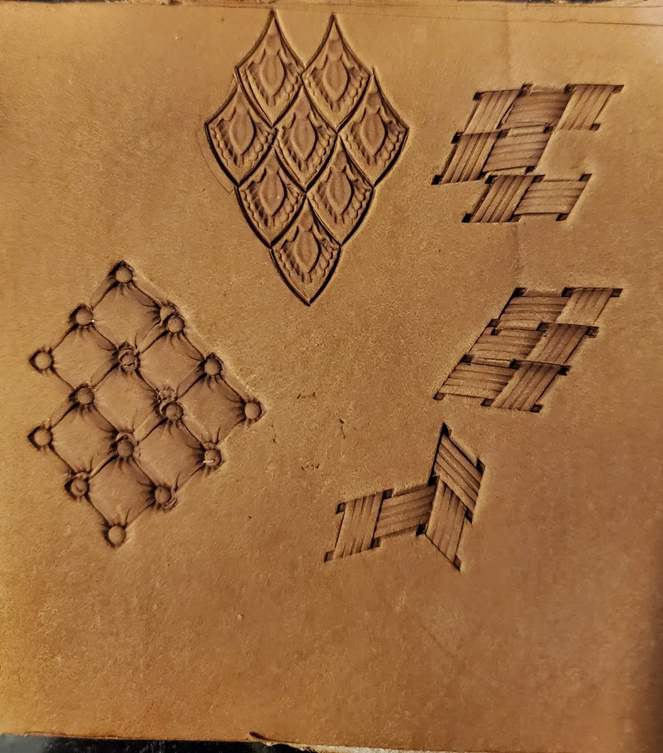
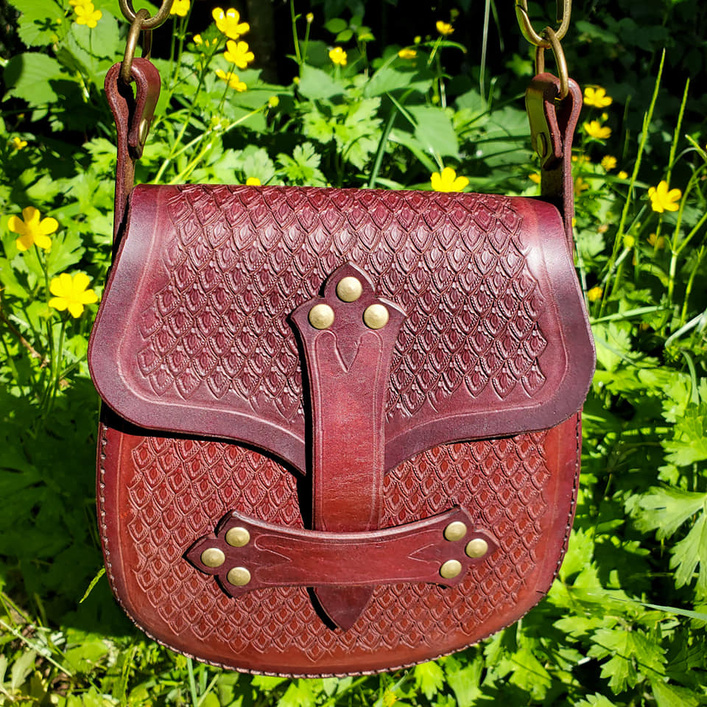
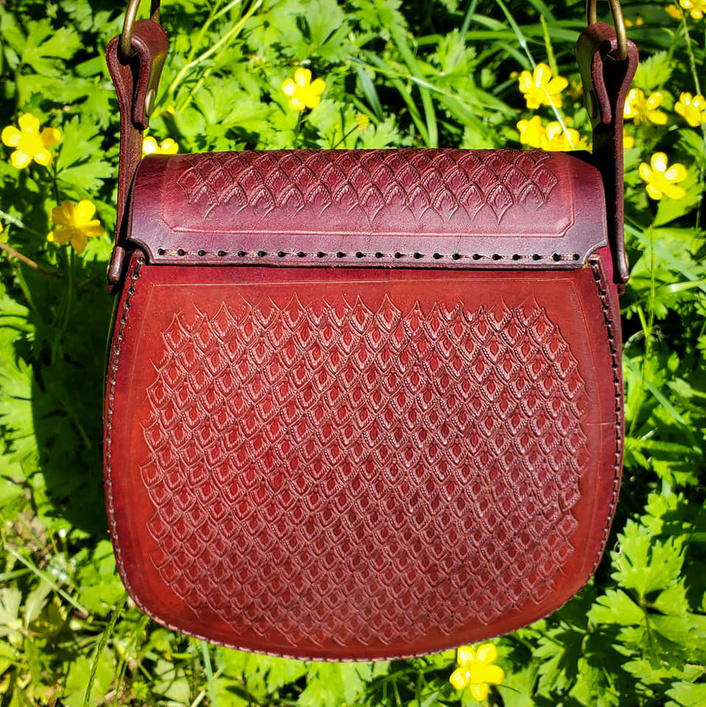
Okay, so I’m not doing any basket weave projects any time soon! But the scales were friendly and approachable so I figured… basic pouch, take two! This time on the heavier leather, on the theory that it would take an impression better.
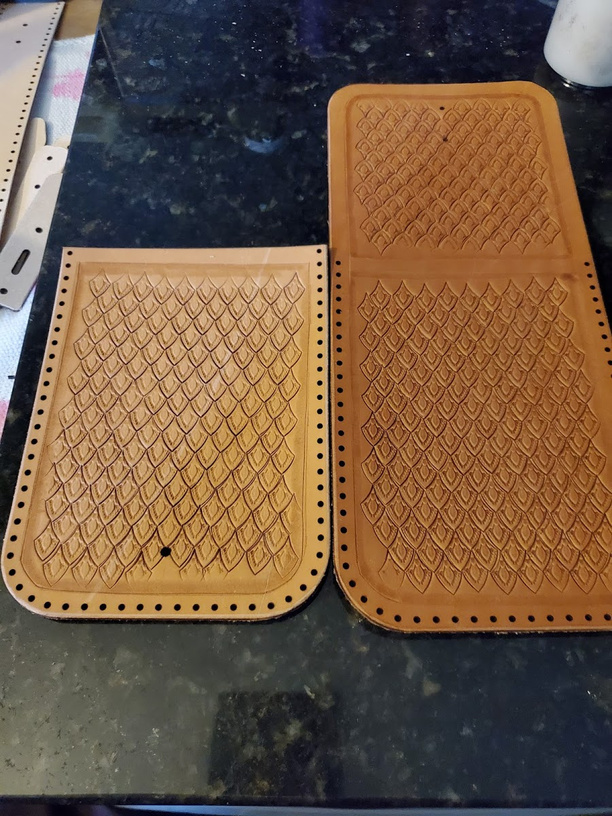
The only real problem with this was that I wanted to pattern both the front and the back, but the back panel and the top flap are one piece and I’d need to change directions at some point. More tooling and some very careful painting with dye later and I had this:
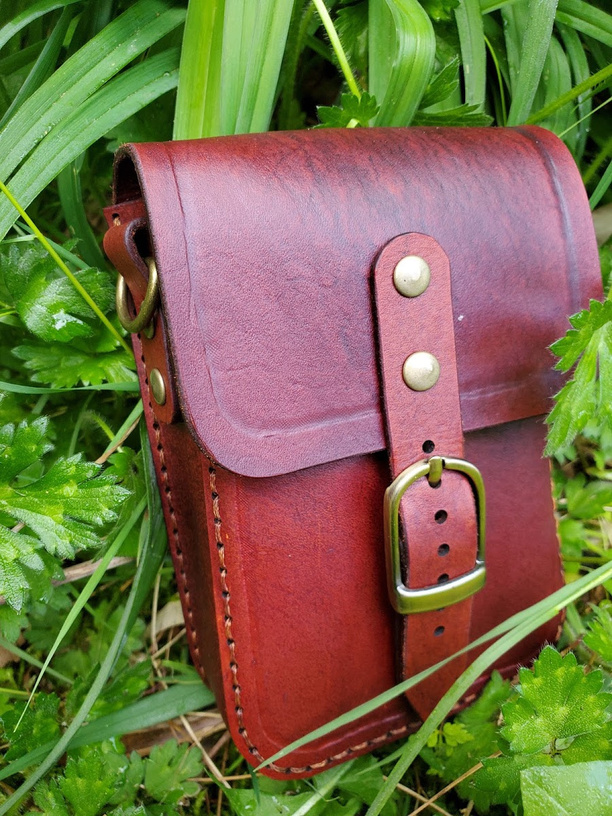
Which eventually turned into this handsome little dice pouch:

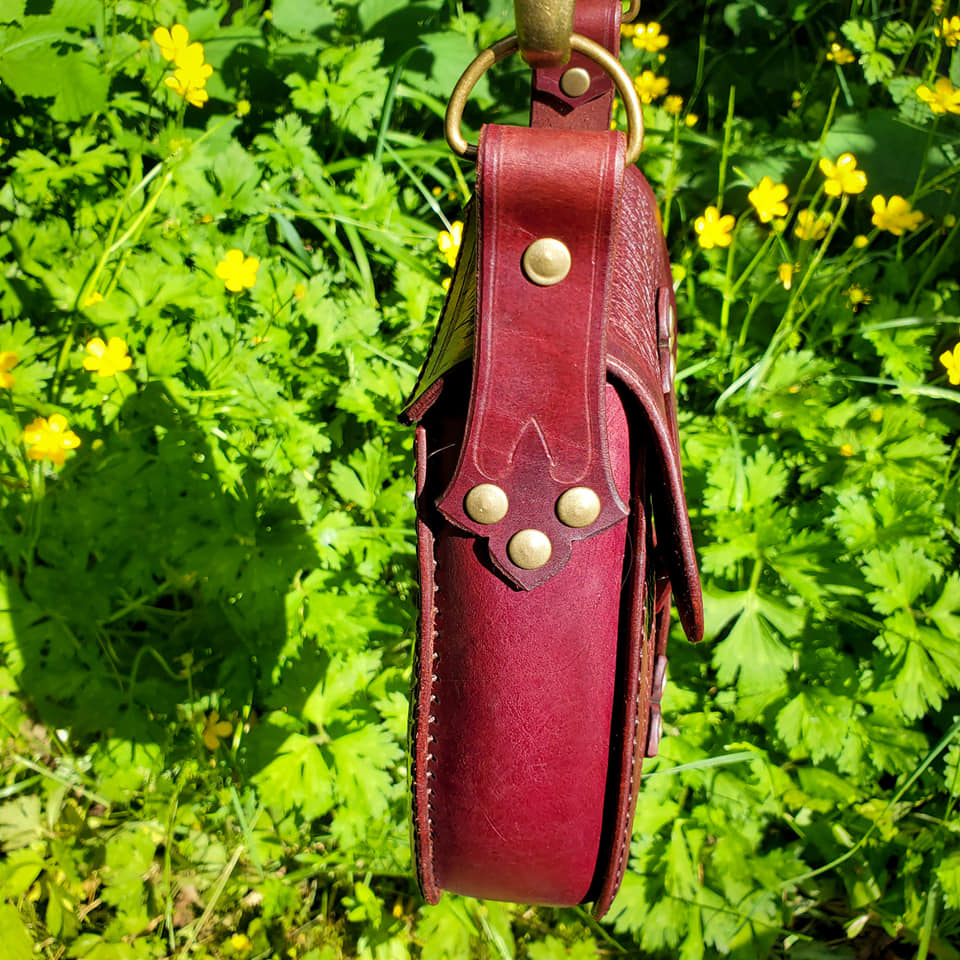
Lesson learned here: Fancy bag needs a better strap, but also, all that hammering, one scale at a time, really paid off! That bag took most of the end bit I’d cut off the large double shoulder, but I had enough scrap lying around to do some practice… like figuring out that basket weave stamp:
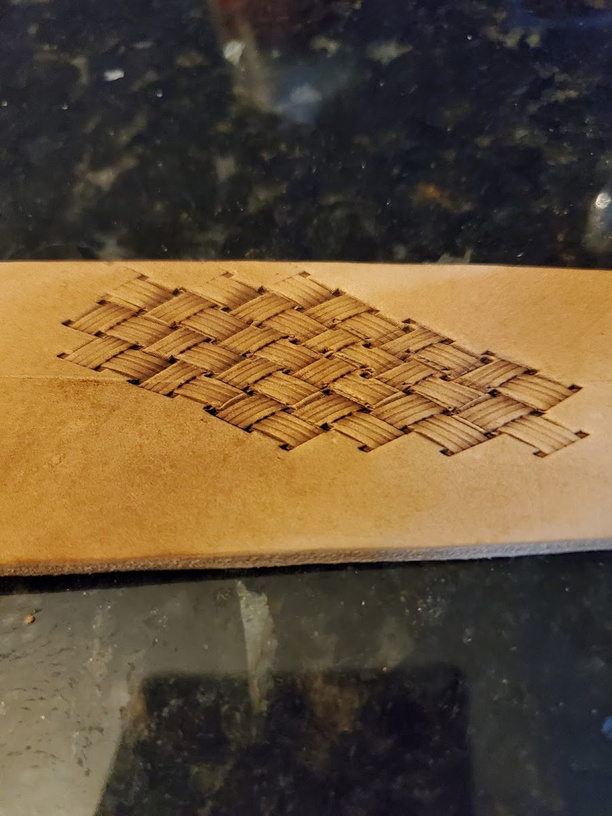
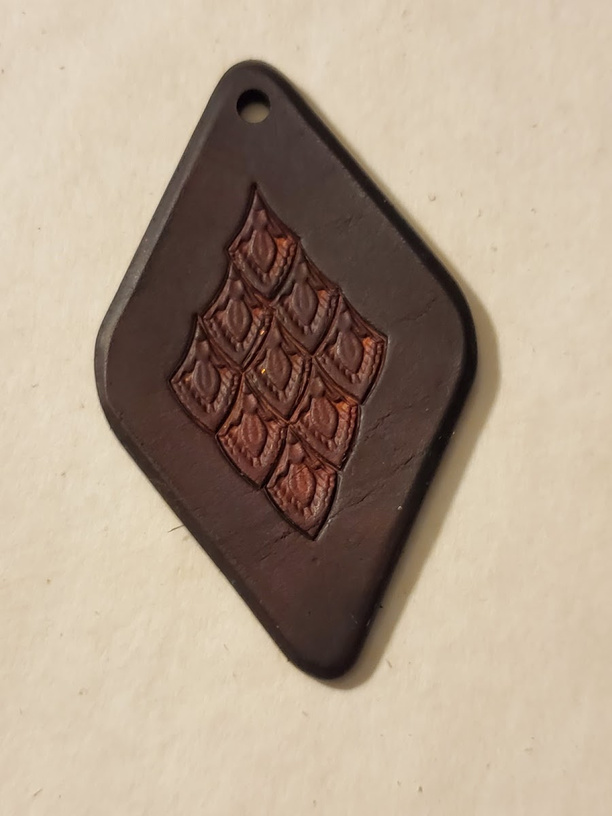
Still not pretty, but progress! And, since I was tooling on scrap, I figured now was as good a time as any to practice a few dying / painting techniques, including hauling out the glitter paints to see what things would look like with glitter paint on the tooling.
Cool, looks like a right mess! This is why we do testing on scrap. But it did set me up for a quick project designed entirely with creative tools for a lunch session on leather working. Quick easy pendant:
And then, more testing… Remember how I wasn’t happy with the strap on my 2nd pouch?
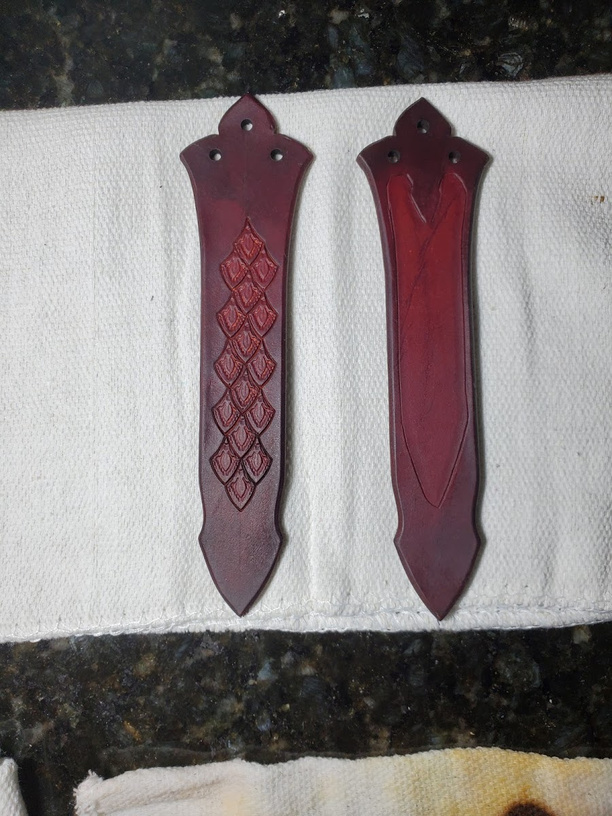
You tell me… the one on the right? Or the one on the left?
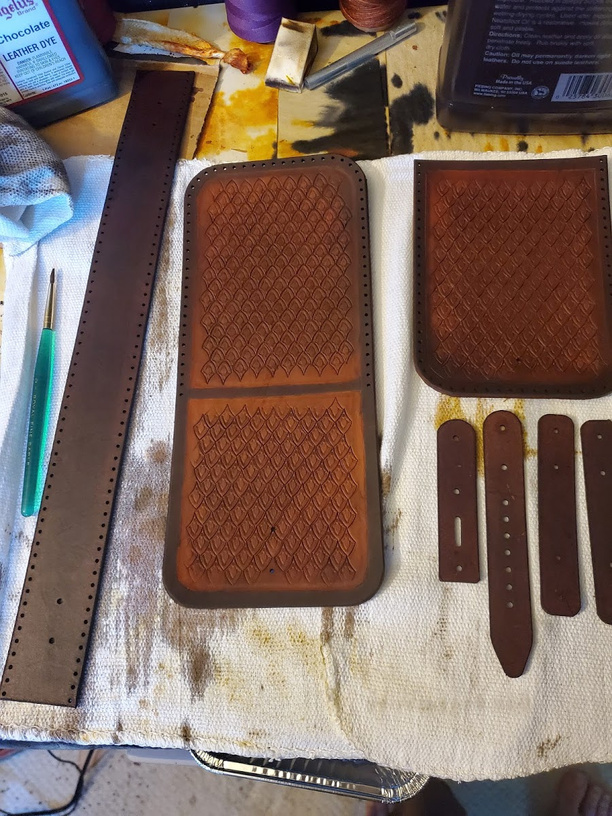
Right then, enough testing, enough practice… time to make something really genuinely every day useful! That thing I bought the large piece of leather for in the first place… time for a messenger bag! Right?
No. If I’ve learned anything so far on this journey it’s that practice is really, really important. So, bigger project, yes, but nothing that huge yet. Let’s try a really reasonable sized purse.
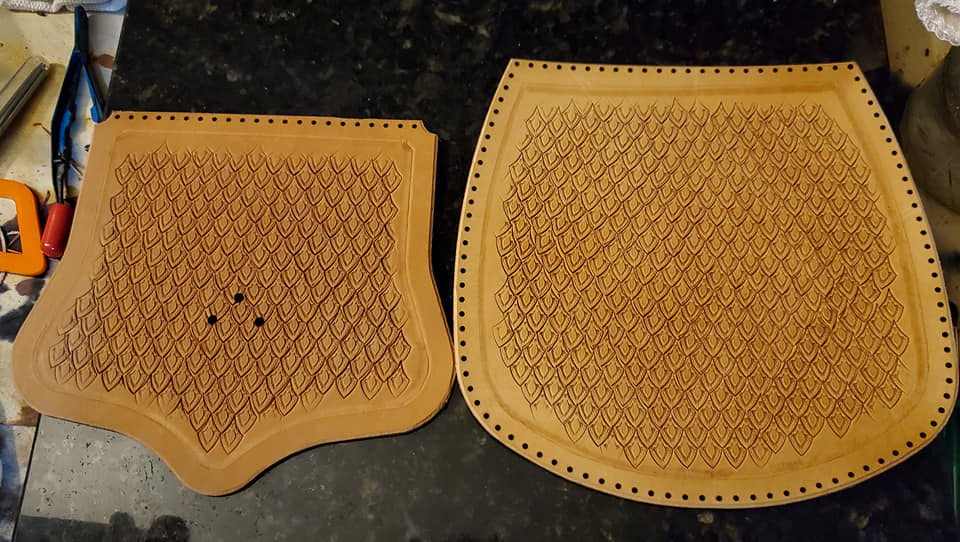
I started with the back panel on this purse for a reason, namely, I felt like if (when) I screwed up, it wouldn’t be as big of a deal. And… screw up I did. The back panel was less about learning how to manage the pattern… In theory, I knew that. It was about learning how to handle mistakes, misalignments and still keep going without the whole thing turning into a mess of cumulative off by a hair errors.
All told, the tooling alone was somewhere between 3 and 4 hours.

The result though…
Even the back doesn’t look too rough:
I considered tooling the gusset but in the end I decided against it and I’m kind of glad I did (not just because it saved me another hour of work!)
So, what now? Now I’m sketching on a satchel. I’m debating about the basket weave stamp or the cushion looking one. We’ll see. It’s really been a lot about working my way up to bigger things.
I’ll say this though, for anyone who has gotten to the end of this long (and rambling) post.
- Your scrap bin is your best friend when learning a new skill. Whether it’s testing things on scrap or designing mini-projects to practice on… pieces that are too small to do anything “useful” with can often be useful for testing or trying something on. Also, to the spouses of the scrap hounds reading this, I’m sorry for encouraging them, but really, you can’t have that corner of the garage back, I promise, all the scrap piling up is useful!

- Good tools make a world of difference. At the same time, you can do a TON with a very small number of tools, so don’t hesitate to pick things up one or two at a time and grow your collection. One or two good stamps will open up a lot for your leather working

- Not everything needs to be a project. Practicing on scrap before touching a real project helped me a ton! It’s nice to have a small project like a card wallet some times but even if it’s just a 2" wide wonky shaped strip of scrap, it can be useful to spend a few minutes honing your craft on.
Happy crafting everyone ![]()