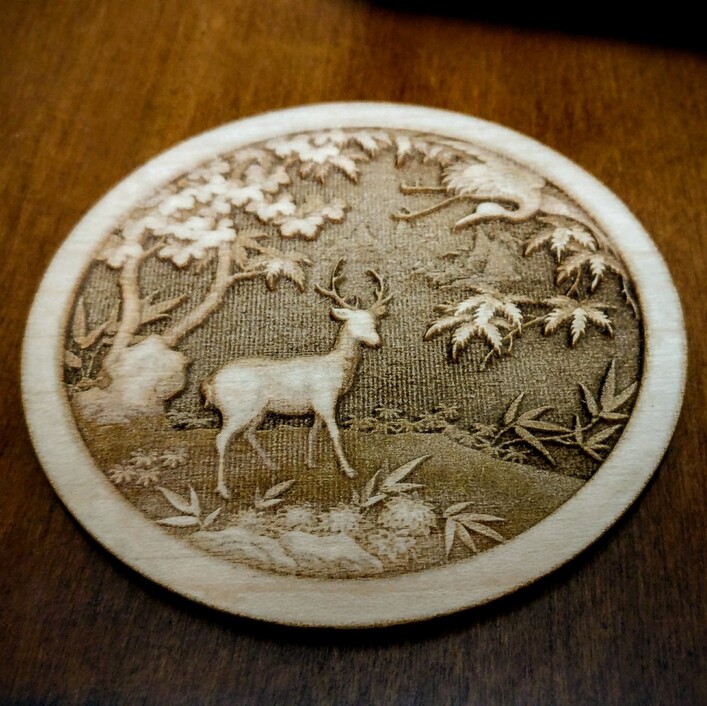
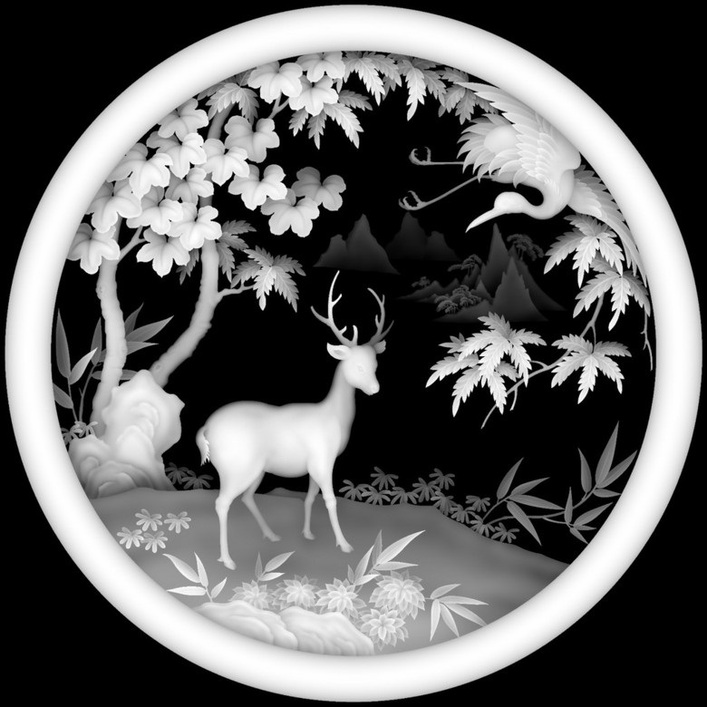
Was having a bit of fun doing some 3D engraving today. Takes a long time, so while working on other projects I figured I might as well have something in the GForge.
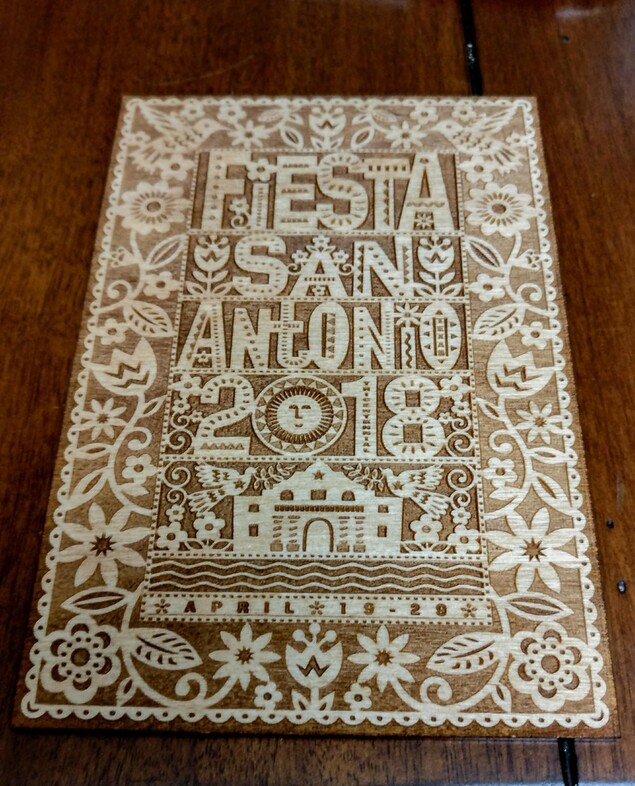
Next, San Antonio recently announced the official poster for next year’s Fiesta Celebration. So why not convert to grey scale and invert for 3D engraving?
The texture in the top… Is that part of the original artwork or some affect of the material/settings?
I only ask because I recently engraved a picture of artwork on canvas and I was really blown away that the canvas texture was picked up and engraved by the 'forge.
As you can see, it’s only using 4 colors. When I converted to grayscale and inverted colors. The blacks became White, etc. Thus the yellow areas engraved deeper when I selected “Vary Power” and the black, now white, areas where only touched lightly. Not sure why they got even a slight hit from the laser. (It wasn’t enough to penetrate the glue of the mask, so the wood still didn’t get lasered there. It just made removing the mask difficult.) White should have been 0 power.
This one was done on a spare sheet of Birch Plywood I had sitting around. Not
You might want to look at the actual color values of the white that was from the black. It may not have translated to pure white (RGB value of 255,255,255, or gray value of 255) if any of those values were even 254, it would have fired the laser at the minimum power.
I’ve also seen this happening. What I’ve done to avoid it is just completely deleting any of the white areas so that the forge doesn’t register that anything is even there. Great work, these came out pretty good!
I’m assuming the question was actually about the vertical stripe texture in the deer engraving. I’m curious about that too. Was it in the original, or did the Glowforge add that detail?
It’s not the file. There is a faint pattern visible in deep engraves.
(I’m guessing the pulsing of the laser has something to do with it, since it shows up in vertical orientation, and the head is moving horizontally. I also tend to think that the area directly under the beam might be exposed to slightly more power than at the edges of the beam, so it carves a little deeper, creating slight ridges.)
It shows up in just about all of the files I’ve done, but it isn’t generally noticeable unless you are taking a close-up shot of the item, or cutting something really smooth and dense like clear acrylic.
How long did the fiesta poster take, and did you have to split the image or upload it in different pieces? It looks so good! But looking at it, I get anxiety assuming that the GFUI would error-out trying to load that file, as I seems to have to do all kinds of tricky things just to get little graphic coasters to print.
I wouldn’t call it faint, it looks like corduroy in this image. I wonder if these are the same stripes I was seeing on tile in My first Laser tile - #110 by chris1, and what explains the difference between my results and @YawString’s.
The pattern is unfortunately very noticeable on something like My first Laser tile - #103 by chris1 and looks more like an inkjet printer with a clogged nozzle than a cool texture.
It varies quite a bit by material, but it does happen on pretty much everything I’ve printed. You just don’t see it as much on something like plywood, which gets a nice unifying burned look.
IIRC, the effect can be ameliorated a lot on the worst case though (acrylic) by defocusing the laser - @takitus got some beautiful results doing that a while back…just do a search to find it if you’re interested in more detail on the testing he did. @mpipes ran a bunch of testing on acrylic too, so searching his posts in the BTM category will net a bunch of great info.
The worst case for me is the aforementioned laser tile. I haven’t noticed it in acrylic. I have some demonstrations in the linked thread of what happens when defocusing on tile. TL;DR: it doesn’t work at all. Just do a search to find it if you’re interested in more detail on the testing I did.
The poster took about 1 hour. It’s only 4" by 6". The file was just the original that I converted to Grayscale and then inverted the colors and added a ‘cut’ box. I uploaded it as a single file.