And today’s update is how I solved the tactile switch mounting. I had cut them out from the bottom layer and since I don’t have a circuit board behind the panel, I was somewhat stuck with how to hold them in. I made tiny little brackets on the Form3 in gray resin (they are about 1mm wide) that basically got CA glued down to the back of the bottom panel which snugs them very nicely against the front panel. You absolutely could laser them out of acrylic but I didn’t.
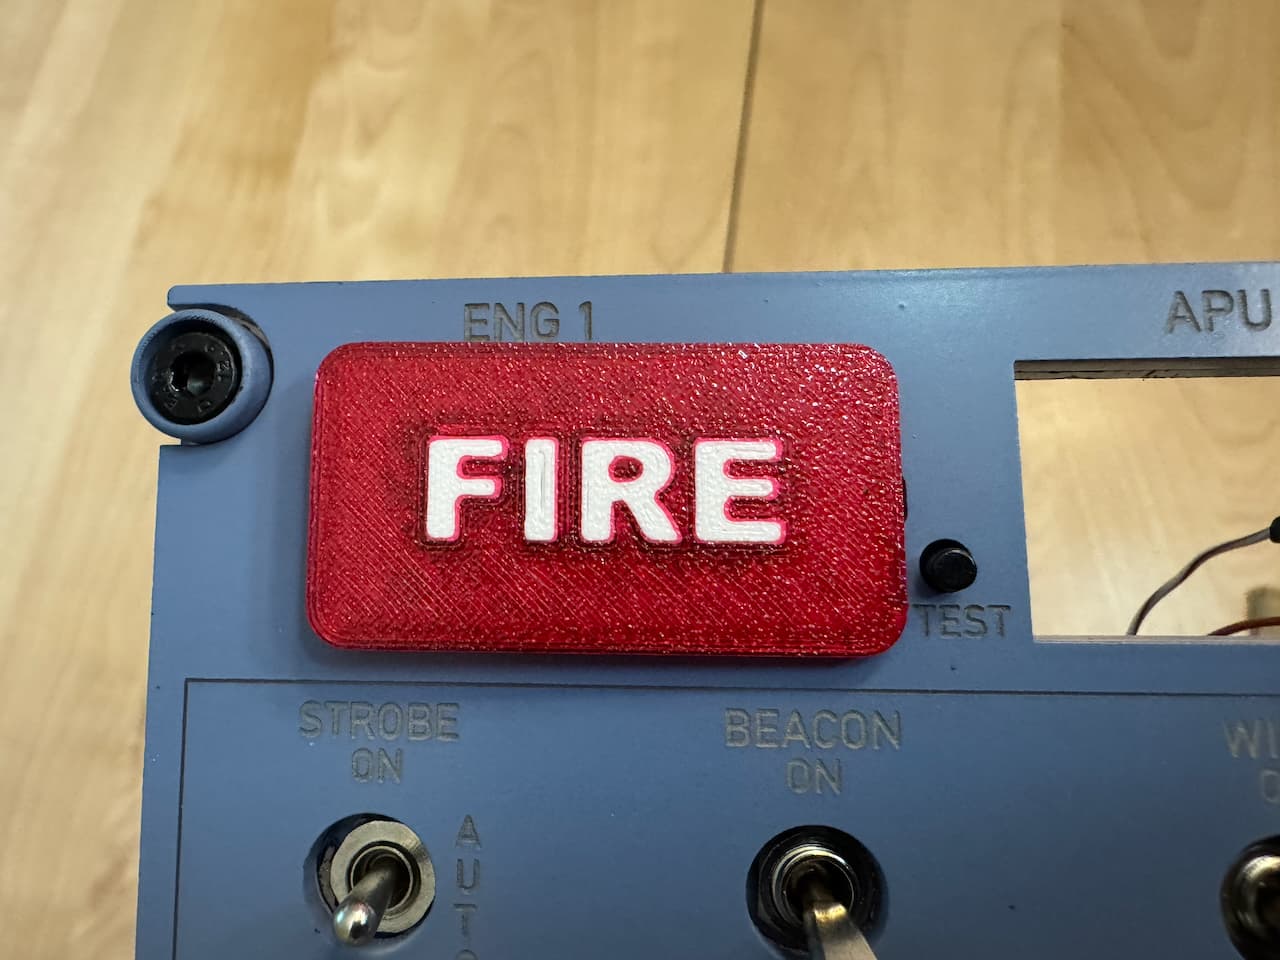
The buttons stick up just the perfect amount and have that nice clicky feel
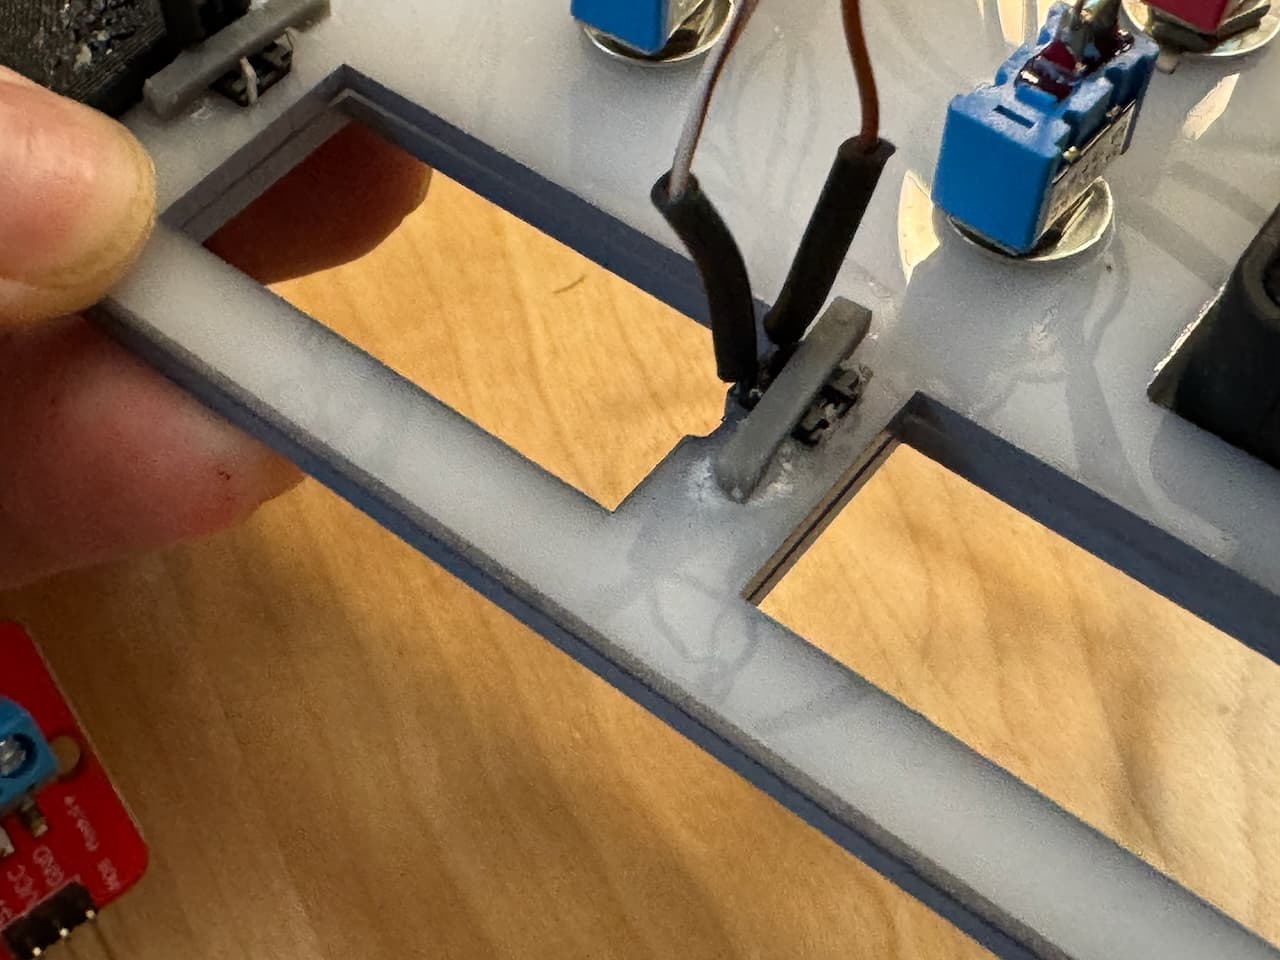
Since these are hidden and the important surface is crisp and clean I didn’t even bother to sand the support points (because nobody will ever see this). CA glue is suboptimal but this will never get any real force
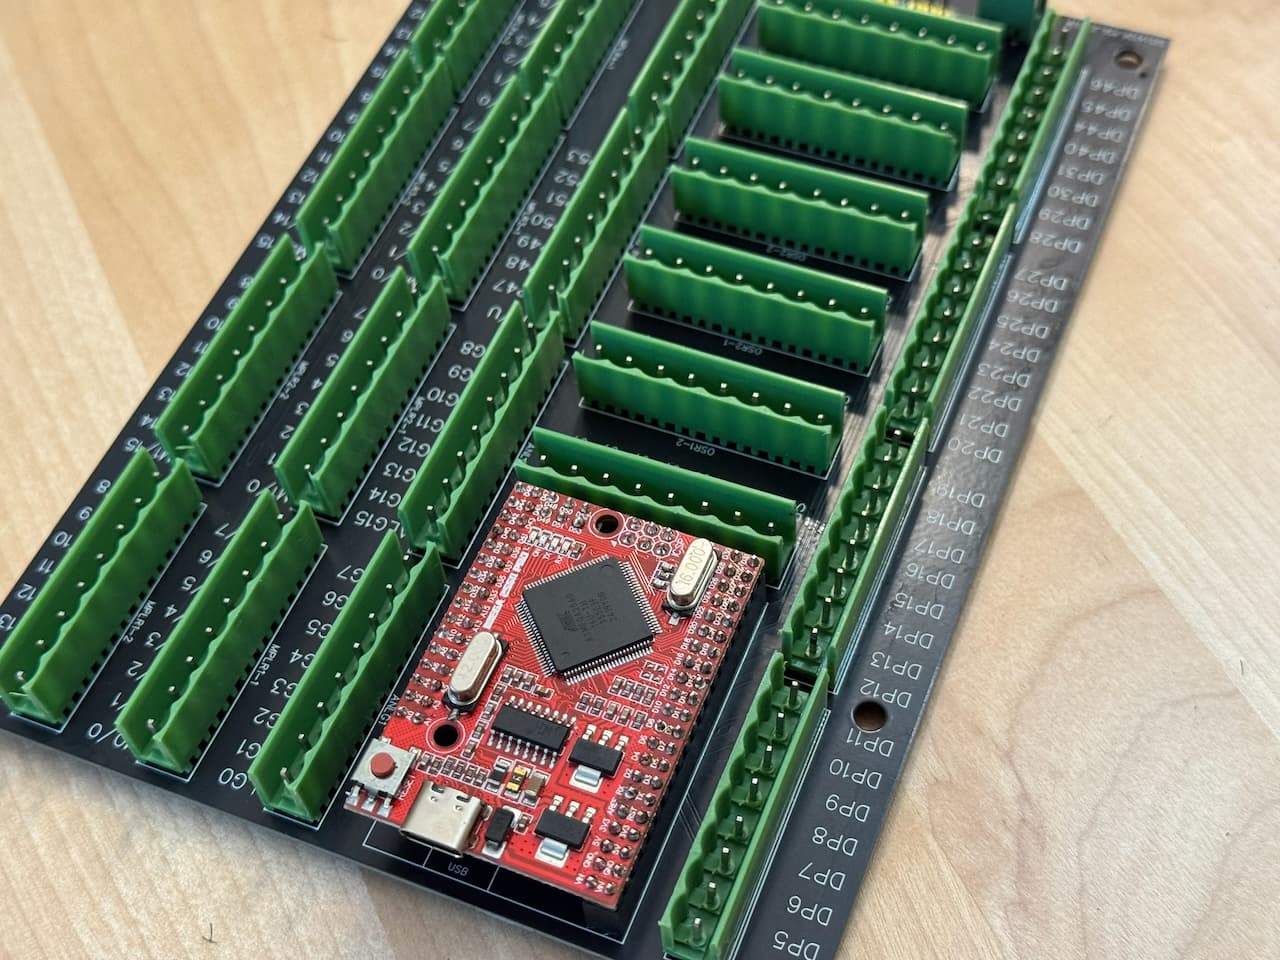
The other major progress today was soldering up the BOB (breakout board) which I used 737DIYSIM’s breakout board, and got the board soldered up so now I can punch down the wiring harnesses into the RJ-45 keystones and actually connect it to the sim! The arduino mega on there is some clone of the mega (which is fine for this purpose), the BOB is nice as it has all the power stuff on the front edge via jumpers (internal vs. external 5V, PWM or full strength for LEDs, 4 shift registers, and I love the whole screw terminals that plug in as a unit concept! As soon as my Prusa XL finishes the current 2 day job I will print the case for this thing (of course in Airbus Blue).
And just as I get all of this done, WinWing actually opened pre-orders for the new Airbus gear!!!

(I cannot wait for the panel with the gear lever, airbrakes, flaps and throttle). I already have all the panels to mount to ready to go for the pedastal… Their stuff is truly amazing (especially at that price!)