Greetings -
Following up on rickster post - BambuLab 3D Printer I just received a BambuLab X1 - Carbon and wanted to make something ‘unique’ in 3d so thought, how about a Magic Canvas creation? ![]() Let’s get to it -
Let’s get to it -
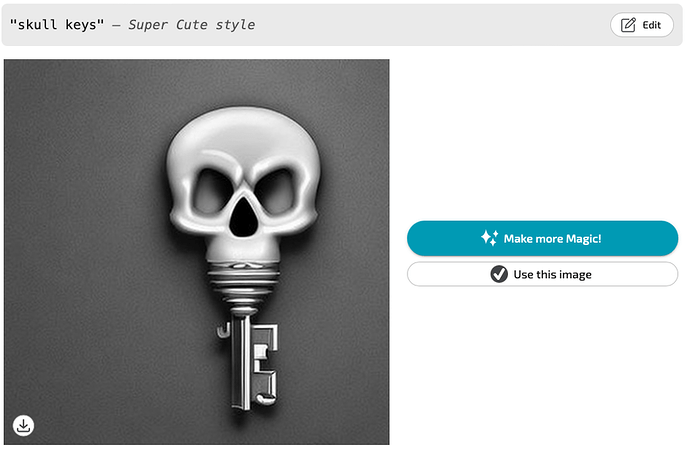
My child is into Keys recently, finding them in thrift stores and making stuff out of them. Works for me. I started Magic Canvas, entered - “Skull Keys” in a bunch of the styles, and Super Cute produced something I could work with.
I have become lazy and just use the Mac Preview tool to edit photos, well enough to match my making skills anyway for this kind of experiment. ![]() Right, let’s butcher this thing…
Right, let’s butcher this thing…

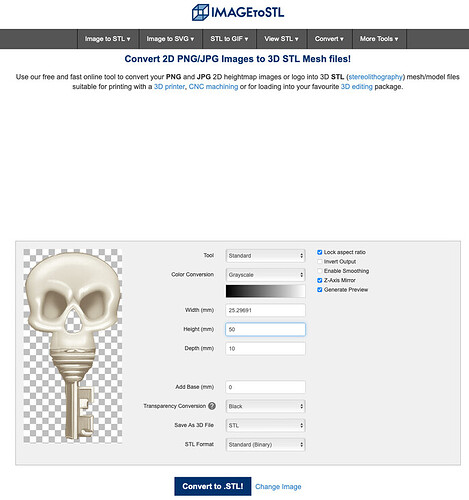
Not gonna lie, it looks terrible, as a photo, but make it in 3d, and now it’s cool. ![]() Sounds like for Steampunk - just glue some gears on it. But hey, this is just an experiment. As I know absolutely nothing about 3d modeling, other than you need an STL file, I used an online (free) website to convert the image -
Sounds like for Steampunk - just glue some gears on it. But hey, this is just an experiment. As I know absolutely nothing about 3d modeling, other than you need an STL file, I used an online (free) website to convert the image -
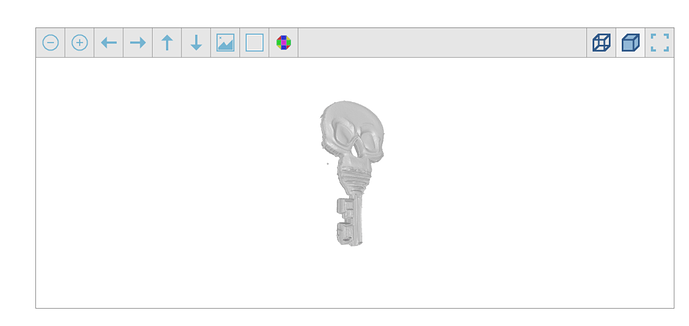
Convert to STL and Bling! Looks a little wonky and rough, but I also squashed it to only 50mm tall, so if it blows, it’s not a huge waste. And chose Z-Axis Mirror as well, as I want it two sided.
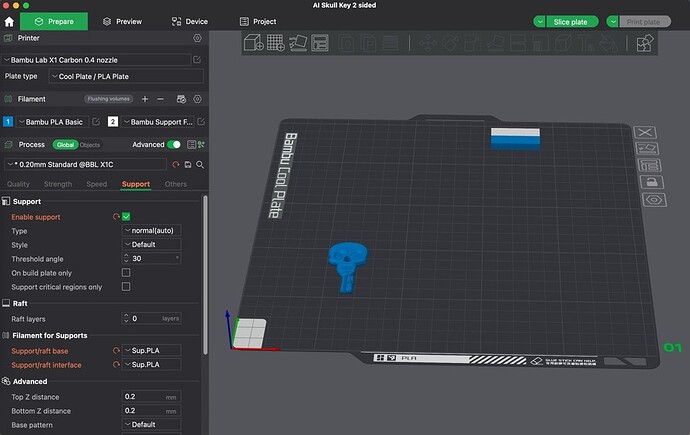
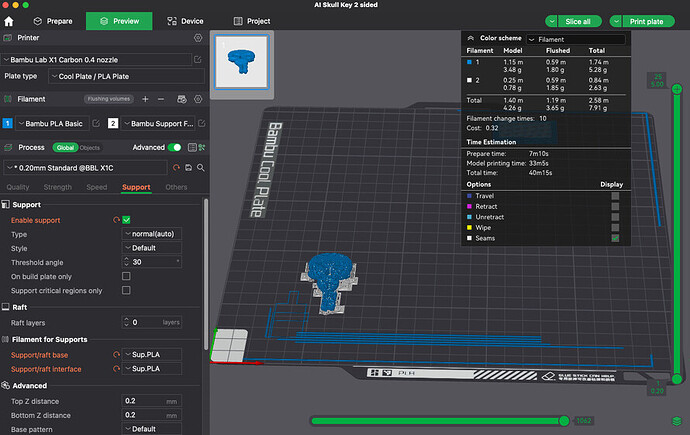
Dropped that STL into Bambu Studio, the software for the printer, and here we go. I did choose, enable support, cause I made something without support once, and it turned into a spaghetti mess. ![]() Seriously, I have no idea what most of the selections are about, I just watched a few YouTubes, left everything at whatever the default was, and go for it. So ya, I’m using the force…
Seriously, I have no idea what most of the selections are about, I just watched a few YouTubes, left everything at whatever the default was, and go for it. So ya, I’m using the force…
I hit Slice All, and it looks like this, to tell you how long to wait until it’s done. Looks like 40 minutes total. Ok, go for it.
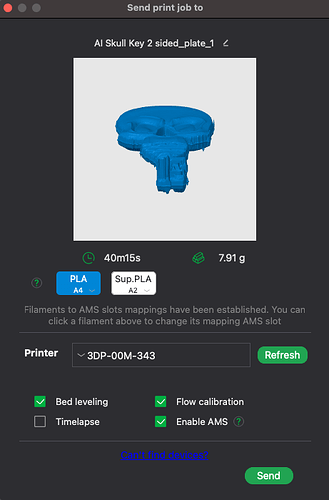
Next a short screen to show you what to expect, if it doesn’t turn into a disaster. And hit send -
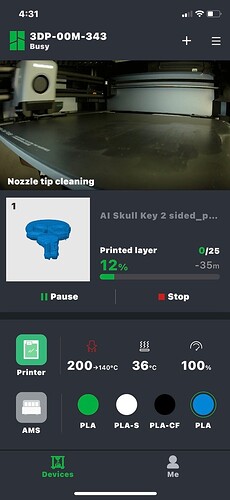
One other thing I like about this machine is that I installed it with the phone app, and allowed notifications from it. So if the machine has an error, or when it’s done, it will notify my phone. And I can open the app & look at a real time photo of the print bed, to see what’s going on and / or the error.
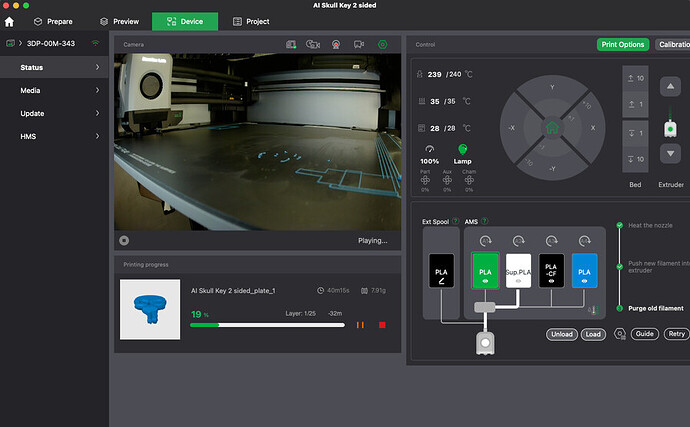
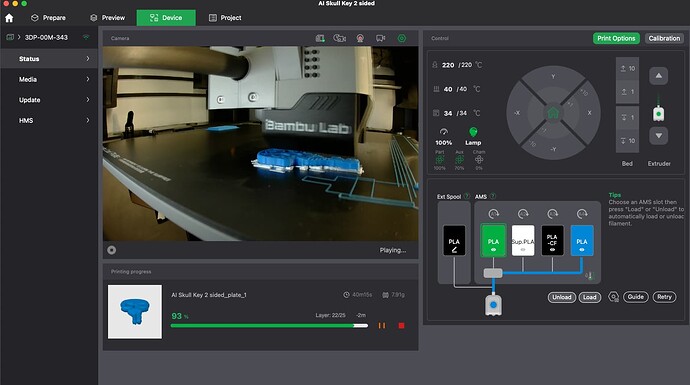
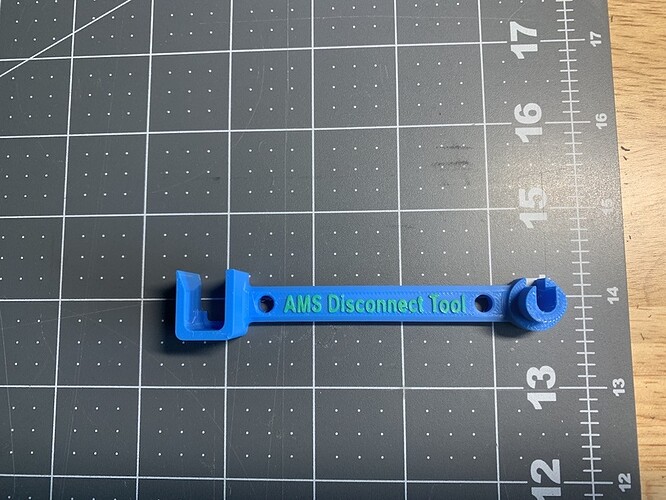
Other than one spaghetti mess, the only errors I’ve had are with the Support filament not retracting all the way, as it ‘backlashed’ in the AMS. I just respooled it and hit ‘retry’ on the printer screen, and it picked up where it left off and kept going. Pretty cool. And you can ‘check in’ on it in the BambuStudio Computer App if you want as well to check progress or whatever.
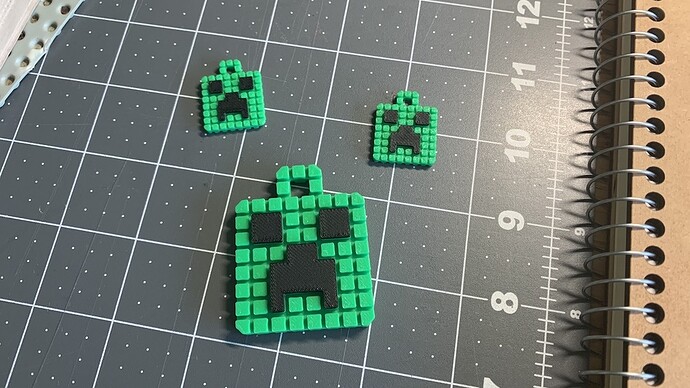
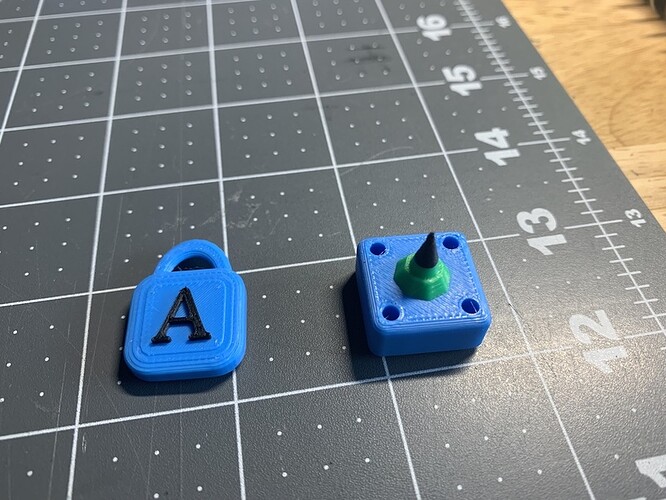
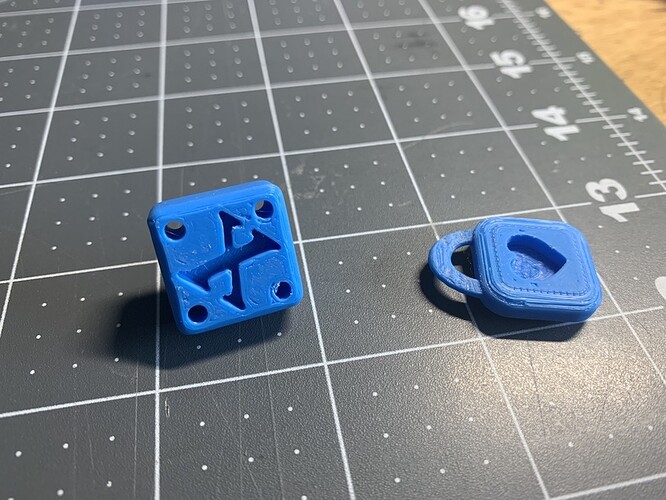
And of course it can do a Timelapse. Which is cool the first time or two. I did a Creeper necklace charm, cause it looked fun, I could test the standard green PLA and the Black PLA-CF to see how they stick together, and, I learned how to set certain height ranges with a different color. The preview showed doing the block texture without much support, so I wanted to see how that would turn out as well -
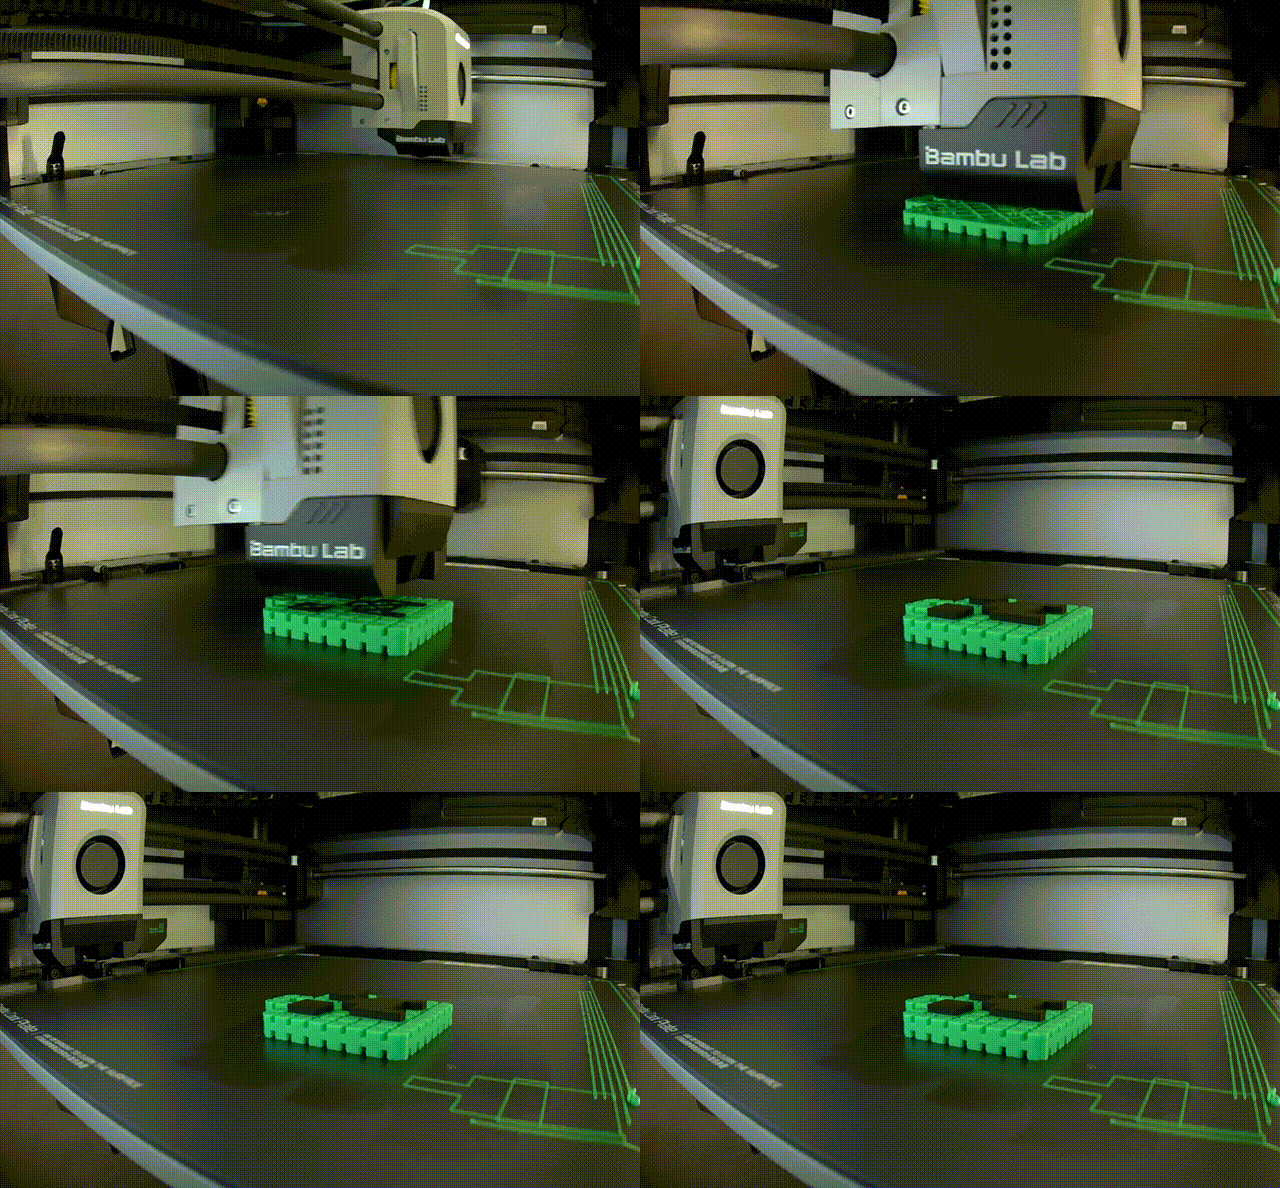
That was fun, and might as well make matching earrings -
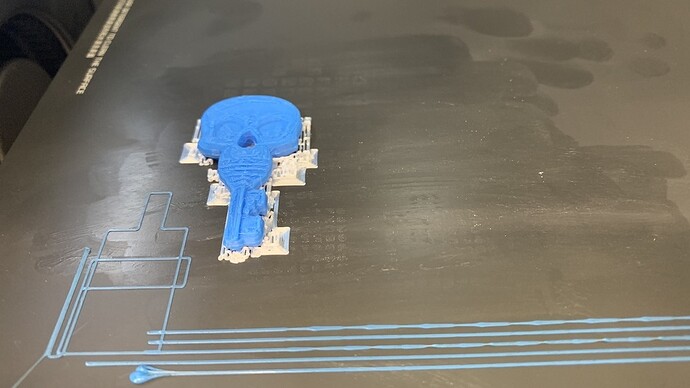
Oh right, back to the key. Yup, still printing, and hasn’t screwed up yet. ;-). The white material is the ‘support’. It’s pooped (extruded) out the same way, but kinda crunches away more easily from the main piece once it’s done. Looks promising so far -
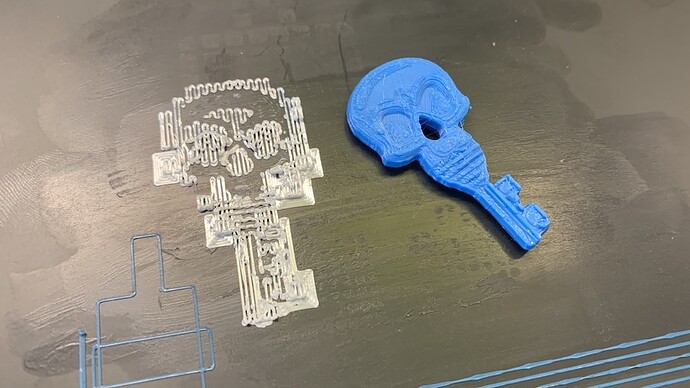
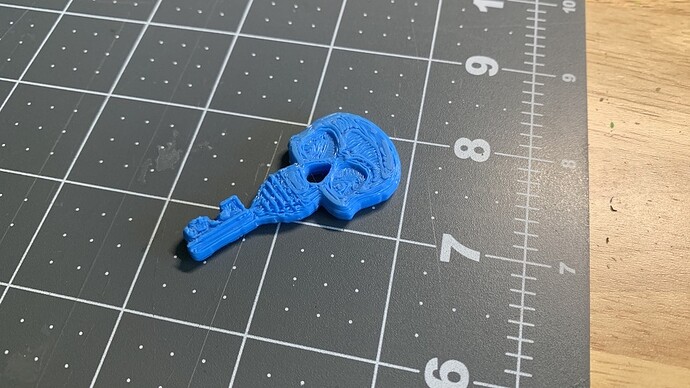
And 40 minutes later - Done
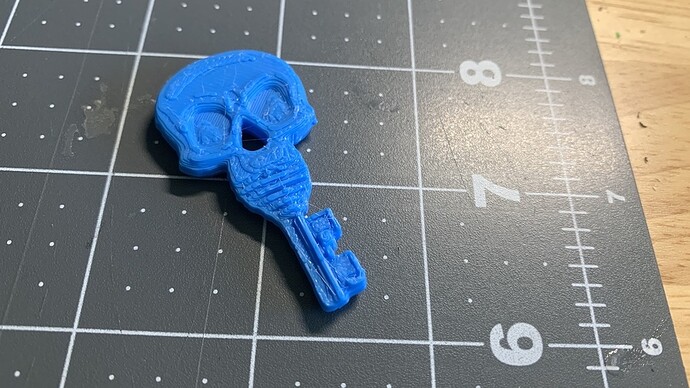
And it pops right off of the support stuff, pretty clean -
So there you go. The ‘backside’ is pretty rough, there’s probably some support and other settings I could use to dial it in better. And also, you can really see how the original resolution and ‘steps’ of color gradient vs, ‘layer depth’ translated into 3d. And of course my crap photochop job didn’t help either. ![]()
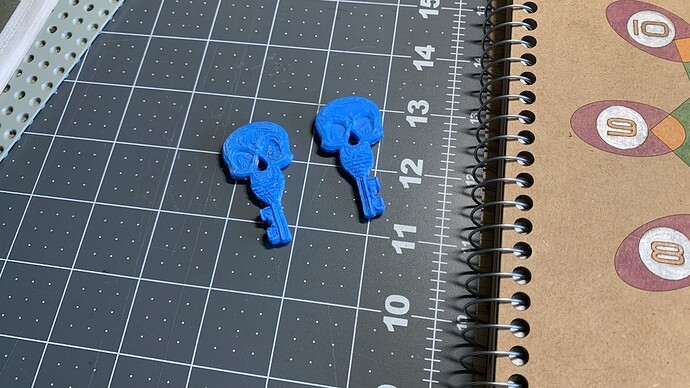
But after a little sanding to smooth out the edges -
And printed another because what good is just one, when you can have two at twice the $.32 in materials. ![]()
If printed in a dark material, ‘solid’ instead of a webbed interior, then sanded with a Dremel soft scratchy wheel or ball, they would probably clean up & paint decent enough for some use.
Anyway, hope you enjoyed the experiment and write-up.
HL
