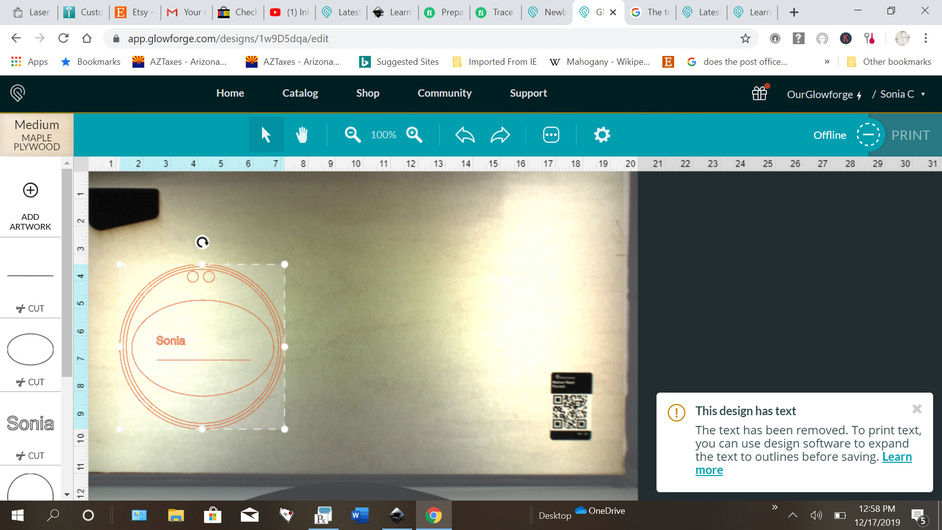
Hi!! I just received my Glowforge and have to admit I’m a bit intimidated as it is all new to me including Inkscape… so to start with, I decided to follow the glowforge tutorial “how to make a tag from scratch” and everything seems fine but by the time I hit “upload” the following message appears :
" This design has text. The text has been removed. To print text, you can use design software to expand the text to outlines before saving. ".
I think your text did not get converted. In Inkscape, select the text then click Path, object to path. Click on the text again and look at the bottom of the screen. If the object selected says text, it didn’t convert. If the item selected says something like “group of 9 objects” it converted.Also, your settings should be to engrave the text. You have selected cut. And finally, you have chosen to cut each circle and line. You are going to have several skinny circles and one oval with a line cut across it. I think you want score on some of the circles.
I know it is really frustrating when you are just getting started. There are lots of tutorials and Inkscape tips in the Tips and Tricks section of this forum. Here is a link to one such tutorial which will walk you through a design project. Don’t get discouraged. You will be making fun stuff very soon. Make a Name Pendant in Inkscape
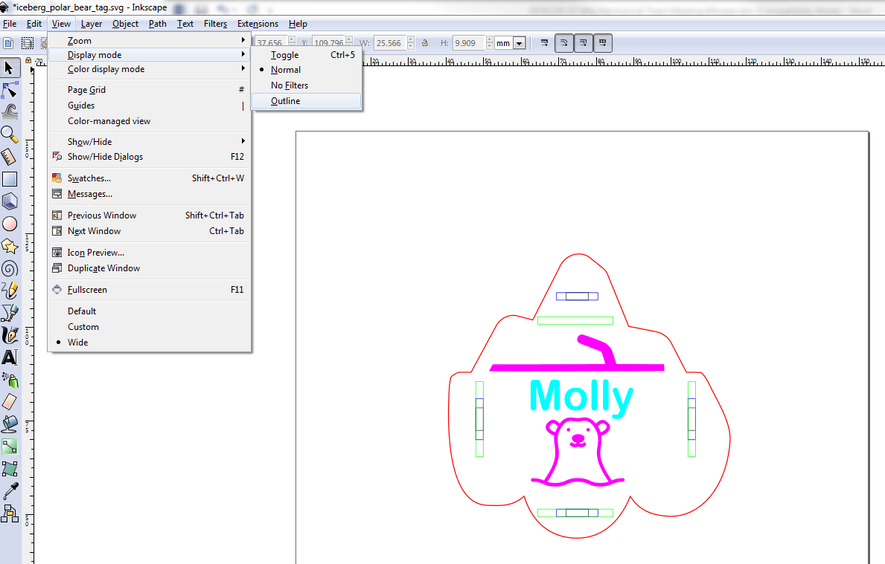
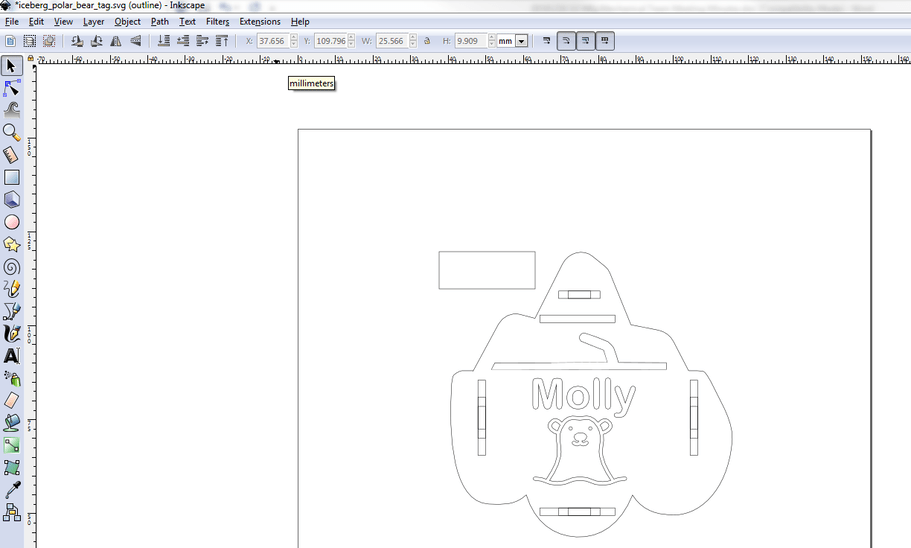
Thank you dklgood! Love the community already! Ok, I followed your suggestion and you are right, it shows “text”, but why? I know I am selecting Path, object to path, because it is even separating the text into boxes? See?
As for the cut/engrave, I didn’t get to that point yet , according to the tutorial, that was the next step to follow (changing to score or engrave) which is what I pretended to do before the magic warning showed up , lol.
Why I can’t get the text to be changed to “group of 9 objects” when I have clicked to object to path 100 times and uploaded the file another 100 ?
I think there must be some other text in your design - because the “Sonia” is showing up - it’s going to cut!
The text they remove doesn’t show up in the command bar, it’s just gone
Thank You deirdrebeth! I think I’m going to erase the whole design and start all over again because I don’t know how to check if there is any “other text” hiding, I hate that already, lol, seems like it is a common problem (hidden elements or text)… so frustrating
Finding stuff in programs like Inkscape, when you’re new to it, can be frustrating. No doubt about it. This is especially common in designs from other people - mainly because at this stage your designs are too simple to have much extra. Been there, painfully worked myself through it. I think you’re doing just great for being new to it all!
While having unknown or hidden design elements is a bad design practice in general, at this stage if you like what you see just go for it. You’ll improve with each new thing you try.
The instructions always are simplified versions of all the things that really happen. Take for instance the bottom info ribbon. It has lots of valuable cues in it for what you are doing, but for new users, it often gets ignored because attention is so fixed on the objects on the screen. You helped out a bunch simply by posting screen shots of the GFUI and Inkscape. It gives us all lots more cues to assist with. You’ll get these down in no time.
I have a few documents that I am sure I get rid of all the text or converted to paths. Still get that error. Even though everything works fine.
The frustration is understandable, and should be expected when learning new software. A price to be paid.
The learning curve is a lot shorter than it seems from your perspective, and I’d say you are over halfway through the fundamentals already.
I was in the same place initially, and it was this community that nursed me along. Throw your questions on the table here and answers will come.
Welcome, glad you joined us!
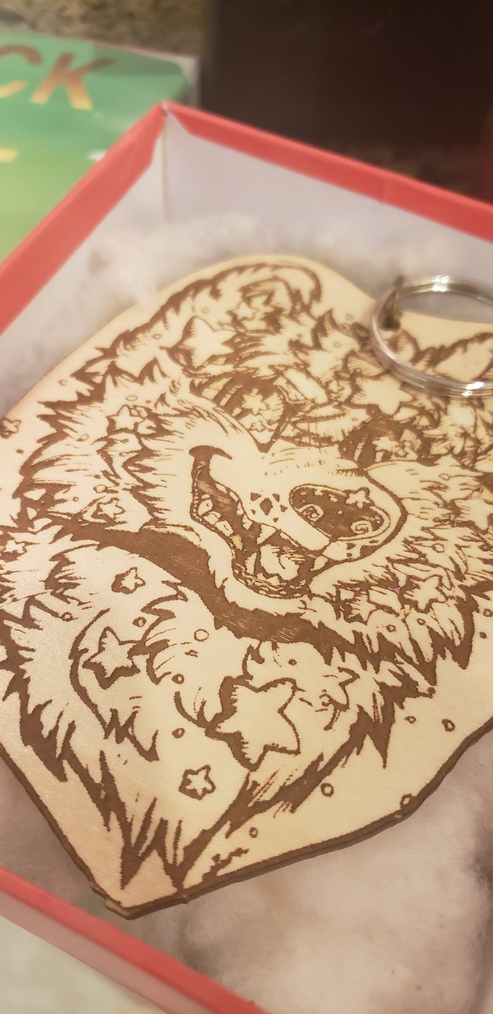
I figured it out already (hidden text like someone mentioned) and feel like I’m getting the “hang of it” ! I already printed a key chain for my niece back back! She loves drawing so it is her own art
Wow, thank you for the steps above!! That is so helpful!
Now here is one more last question , Last night I tried printing a pendant with a name on it, I loved it so I decided to make a second one with a different name on it (using Inkscape… ).
I had to start all over the project because it seems like once you do the “object to path” it shows it like one whole image instead of different elements on it (if I’m explaining myself well)… I doubt I can just change the name to a new one once that step is done and it is saved, but just wondering if there is a way to go around so one don’t have to start all over again…
Not that I’m aware of. Once you do Object to Path you no longer have text. The one nice thing is that in your font list the font you used is still at the top even after you have converted. I never remember the font I used so that has helped me more than once.
That doesn’t mean there are not hacks. Before you do Object to Path do a Copy and then a Paste in Place. Do the Object to Path on your copy. This preserves your text right below it. And as the glowforge throws the text out it won’t mess with your project. Be warned: some day glowforge may accept text and your file will be borked.
To be clear when you say:
You mean you deleted the first name and then created new text for the new name. You didn’t start over from scratch did you?