(tl;dr: I made a thing. There are pictures.)
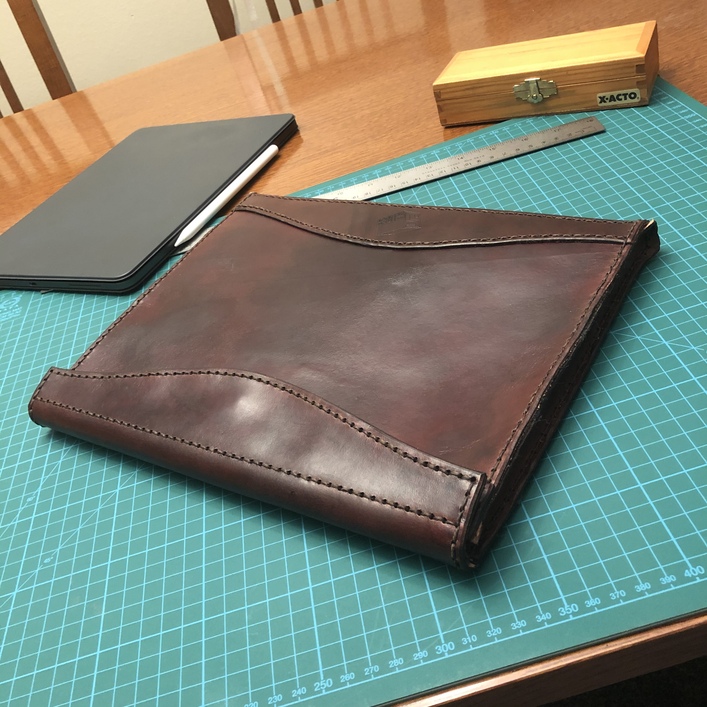
After making a couple of simple wallets based on templates found online, I decided I liked the process enough to both go bigger and to design something for myself. I wanted to do something practical, and I’d been looking for a case/cover for my iPad Pro to protect it when it’s not safely inside my backpack. Why not try that?
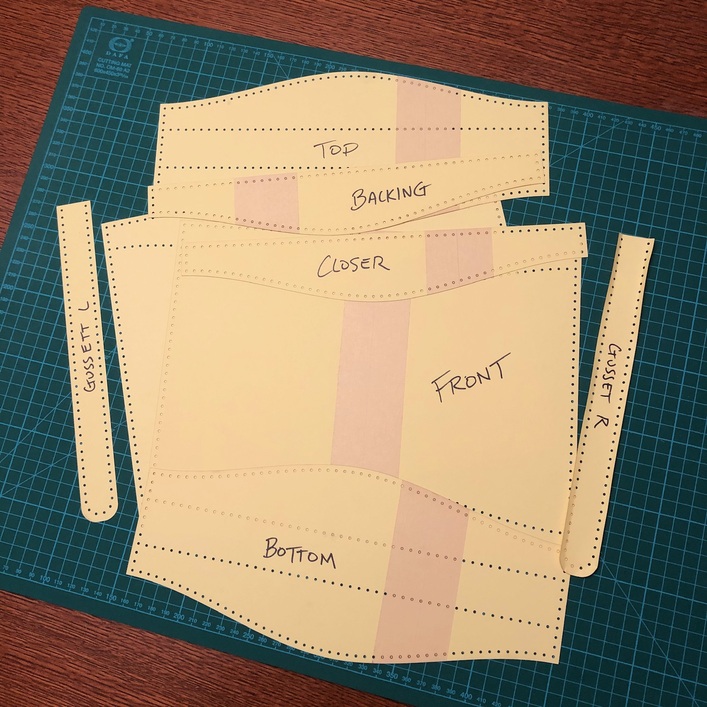
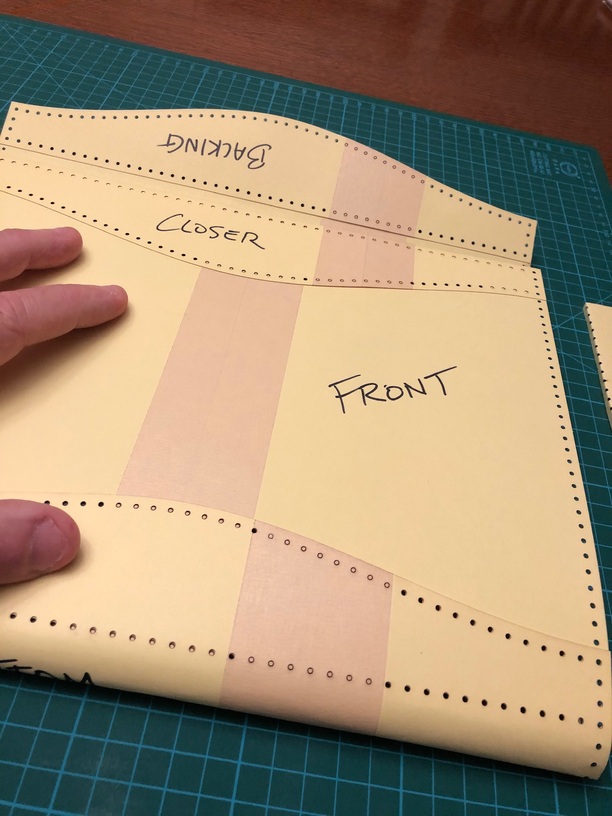
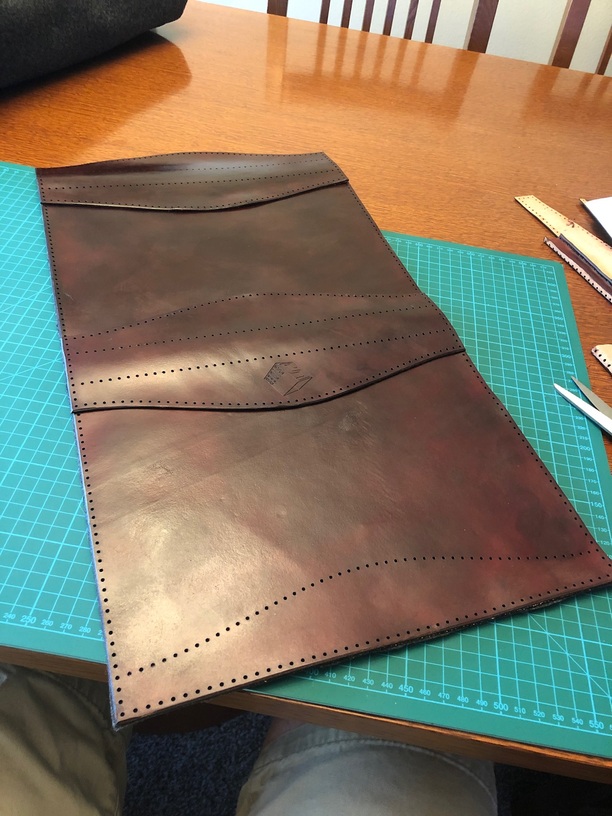
OK, fine. Relying on some good tips I’d found on designing leather templates in Illustrator, I worked from measurements of the iPad/keyboard cover/Pencil and iterated my way through a design. I wanted full coverage with a flap closure and a soft lining.
To test the fit of everything and the alignment of all of the holes (especially on those pesky gussets), I cut a full-size mock-up in cardstock and made an assembly. I didn’t want to waste a single inch of leather if I could help it, and it seemed to work out.

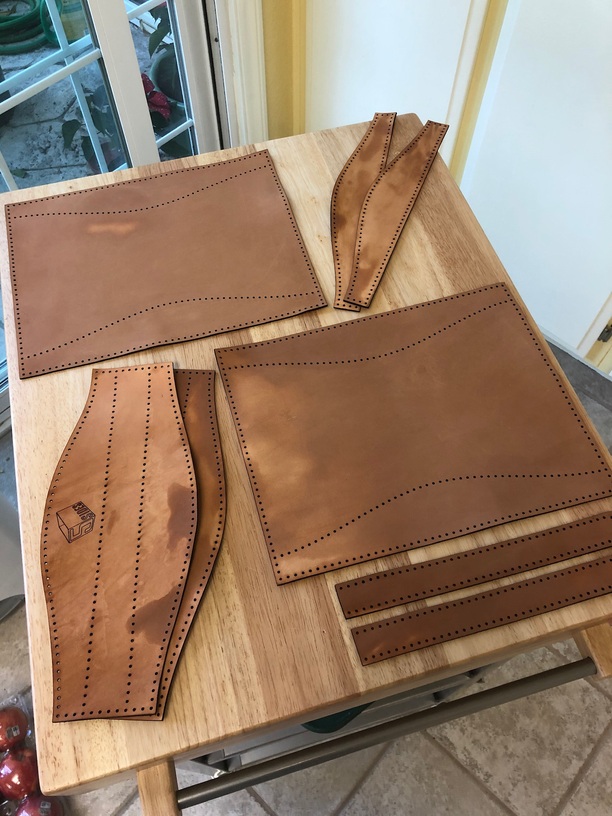
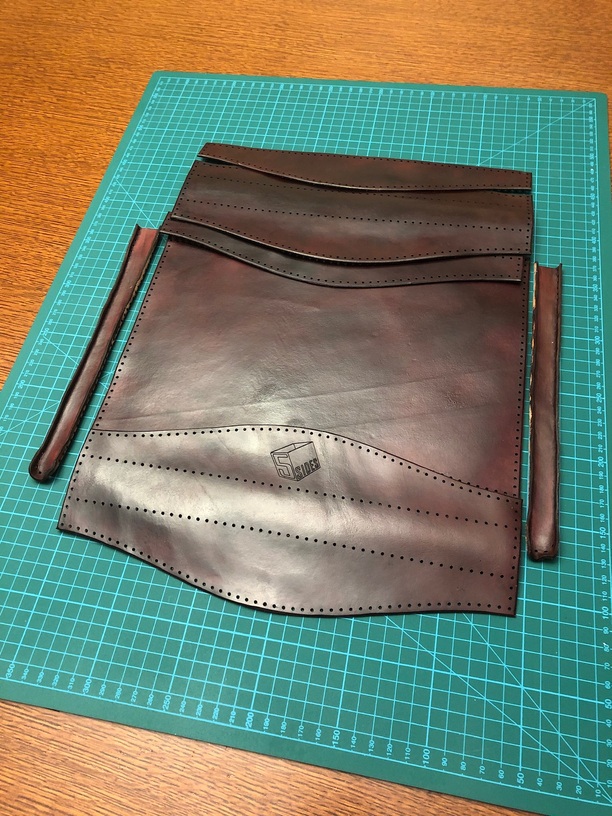
I took advantage of a great in-store sale at Tandy and picked up a double shoulder of 4-6 oz veg tan. I cut rough pieces to size, fed them to the ‘Forge, and ended up with parts. I washed them up with saddle soap and water and left them to dry overnight.
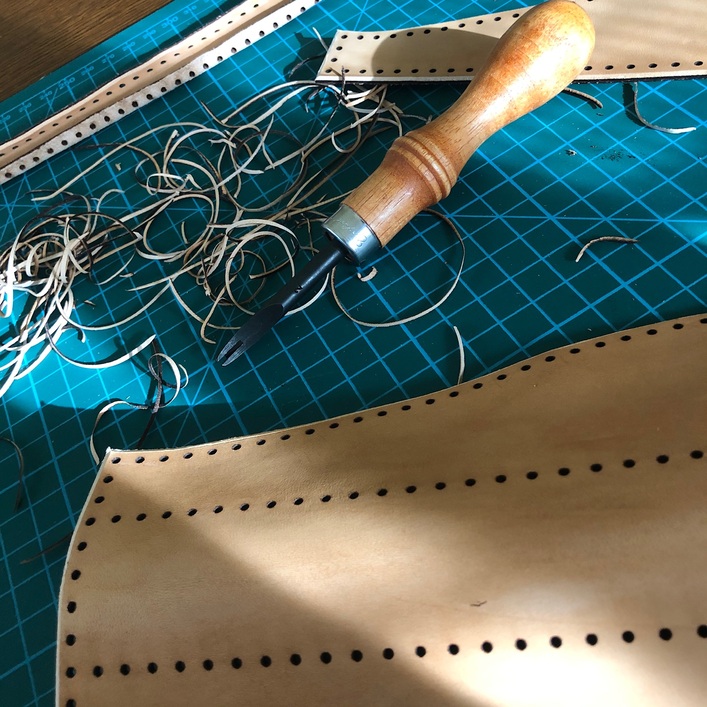
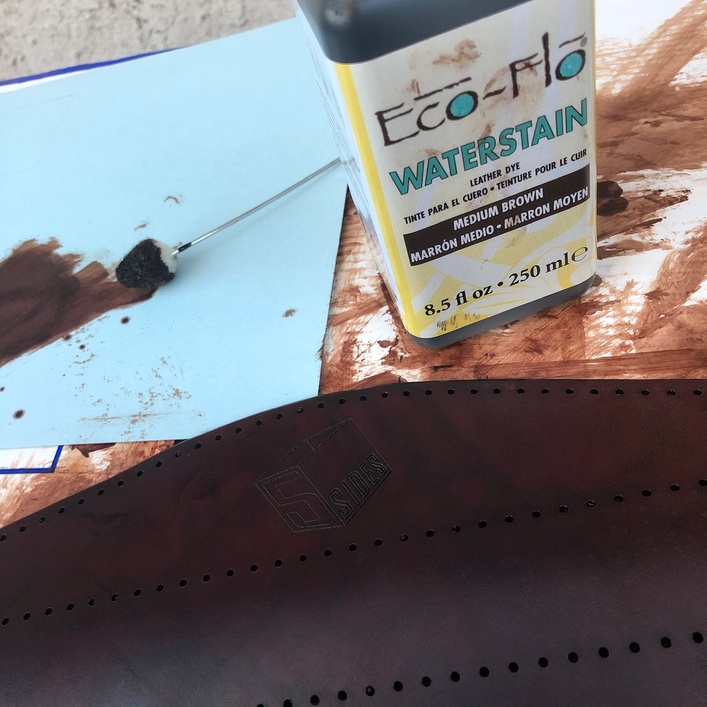
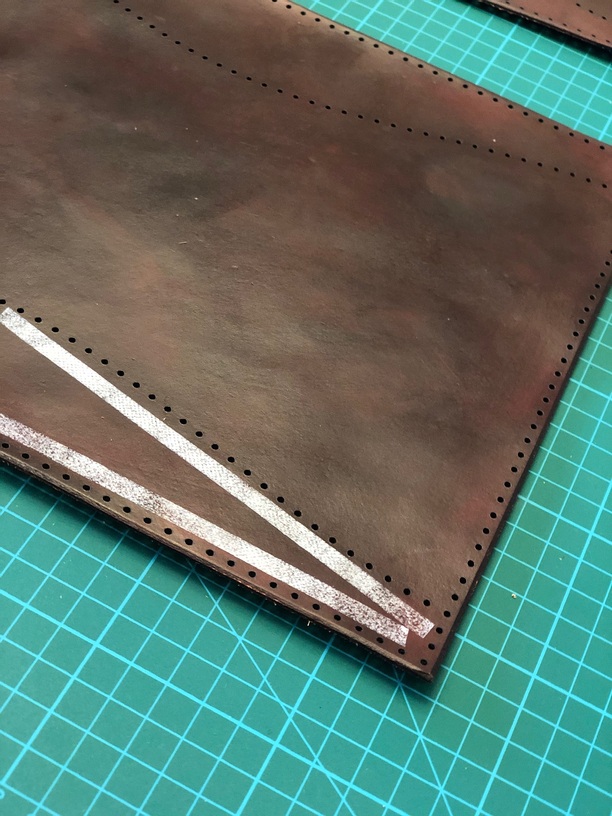
Next day, I beveled my edges and stained everything (including my fingers - I hate gloves) a nice brown. The finish came out pretty uneven, but I decided to call it “rustic” and move on.
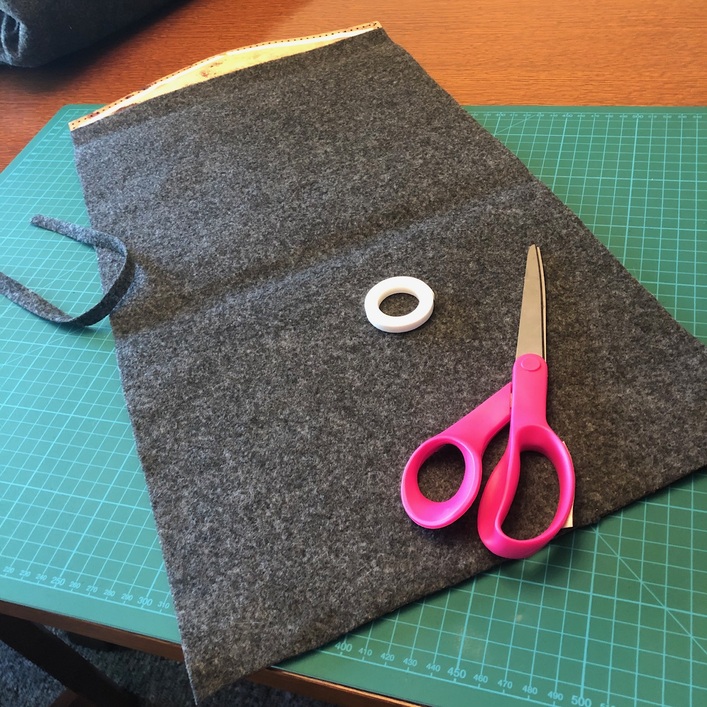
Bought a couple of yards of nice felt at Joanns, cut it to size, and tacked everything together with double-sided quilter’s tape.
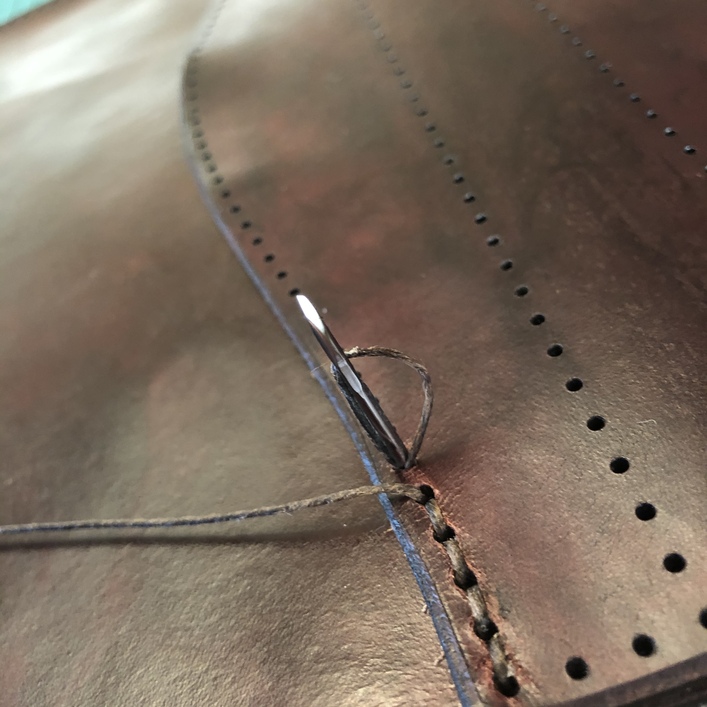
Stitching (especially on those pesky gussets) was arduous with a capital “R” but I managed it.
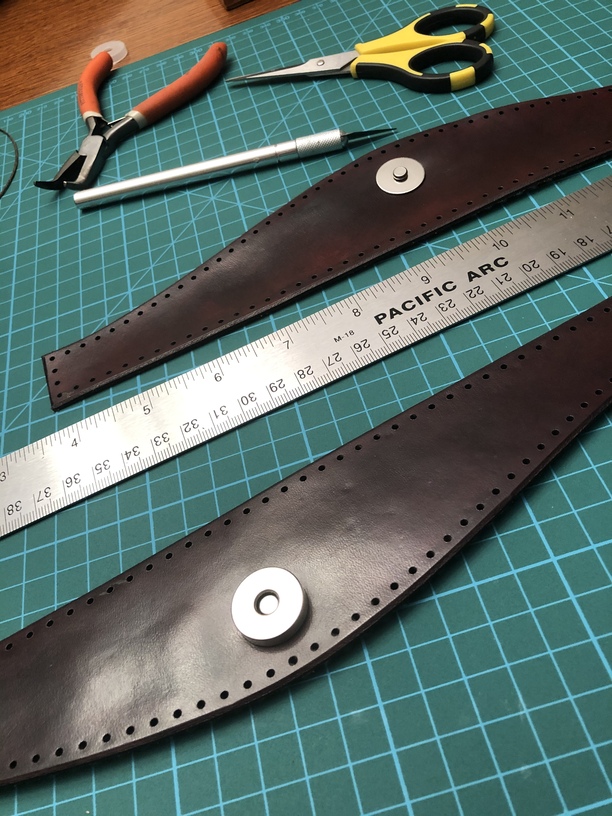
The one big thing I would change is the method of closure. I picked a big, bulky magnetic closer and I haaaaaate it.
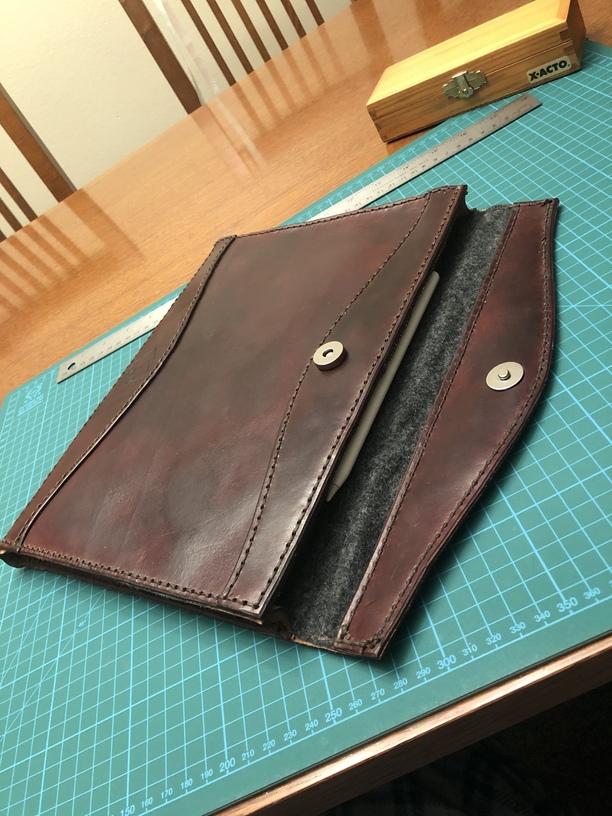
The iPad and accessories fit snugly, but move in and out easily enough. Everything feels protected. Imperfect as it is, I’m starting to like the finish. I still have a bunch of edge treatment and finish touch-ups to do, but I’m proud of the effort.
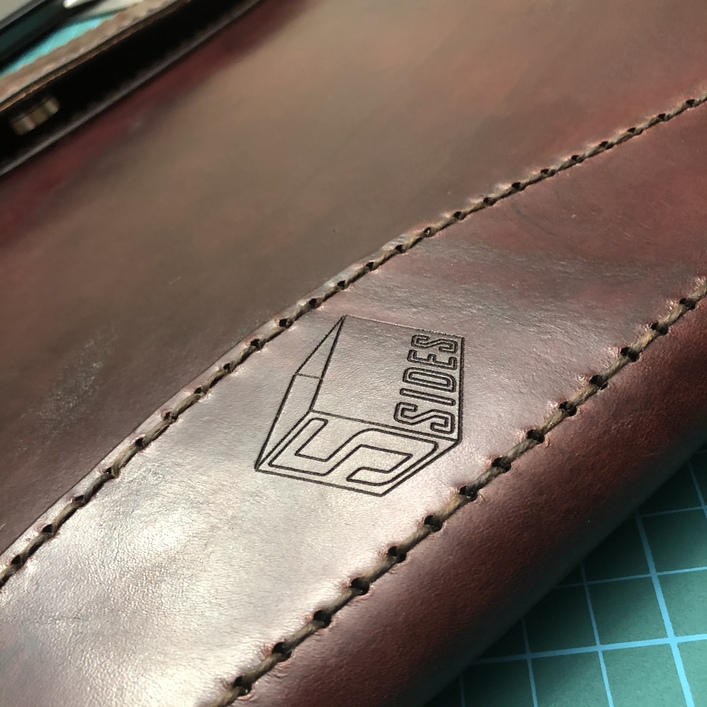
I branded it with the logo of my little consulting operation.

 I made a belt and deliberately did nothing to the leather and it has indeed aged to a very similar color pattern, irregular is fine, only streaks are a problem. The only way I could imagine an improvement is 1/8" Baltic Birch between the layers. I had a tablet destroyed when I fell on it and the case was not enough to protect the glass. It was sold as a refurb, but apparently they built a batch of them as stereoisomers so no parts would fit.