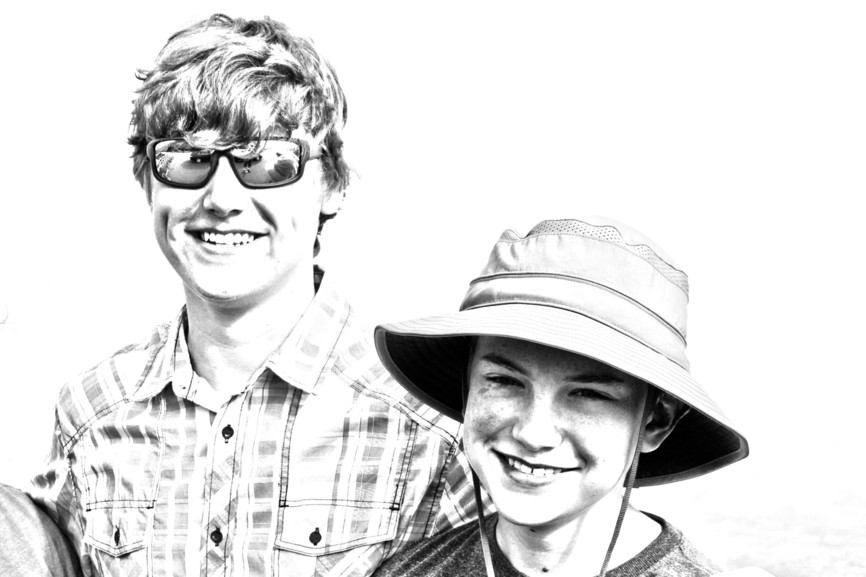
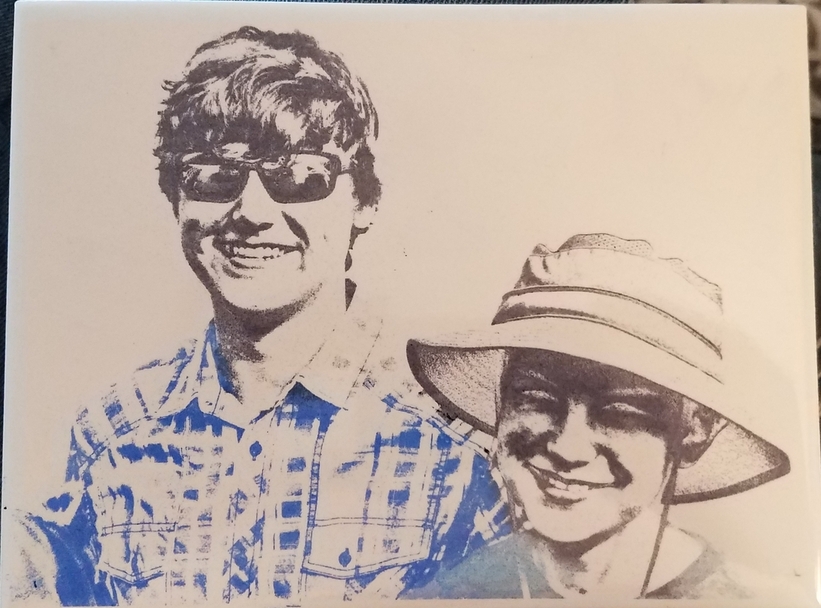
Yesterday morning I was trying a photo engrave on tile. Most of the image came out as I expected it to with the exception of the face/hat of the person on the right. I expected the underside of his hat to be dark and in shadow, like the source image. However, it looks like on that part of the image it did a negative of what was intended and made the hat shadows bright and his face dark.
I’m not sure whether the cause of this was in my source image or if something went wrong with the GF during the print. Any ideas?
could be something with the fill rule?
I have had some flaky outputs and tossed the node function ‘reverse subpaths’ magic on it for better results. (using Corel - may be called something else in your software)
No way (that I am aware of) to know you need to do that until it bogs down on a design though.
Was that a jpeg image or did you scan it in using the lid camera? (It’s been known to do that on large black areas - it catches a reflection sometimes from those bright LEDs.)
First time I’ve had anything go wrong like this that I could’t explicitly blame myself for. Was generally happy with how the rest came out ( a bit too light on the kids clothes but I can fix that).
I guess I’ll have to try a few things with that area of the photo and see if I can get it to work the way I want. Lighten up just the shadows under the hat by maybe 50% and see how that goes. At least it’s just on a freebie tile!
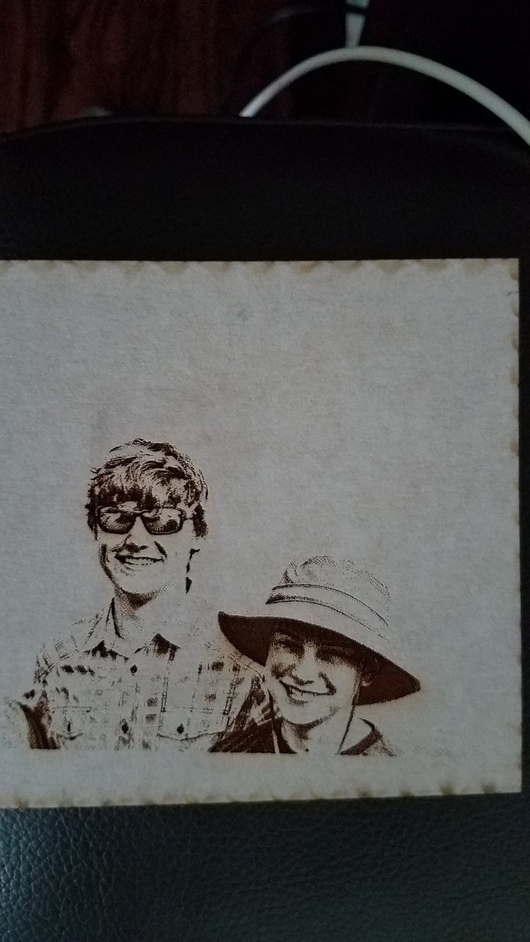
jaz, I re-ran the image on draftboard, just using the default draftboard settings. I resized it down but that’s all. The image burned as I would have expected. I reran it again and used manual settings mimicking what I had done on the tile and it too burned the way I had expected. I’ll give a try to doing it on another tile tomorrow if I get a chance but I’m going to just blame stray neutrinos for this one…
I extracted the logs to investigate and compared the settings used in the original print and the last print you tried. I noticed the power was set to 1 in the first print. The power was set to 100 on the last print, so that should prevent the issue from reoccurring in the future!
I’m going to close this topic. If you have any other questions, please post a new one.