I don’t believe that was out on the market yet, but I could be wrong.
The spray would still have been the better for us, since we had to cover some big areas.
I can see creating a cardstock stencil to avoid overspray could help, if you really don’t want to spray around other parts of the piece.
The tape is listed on Cermark’s site in various widths, from 1/2" - 4" wide.
Given the cost, the tape gives control over how much is used (and a repeatable cost per piece); spraying an entire part and washing away the un-used 98% seems like a waste…
I bought some tape a few weeks ago. I’ve only used it once but it worked just fine. I had to use full power with a fairly low speed to blast through the thick tape and fully bond the Cermark to the surface.
The 2" tape on Johnson Plastics costs 200$ for 1200+ square inches of coverage, compared to the LMM6000 cost of 76$ for 1100+ square inches of coverage.
The Cermark tape also mentions “using a 45+ watts Co2 laser”.
Something to test out on the Glowforge and see which one requires less power to mark the material correctly.
@tim1724 , do you happen to remember what speed/power you used?
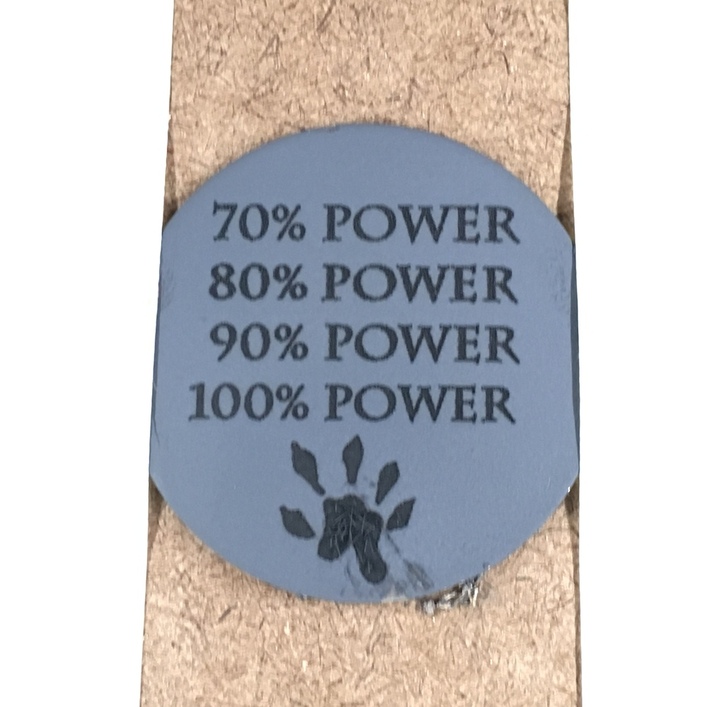
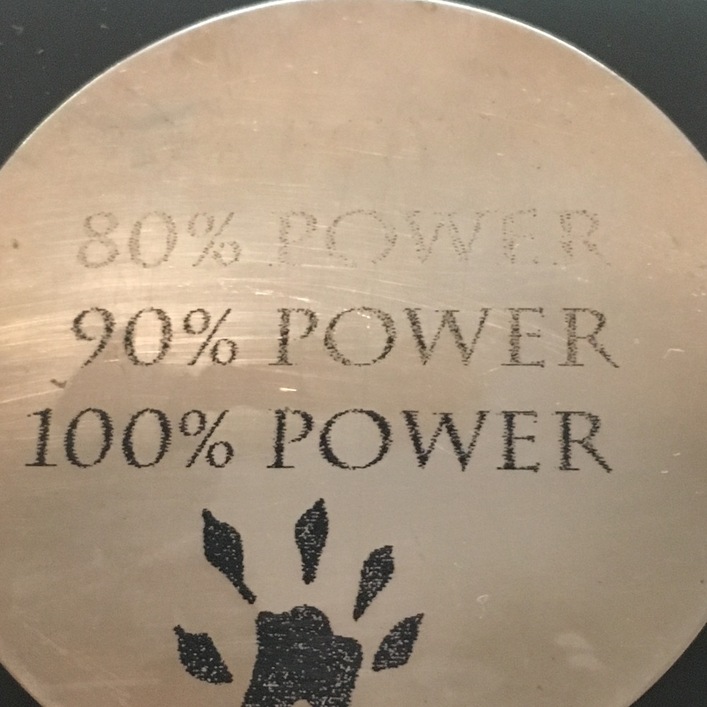
Here you go. I did a quick run for you. This is two thin spray coats of Cermark on a nickel silver (“german silver”) disk… speed was set at 1000 and 225 lpi. the 70 & 80% settings left a ghosted image. I have not fully explored the various combinations of settings / spray thicknesses yet - but it holds with a vigorous buffing.
I just used text in photoshop qnd saved as a .PNG file so between that , scaling, and the pspeed / LPI settings it is likely poor resolution artifact. The paw print had better edges, but it too is a .PNG not a vector file. I was more curious to see if the markings held. I have used the cermark on some ceramic tiles as well.
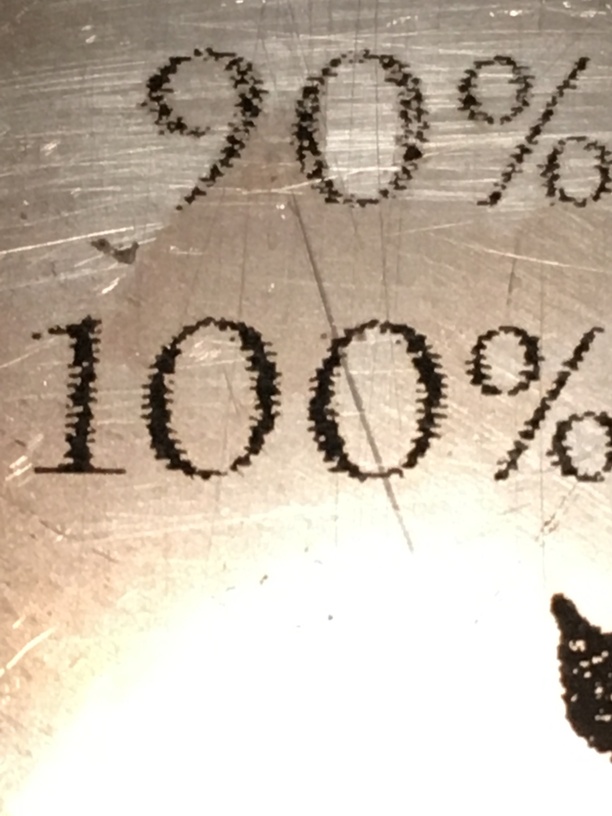
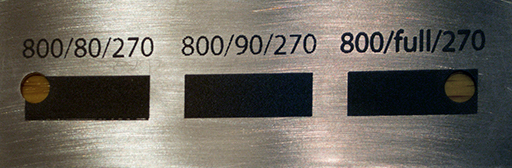
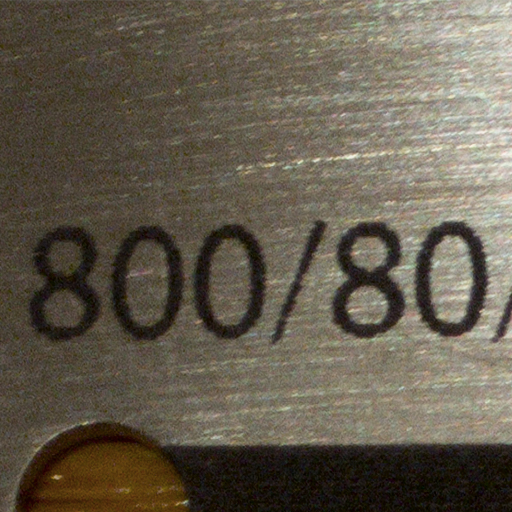
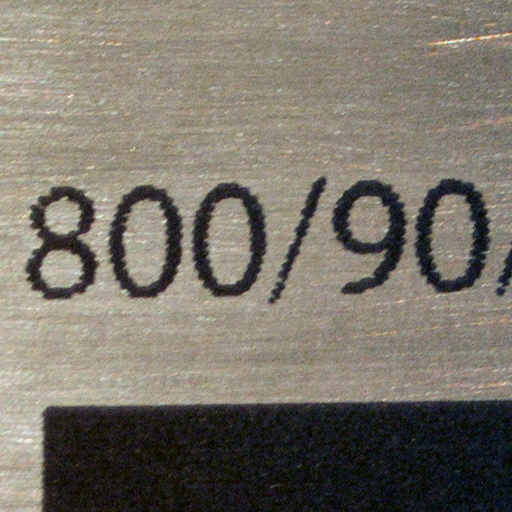
I’ve been doing some work using Cermark on stainless steel lately. I’m using the LMM-6000 spray on 22-gauge (0.03") material. Since it came from the local big box store and is non-magnetic, I’m guessing it’s probably 18/8 (type 304) material, but the package doesn’t say. I started by doing some test engraves with different power, speed, and lpi settings and pretty quickly settled on 800/90/270. Here’s a test piece, and three closeups. As others have found, Cermark is pretty forgiving but does “bloom” at higher settings.
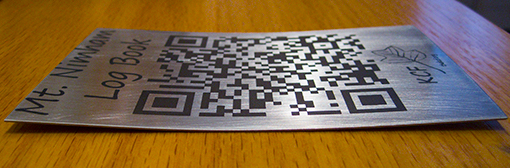
I did encounter one surprising thing that’s worth passing on: When I made a 3.5" x 5" sign, the material warped during processing! The first time I tried the full piece, I just placed the coated material on the bed trusting that gravity would be enough to keep the flat piece of metal in place. But, that’s not what happened. As the engrave proceeded from the bottom to the top, the top and bottom ends of the metal lifted from the bed enough to let the air assist get under it, causing the whole piece to rotate. So, on the next try, I used magnets around the edge of the material to ensure it wouldn’t move around on the bed. That worked, but the piece did warp as the engrave proceeded. You can see the result below. The two ends are bowed up by about 1/8 of an inch, just enough to make the top 1/16 of an inch of the design fall off the edge. (The bottom of the engrave is fine since it was engraved first when there was no bow.) Sigh.
If I do more of this sort of work, I think I’ll build some sort of jig to hold the material flat against the bed and provide more whitespace around the design.
There are some sizable black areas in your art - the laser is putting alot of energy in those areas. Consider reducing the size of the QR code to prevent it from heating up so much.
Seems to me that Cermark is ripe for disruption. They charge a massive premium for being basically the only game in town.
I wonder if they hold a patent on the chemicals or concept, but surely the concept of “a way to mark surfaces with a laser” would be totally prior art-ed by laser printers? Maybe the market’s too small to justify trying to disrupt it… it just seems too expensive.