Like if I’m at a Makerfaire (like I was on Saturday) I don’t have enough time to breath with the lines of people I had… KInd of like the sensitivity but can work against you too.
I had a little on this image but not anything major in difference. I retraced the image with a fresh sharpie and the same thing happened. Beside, the bed camera isn’t that sensitive I wouldn’t think. Now if it was the future fine line head camera (BTW is that working yet?) I could see it being picky.
Basically with the tactics mentioned thus far in this thread - being mindful of light sources in the room, adjusting contrast in UI, and also just by being aware of this factor when I choose my images. If I’m tracing (which I don’t do all that often) I try to ensure that the image has consistent saturation.
If it doesn’t have consistent saturation, the image is probably a better candidate for processing via software than via trace. <~ And I do realize that this last comment is not terribly helpful in the context of demonstrating at an exhibit, where you need to be able to print on the fly and don’t have time to fiddle around with software. Perhaps in that scenario, just encourage people to do simple line work without a whole lot of shaded fills?
I used the blocking method a few times during the exhibit because of finer lines washing out with ambient lighting. I am suspecting it’s a software issue and not a camera one on the fills. The contrast feature didn’t work on these images. Thanks for your insight guys and gals!
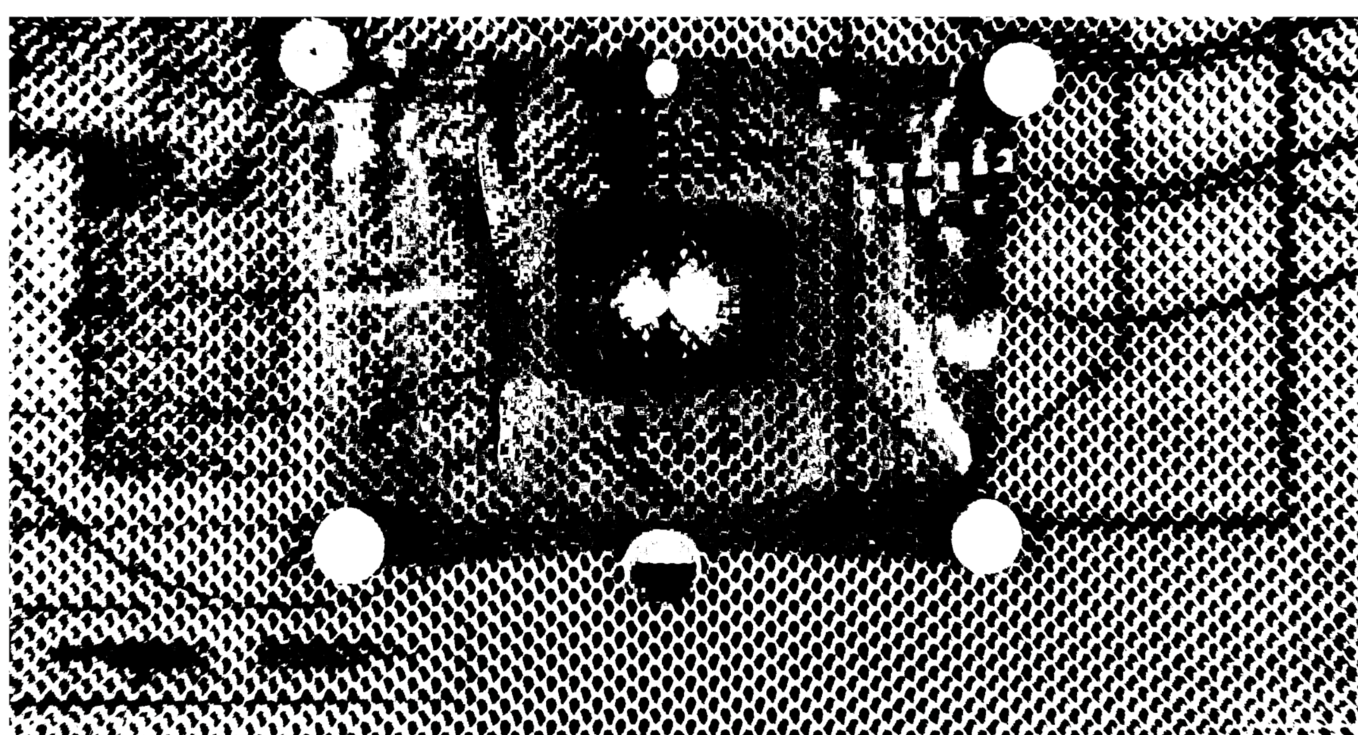
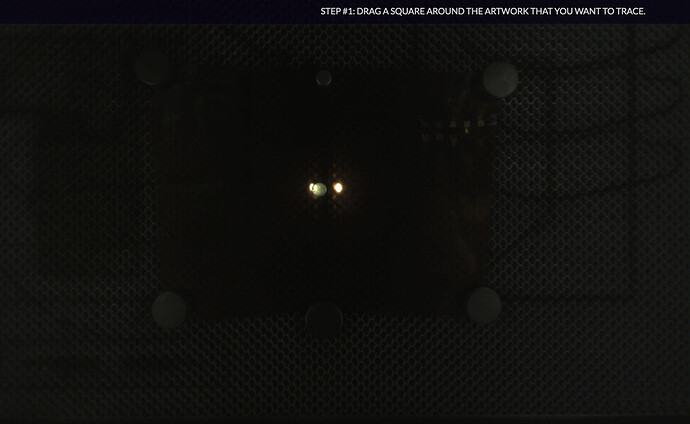
Just as an example of how “sensitive” it is, here’s a couple of empty bed images through the trace function. Most of your phone cameras now are going to probably be a fixed f/1.8 aperture. But, even if a cheaper camera, probably no slower than f/2.8. That, with a fairly slow shutter speed (if that’s the case), and it picks up quite a bit more light than what you might think.
Empty bed preview before trace:
Empty bed, what the trace is picking up (no contrast changes):

WOw, you’re right, it’s pretty neato
I wonder if laying a polarizing film over top of the drawing would improve the scan. Or perhaps in front of the case’s LEDs themselves. Too bad we can’t readily stick lens attachments to the Glowforge. 
https://www.amazon.com/Polarizing-Film-Sheet-Gadget-Electronics/dp/B004X3XFHU/
I have had a degree of success putting a piece of masking tape over the two lights in the lid that flank the camera to dim them.
That’s not the advertised use case though. Hand drawn images (especially off the cuff or amateur artists) are definitely not going to have consistent saturation. The “throw it in the bed and have the GF trace it” use case is a non-pro feature. The use of a scanner to import and clean up is more of a dedicated or “professional” user solution.
@jonny_firebrand. I had this problem too. Dan’s tip to me is in the last paragraph of this quote from my June 11th post:
https://community.glowforge.com/t/wjls-production-machine-projects/8550/54?u=bill_laba.
Try ctrl-shift-arrow to control fill in of shapes. It worked back in June, hopefully will still do so. I don’t have time to try it right now.
For the batman scan, did you try changing the contrast? I think you hold ctrl and hit up or down to change the contrast of the image after you scan it.
Thanks @joe. I thought I remembered that there was a way to adjust contrast. Looked at all the commands on screen and couldn’t find it. The control-arrow shortcut does change the contrast, but unfortunately the contrast difference was way too much on this scan. If I adjusted enough to start to fill the interior void, the rest of the graphic started to fill also. I have written this down for future use. It already could have come handy for the Batman linocut in this post. We adjusted contrast outside of the  's interface to compensate for it being a black and beige image. As you’ll see in one of the posts above, Geordi did come up with an alternative fix and the Batman/Joker coaster is complete. The Romulan/Enterprise coaster is about 6 minutes from completion.
There’s another even secret-er shortcut - I believe it’s ctrl-shift-arrow. It’s in the manual. It controls the amount of “fill in” of shapes. It’s hard to explain but very useful to experiment with.
THanks for the reference to this solution!
Thanks for posting this. I’m so sorry you ran into trouble there. Using both of the shortcut commands that @Tom_A and @bill_laba suggested in tandem should help you resolve the “gutting.” If you don’t see improvement, let us know and we’ll investigate!
Hope it works for you. Now I’m curious and will check to verify the commands still work after a couple of updates. The @jaz response seems to indicate that it will. Trust. . . . but verify!
I tried them, and they seem to. Although I’m not quite sure they do what I think they do. And on the mac it’s command-whatever, even if your keyboard has a control key…
Ctrl-shift-arrow is exactly the fix for this - hopefully it does the job!
Perhaps a couple of sliders in the GUI would be a lot more obvious than magic keys strokes.
But they’ll label it with a new or reinvented term and no one will realize what it does…
Yes I expect “contrast” and “threshold” would be far too obvious.
Thank you all for the great advice. I’m going to close this thread - if the problem reoccurs, go ahead and post a new topic.
