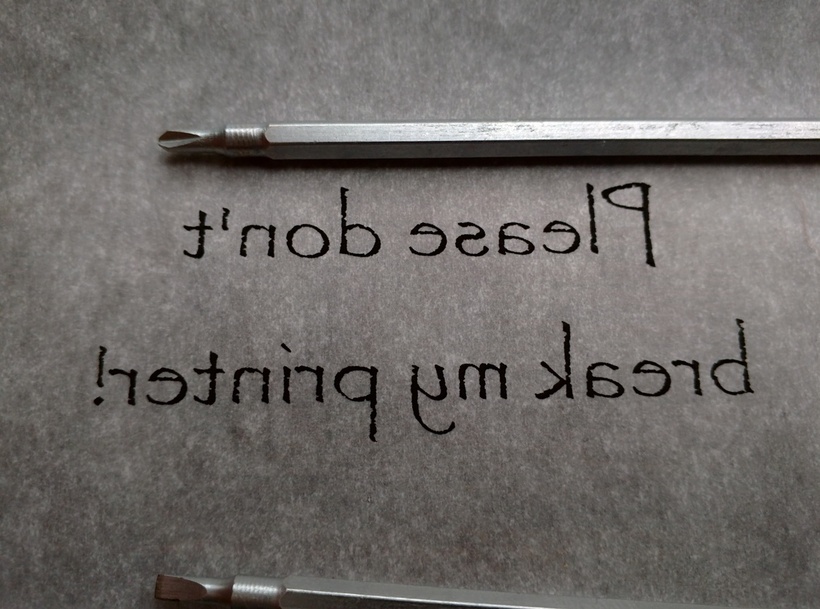
I decided to put my money where my mouth is and give it a try. I cut a piece into a rectangle of random size and stuck it into my laser printer. I didn’t want to get too extravagant, but I think I found a font a lot of you will enjoy!
The print seems to have come out OK and I also learned how to clear paper jams in my printer. I guess the slippery nature of parchment paper means it doesn’t always feed properly.
This person…
… apparently tapes the parchment paper to some regular paper to get around this problem. They’re using an inkjet printer though and since laser printers use heat to set the toner, it probably would be best to use some kind of tape that can resist heat. Kapton tape would almost surely work, but it’s pricey. I bet painter’s tape would work but I’m not too interested in being the first person to try it (don’t people put painter’s tape onto heated 3D printer beds?).
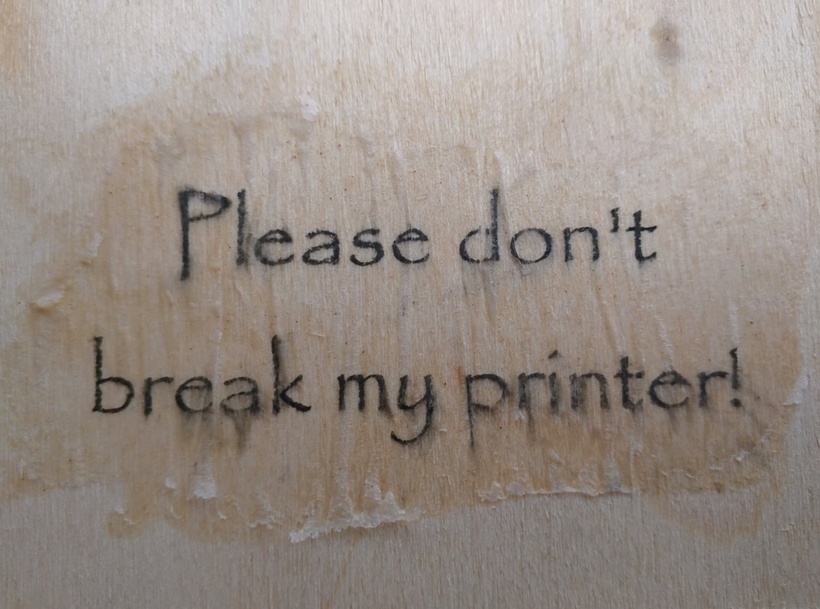
I don’t have any Mod* Podge, so I just put some wood glue on a piece of scrap baltic birch (the leftovers from the kitchen brush stand) and slapped the printed parchment paper on. I was barely trying, so the job I did was pretty sloppy, but it seemed to work. After about 15 minutes I got impatient enough that I just tried peeling off the paper (I didn’t use water). The print basically transferred.
The quality of this attempt is quite bad, but it’s OK in a couple places. The main thing I was trying to do was to transfer a print onto glue, and that seemed to work.
*Fun fact: oddly enough, it’s “Mod” not “Modge”
PS the parchment paper that I have seems to have a smooth side and a more textured side. I printed on the smooth side.
Awesome attempt and thank you for documenting it. No need for all of us to do the same test now:grin:
Love your choice of font and words…lmao!!
I may have to try a variation on this sometime this week if someone else doesn’t…just been busy with other stuff.
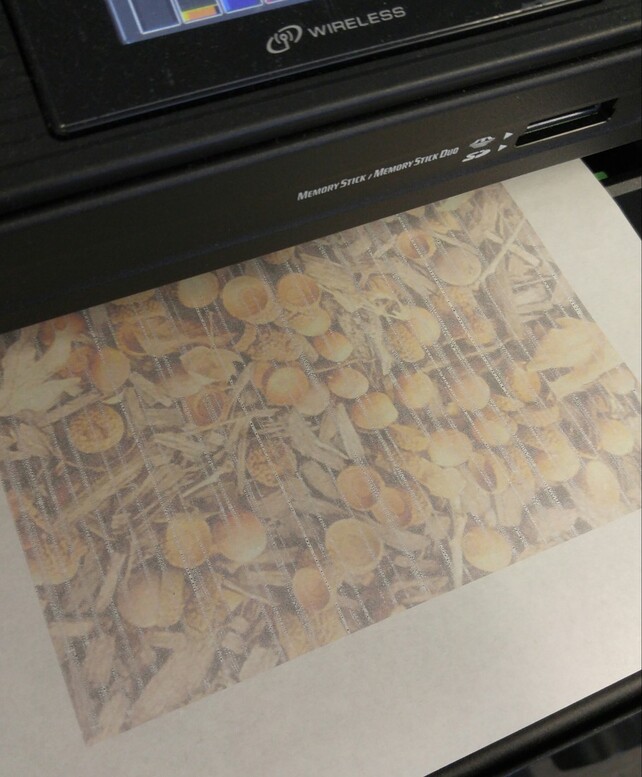
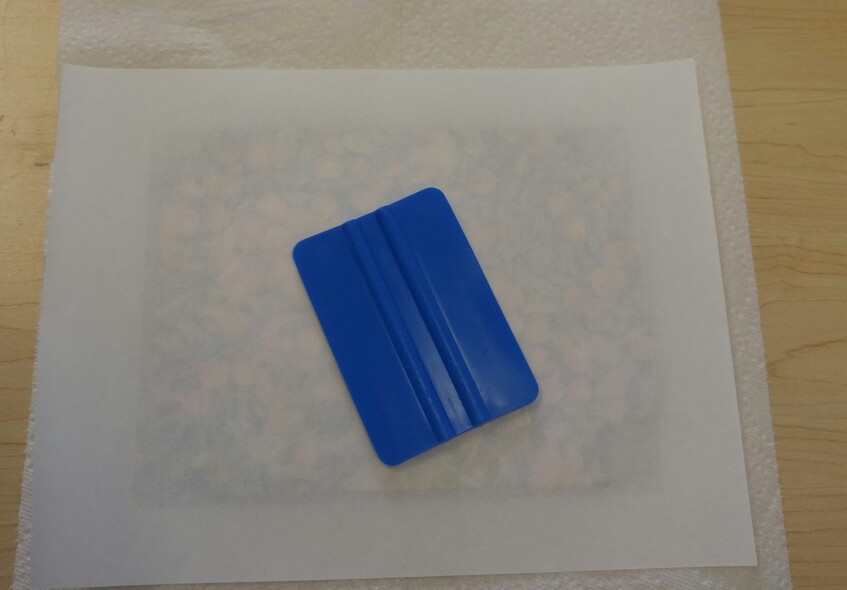
I just attempted to do a transfer using the leftover backing sheet from some vinyl. This stuff gets thrown out, and I would love to find a way to reuse it. Cutting down the few scraps I had on hand to 8.5x11 seemed like a good start.
First attempt was using backing from some 3M1080-series wrap film.
It did not work well at all. The wrap film backing has texture to it (which is what forms the air-release channels in the vinyl) and too much of the ink got down into those channels, subsequently not transferring.
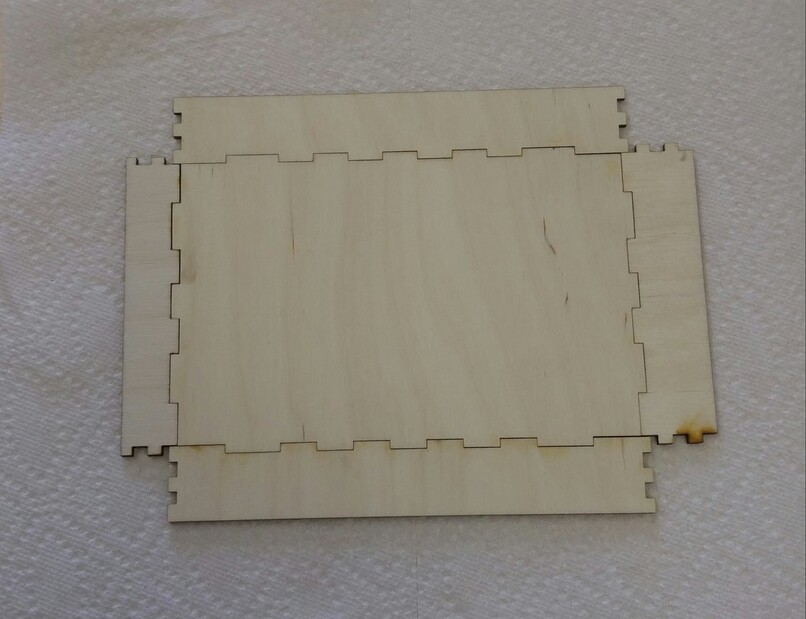
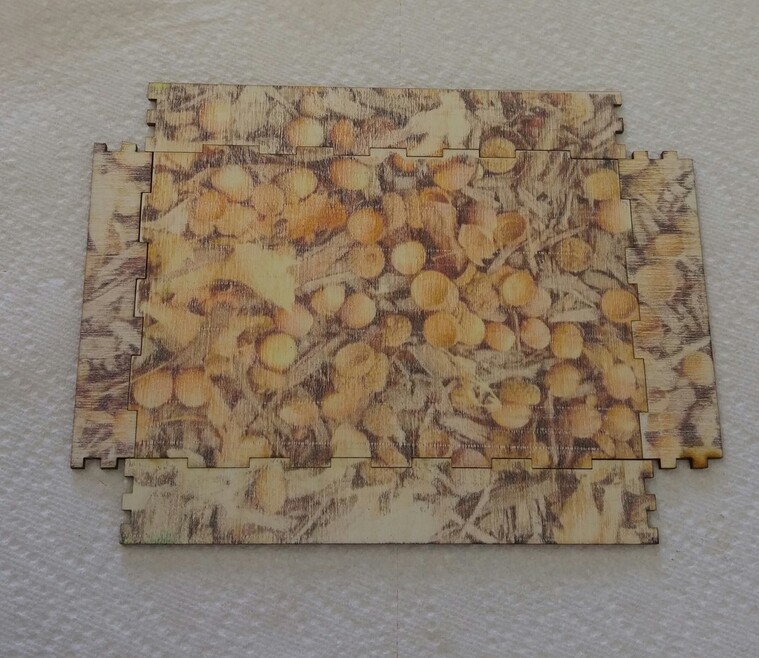
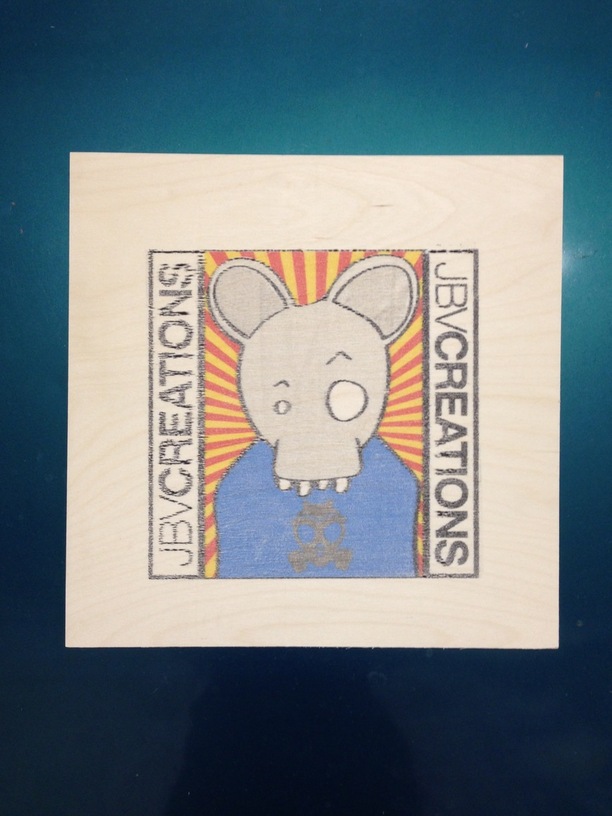
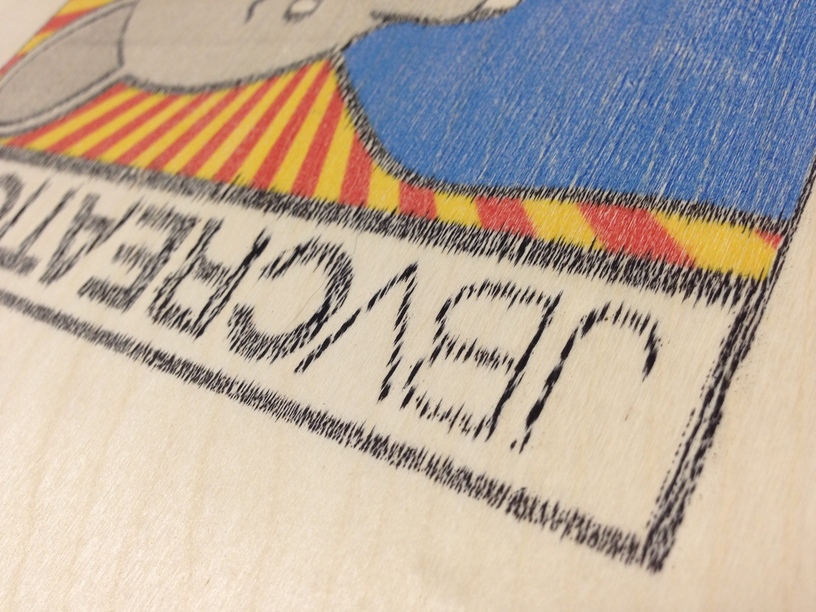
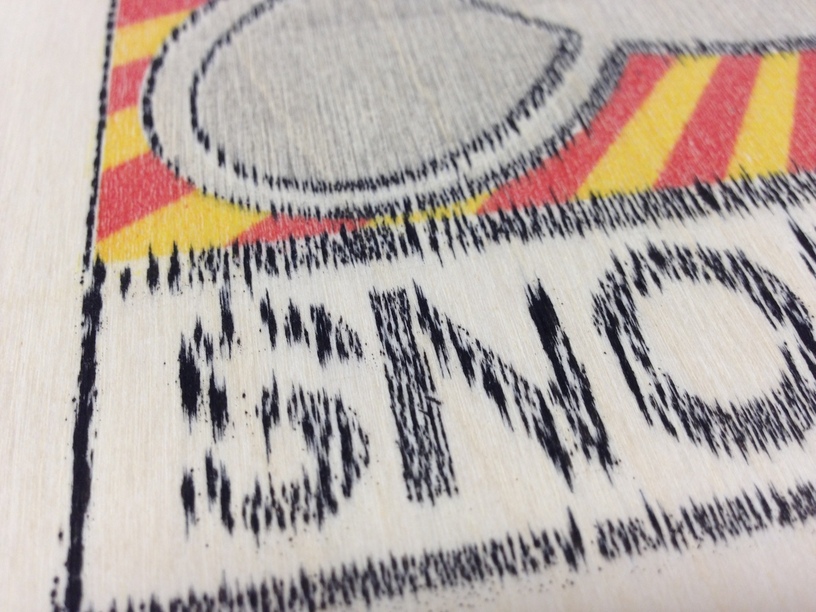
Second attempt was with backing from some Orocal951-series sign vinyl. It looked pretty bad coming out of the printer, but I went ahead anyway, onto one of the squares of baltic birch ply that I have waiting patiently to be fed to the glowforge.
Much better looking than I hoped for, but with some issues. The yellow & red ‘sunburst’ is on point. The blue is also good. The skully on the blue shirt is 100K Black and looks terrible. The character outlines and text are Rich Black, and while the color is fine, there is some serious bleeding.
Not really too surprising to me because the ink on the printout was already beading up by the time i pulled it from the printer, and I didn’t sand or treat the wood in any way. I honestly thought it would fail outright. Different printer settings will have lots of effect on the process. I will play with this more in the future, of that I am sure.
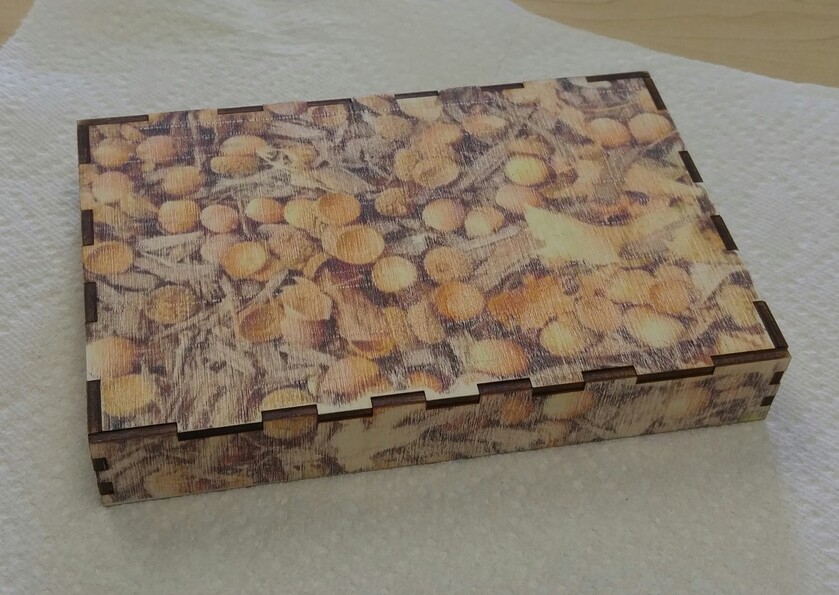
Both yours and the @smcgathyfay project came out pretty well for an easy technique. Her graphic lent itself to the rustic look a little better than your crisp logo. Her style would look good on little crates for storage, thinking of the old fashioned fruit crates with labels on the end.
I’m planning on trying color laser on parchment in the next day or so. Extra step because of the polycrylic coating, but might even give better results. Will post when done.
Her box design is not rustic at all… it is very precise and screams out “laser cut!!”
With the graphic, though, it becomes rustic -looking. The wrap-around effect works wonderfully. I think it would work equally well (maybe even better? or not) if the box were assembled the other way, and this was a hidden interior graphic.
I am curious to see the results of your laser-on-parchment test.
My wife’s work just gave us a new laser printer. I’m going to try to print on some parchment paper tonight. I think we even have some of the label paper left to try.
Turns out it was an ink jet printer not a laser printer. I tried, unsuccessfully, to do a couple images with it. The first one was on parchment paper. The image was legible but not as crisp as I was hoping. The second attempt was on label paper. This did not work out at all. The image was totally blurry. I will continue to experiment and post my findings. Pics to follow later.