I have to admit that I was rolling on the floor, “Pew Pew Source” LOL
Thank you! This is a tremendous help.
Thanks for this! Can you please define “Base Height” and “Engrave Target Height” on your spreadsheet? I’m confused about which numbers I shouldbe enterting and also confusing material thickness.
Hi Angela…
You actually don’t have to use the calculator any more. Glowforge recently released the Set Focus button and it takes a picture of the height to focus the beam.
Put your object in, (make sure the top to be engraved falls between 1.4" and 1.9" as measured from the bottom of the tray), then click the Gear Icon and Set Focus. Then click in the center of the item to be engraved.
5 Likes
Oh my goodness, that’s what I first did (I’m new), but then combed thru message boards to see if I was doing the right thing, and thought I was wrong, so I removed the crumb tray and started following a million math steps, and also another woman’s awesome mathless/calipers setting trick thing. So for real? Set Focus it is! Thanks, Jules!
3 Likes
Welp there goes millions of dollars in calculator sales 
6 Likes
Yeah, my tutorial income has been dropping off dramatically too. 
1 Like
One door closes and…
1 Like
So true. 
And you open it back up because it’s a door and is meant to be closed and opened?
1 Like
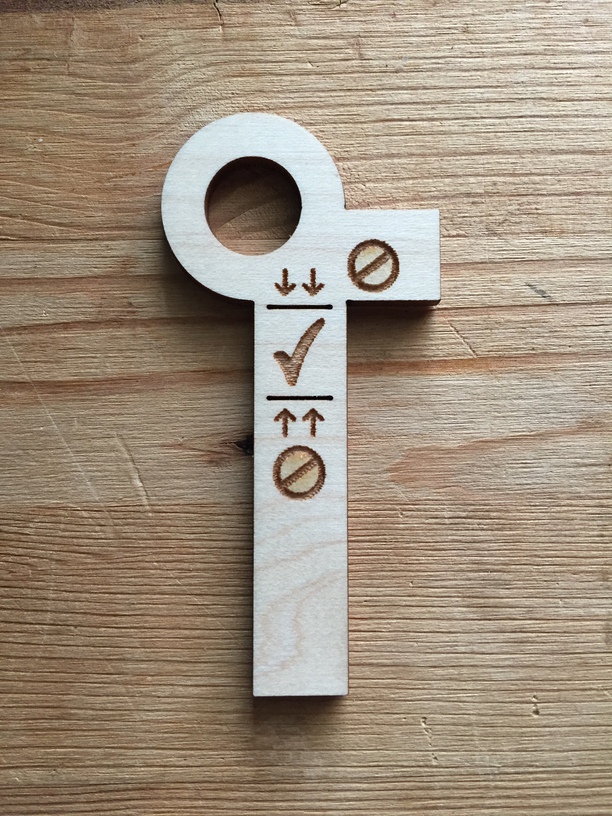
So I’m still trying to figure this out, even with the pew pew chart. And I’m also using this super handy dandy tool someone else sent out! So I can see the top of the wood I want to engrave falls in where the checkmark is, but I don’t understand what I put into my settings. The top of my object is at 1.625, my object is 1.00 thick, and what the object is sitting on is 0.625. So now what?!!! I recall someone saying something about focus height settings, but can’t find that thread. IMG-1998|375x500
2 Likes
Use the set focus tool (it takes the guess work out of the material height. The settings depend on the material (hardwood, plywood, acrylic, cork, etc) and what you are trying to accomplish - cut, score or engrave. Give us a little more information about your project and we can be more helpful.
1 Like
I want to engrave on a piece of maple plywood that is 3/16" thick. Thanks so much for your help!
Okay, so I successfully found the Focus setting, and then I pulled the square over my material and it Set the Focus. Now I’m confused about the custom settings. I don’t recall seeing these Bitmap Options: Vary Power; Convert to Dots; Convert to Patterns.
I’ll start with Convert to Patterns. Maybe these came up because what I’m engraving is from a photo?
love this! thank you!
1 Like
Yes, these options only apply when engraving a bitmap (such as a photo). You don’t get these options when engraving a vector shape because for vectors the color is used for grouping, not for modulating power.
1 Like
You deserve your kudos! Thanks newbies.
1 Like
Are you able to get through 1/4" with 1, 2 or 3 passes? Is this baltic birch?
In order for me to get through 1/4", my setting are: speed 155, full power, 3 passes, autofocus.
I have so much charring it’s not appealing.
I cut 1/4 walnut, not ply but solid wood, in one pass with 120 at full power on my basic.
The edge chars a bit but the kerf isn’t bad. I did the wooden rings this way and was basically able to slice a 1mm thick ring in 1/4 inch walnut. The bottom of the kerfs almost met.
3 Likes
i dont understand. with the tray i have these pants set at .25 in. Without the tray should i have it set to 1.65? the maximum height is .5. Should i keep it the same? I need to be able to print without the tray so it is important