BTW if you don’t have a new-ish LED flashlight, they are astonishingly cheap and far brighter than your old mag lite.
Search for “Cree XM-L2 flashlight” or “Cree XP-HI” flashlight. They’re super cheap and cheap, respectively. The XP-HI lights are slightly brighter, but they cost more.
Also, be sure to get one that has a decently large reflector, stay away from ones that look like pure cylinders. The metal bodies are important as heat sinks, the skinnier types don’t dissipate the heat as nicely.
If you want to get really nerdy try to find one that is warm colored, ones that are “daylight” or “5000K” light temperature will be pretty harsh and bluish. Try to find “warm white” or “3000K” or so, it’s a more pleasant flashlight to use.
They are powered by lithium batteries (specifically 18650 size usually)… some have usb charging ports, others require a charger. Caveat Emptor.
Update — adding the details here so it doesn’t get lost in the thread:
So I’ve refined my technique a little here, and have 2 alternate methods.
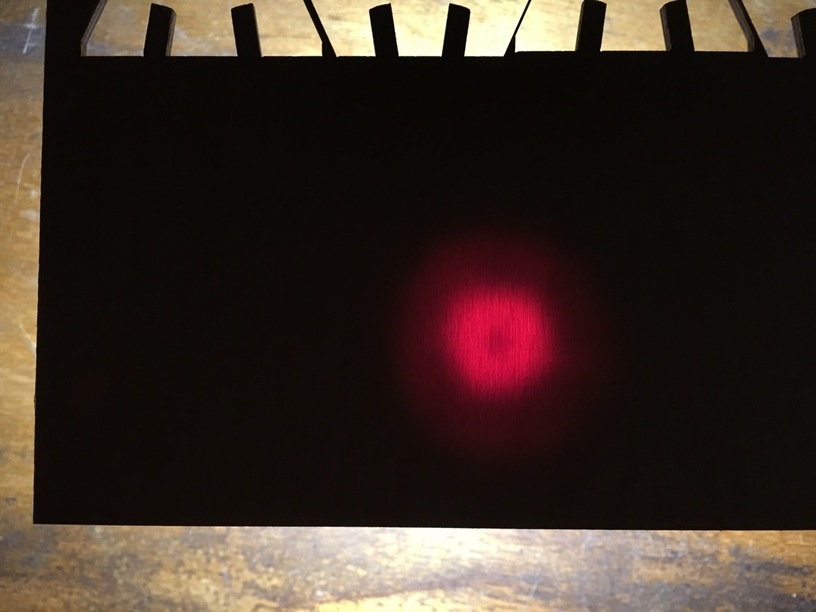
1: Turns out if you are at home and can make your room nice and dark, a bare light bulb works great.
What I do now is mask the ply, then turn off all the lights except for one table lamp. I hold the sheet up with one hand in front of the light bulb and move it around to identify dark spots, marking them in pencil on the masking material. It’s easier than a flashlight, requires nothing that you probably don’t already have around (a light bulb), and allows for much more thorough and faster inspection (it’s a larger “x-ray” than a typical flashlight).
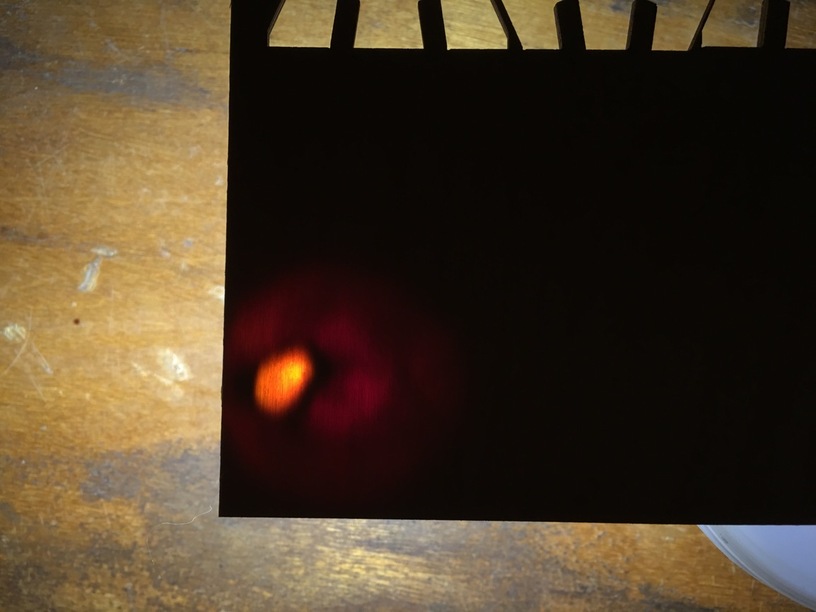
2: The other is to use the sun with some way to block the light.
Get a box, (or cut one with your nifty laser cutter), cut a small hole in the bottom, then take the whole operation outside in bright sun. Cover the box with your baltic, aim at the sun, and look through the hole on the bottom. Really easy to spot defects this way too, if it is a bit clunky. Sometimes you gotta laser and you just don’t have a dark room, you know?