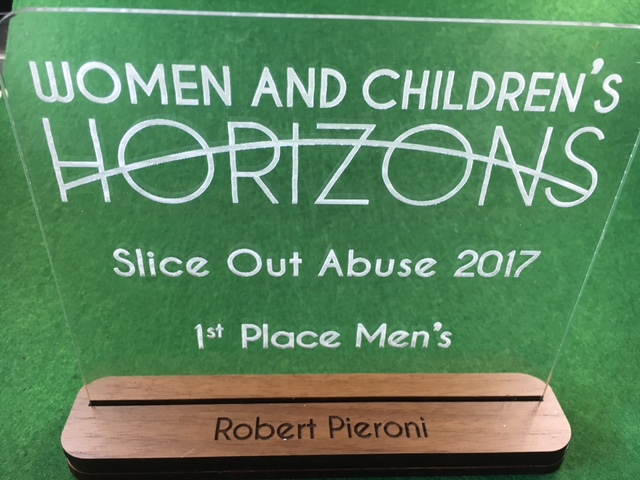
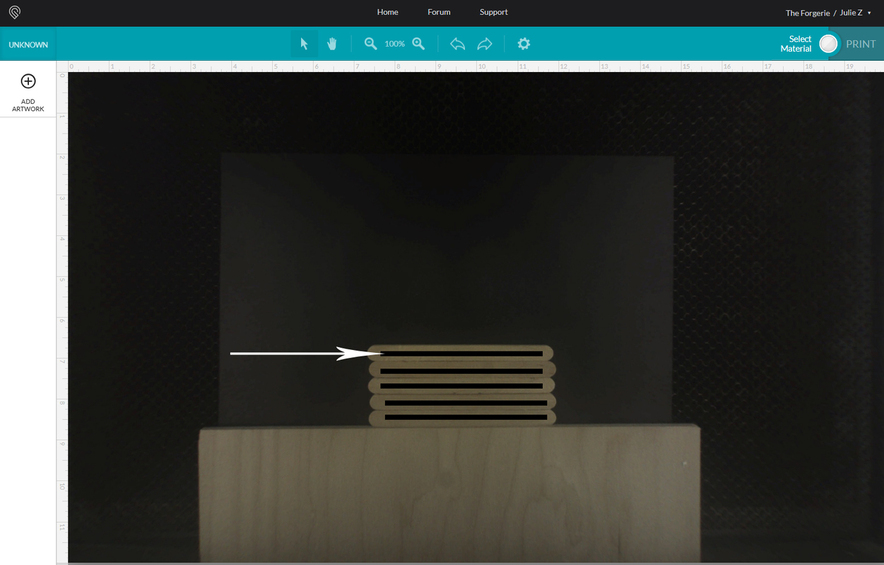
I’m making trophies for a Community Group’s Golf outing. I thought the simple design might be of interest to some and wanted to discuss thickness tolerances of Cast Acrylic. First off, here is one of the trophies.
It is made from the first shipment of Proofgrade acrylic and sits in 3 layers of Proofgrade Walnut plywood.
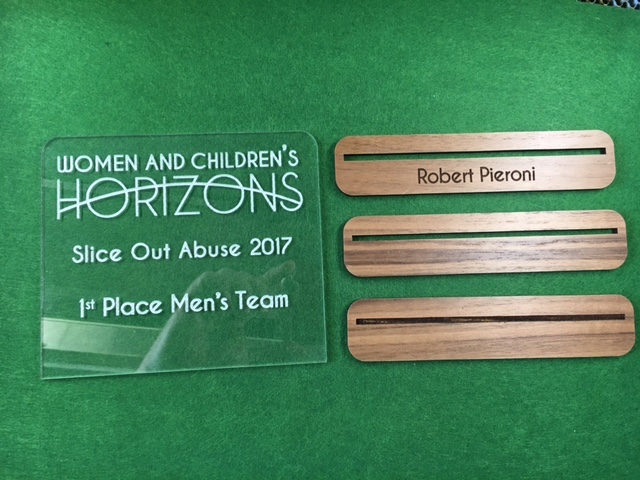
Here are the layers. The bottom is deeply engraved to the thickness of the acrylic. Layer 2 also is set to the thickness at tight tolerances in order to ensure the acrylic is held at exactly a 90 degree angle. The bottom 2 faces are glued together. I put just a small amount of glue in the channel of the bottom piece. It spread upwards slightly and secured the acrylic to the 2nd layer as well as the bottom layer without any oozing above the top.
Here’s what I thought made it just a bit inventive.
The top layer is not glued down and the slot is ever so slightly thicker than the acrylic so it will slide down easily. In order to personalize the trophies quickly, I’ll be waiting for the hosts of the outing to e-mail me the winners. I’ll be able to engrave and cut these pieces while they have the dinner and other banquet festivities. The cuts should take about 40 minutes. They’ll be able to have the blank trophies at the event, then I’ll deliver the personalized top plate before the event is done. If anyone has to leave before I get there, the hosts can easily mail this top plate to them in a standard business envelope.
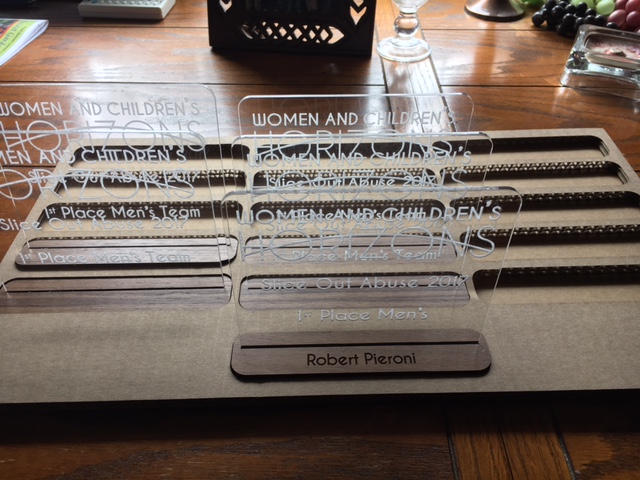
I even made a carrying tray/display out of some of my nicer scrap cardboard so they can be transported without hassles.
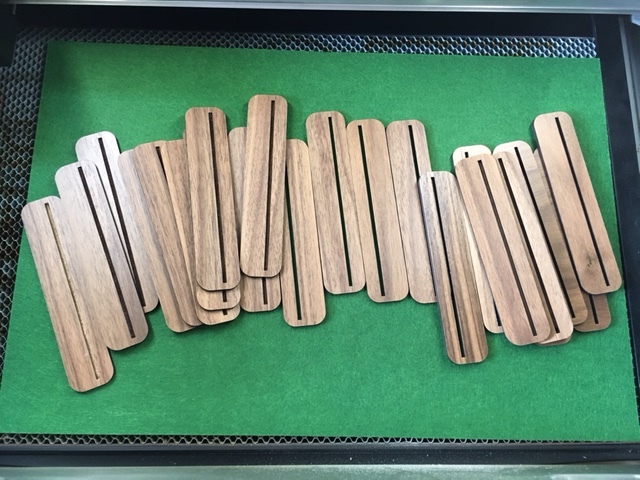
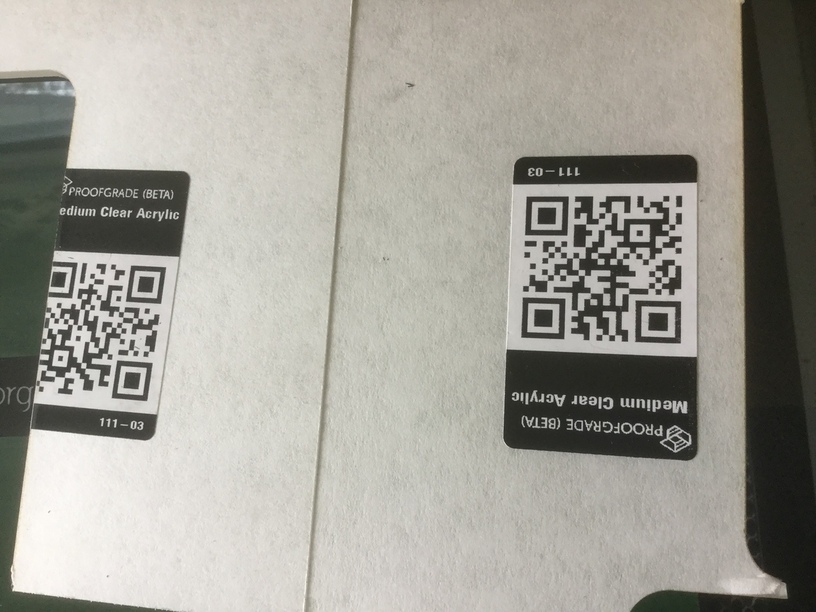
Here’s the problem: I carefully laid out the Walnut bases to fit the first batch of Proofgrade acrylic I got. It was .098" (2.56mm) thick. I cut all of the slotted Walnut to fit that to tight tolerances. I needed to get additional acrylic for the last 12 of the trophies. Proofgrade came in, I cut and engraved them and went to assemble today. This entire batch of Proofgrade was .1195" (2.95mm). Nothing fits and I’m unable to line up the cut walnut in order to widen the slot.
Wasted time in material as well as cutting and design time.
Now - I know that cast acrylic can vary, and I should have thought about it, but is this much of a difference normal? I assume it is, so . . . .
Moral of the story for everyone who hasn’t worked with acrylic before:
Measure before cutting acrylic that requires tight tolerances.
Luckily I ordered extra Maple ply with my acrylic order, or I wouldn’t been able to deliver these for the vent, but I’m out the wasted material and time.
I’m going to give you an idea on how to widen your slots just a hair…
Working with about 3 or four at a time - line up the bases in the center of the machine with a sheet of black paper underneath them. (I’ll do a diagram in a minute.)
Use the Trace function to capture the slots in the bases and put a cutline right at the outer edge of the slot. (You don’t want to engrave them, you want to cut them again.)
The kerf will widen the slots just a little bit.
Hang on for the diagram of how to set it up.
Edit: Okay - had to wait for the machine to fire up. This was what I had in mind, and it might not work without more contrast, but you could try it on one or two pieces first.
Basically you line the bases up as horizontally as possible…I’m using a length of wood pressed against the front of the machine as a jig. You place the bases against it, with dark paper underneath to make sure that the slots will photograph as black. Then you do a Trace with the GFUI and select the slot itself. That should place a cutline at the very outside edge of the slot.
Then send that to be cut. See if it widens the slot enough.
Unfortunately that walnut might not give enough contrast but give it a try. You can always put masking on it and Exacto the slot out. (I hate wasting material too.)
Those are fantastic looking trophies! Good job.
And I really like the idea of being able to do all of the trophies and then put the one personalized piece on at the last minute.
I didn’t know that about cast acrylic. Thanks for the heads up.
it sounds like both batches of acrylic you used were proofgrade (please correct me if i’m wrong).
soooo… shouldn’t “proofgrade” acrylic be the same thickness every time? isn’t that part of the benefit of proofgrade? that height difference (almost half a mm) could also be big enough to change the focus of the laser, correct?
That is really creative. Absolutely love the shortcut - being able to get the trophies customized during the dinner is an extra “Oooo” & “ahhhh” moment
Both batches were Proofgrade. I’m not sure what tolerances are normal, but I’d hoped Proofgrade would be tighter than this. They are still listed as beta, don’t know if they expect better control in the future.
i think you should definitely send in a support ticket on that difference. It’s significant enough to get them to make a statement about what those tolerances should be.
Thanks @Jules I’ll give that a quick try. It could save the material without being too time consuming. I should be able to adjust power to have the bottom layers not cut through.
Were they pre & post the conversion from 1/8" to “thin”?
Cast acrylic does have measurable thickness differentials across a sheet of material much less across batches. But regardless, that level of variability even across batches is surprising. Even more so because it’s PG. The first set was undersized.
BTW, this is one of those differences vs extruded.
Can’t speak to the PG specs, but I found this page at ePlastics pretty informative. Their spec sheet lists the tolerances for Standard grade cast acrylic sheets as 0.085-0.155 inches for 1/8 (0.125) sheets. Even Class 2 (G-1) sheets are between 0.095-0.145.
My takeaway is to mic all materials that need to press-fit.
this sounds like it’s time for the 12 x 20 hack to make a template to hold the pieces you’ve cut already.
Create a file that is 12 x 20, put the cutout perimeters in there and the new slot sizes. Make sure the two are on separate layers and are separate colors.
I’d put a piece of cardboard in the GF, cut the file (including the slots the first time) to make a template. You might even tape it in place before making the initial cut just to make sure you can’t move it.
Pull the “base” pieces out, verify that the slots are where they need to be, then put in your wood, change the material, and cut again. If you fully consume your first cut then there should be little or no problem rescuing the pieces.
Thanks for looking up the specs. I knew there was some difference in cast. Didn’t think about it for this project. There may be a run on calipers when shipping picks up.
Live and learn: Especially learn about parametric design if you want to design something like this for future use without a lot of fiddling each time you run a job with a new batch of materials.
Thanks, they originally wanted generic engraved mugs with the logo and event name. I couldn’t get my Silhouette vinyl cutter to handle the thin lines of the design, so I came up with this sample. They loved the personalization. I was worried they were a little insubstantial, but wanted to keep the cost down by using ply and medium acrylic. They thought they were fine as a trophy for a charity event. Even liked that they wouldn’t take up a lot of shelf space for the winners.
Absolutely brilliant idea to make those awards modular in such a way! You are a genius!
Sorry the acrylic turned out to be a problem. @jules’ idea to fix the slots is great. If your cut line still doesn’t line up perfectly, don’t forget my method of determining your machine’s offset–it works great for me and I’m able to put a cut line pretty much exactly where it needs to be, especially right under the camera.