A while back my wife saw an art exhibit with a large, cut shape with a bright light in it projecting onto the walls. It was a room-sized installation, but she loved it so much I decided to try to make something like it for her. Based on her pictures, I figured out the shape was a truncated octahedron, which is a polygon of alternating hexagons and squares.
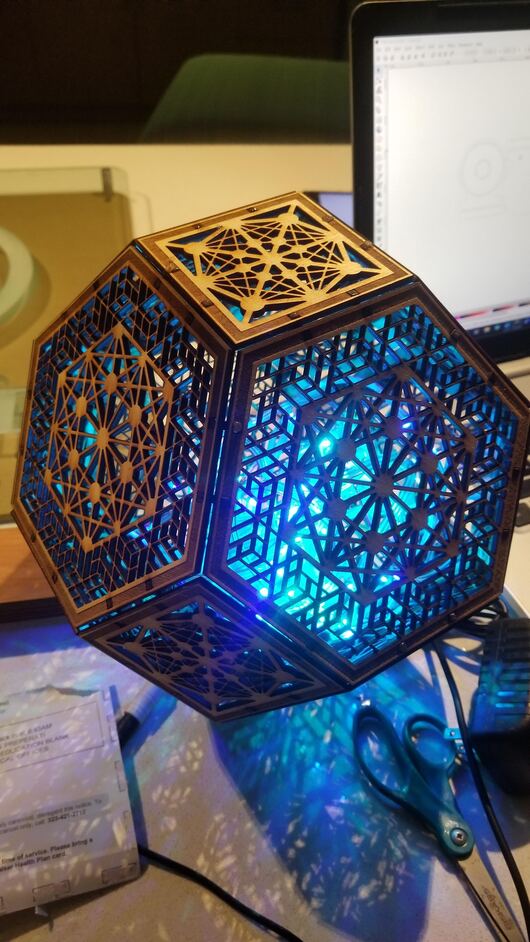
TL;DR - Here’s the result:

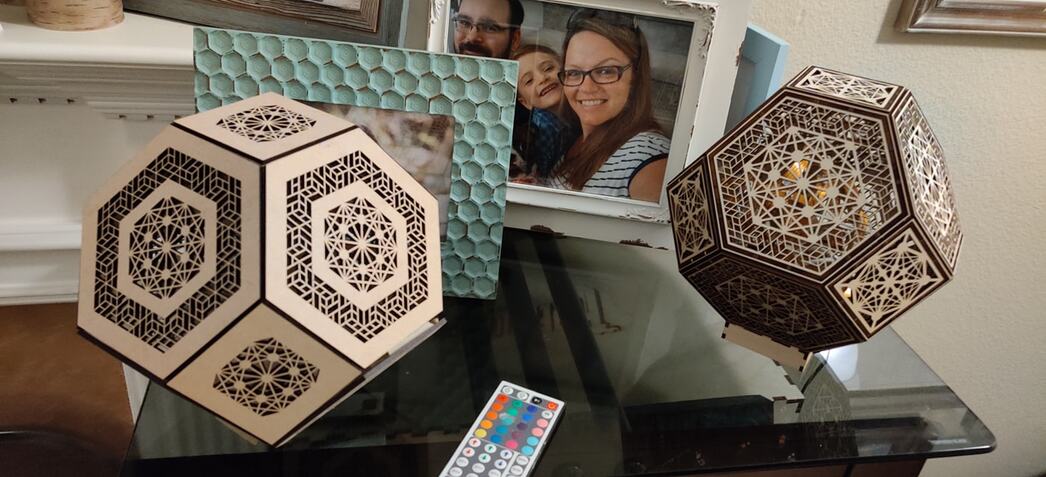
My first draft was just the shapes and a geometric pattern that I cut on draftboard, but I didn’t quite know how to fasten the shape together, so I just left a thick border and used tape on the inside. It was still nice-looking though, and I had a random LED light string that I put inside.
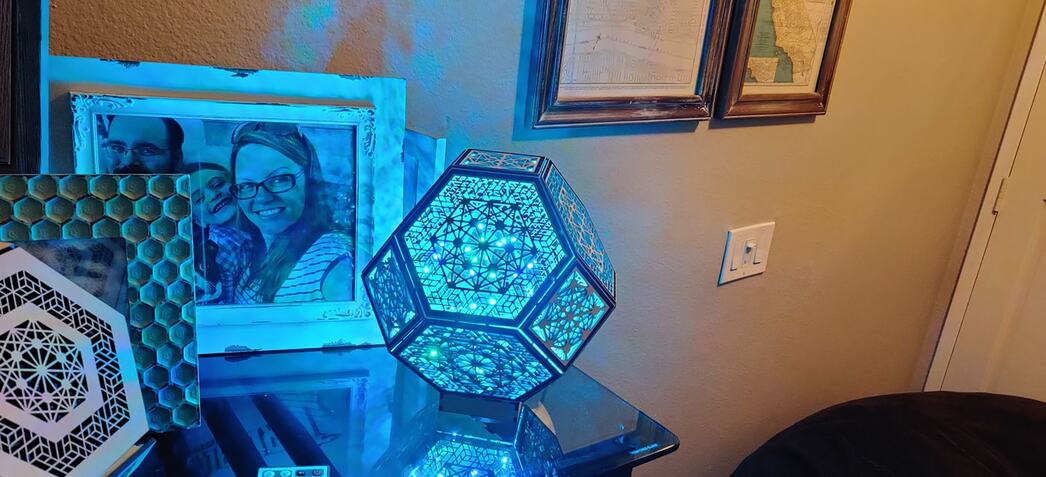
For the “final” draft, I spent time to create brackets with the appropriate inner angles. I also updated the design to remove some of the “blank” space on the faces, and added a base to feed the LED cord out of. This time I cut the whole thing out of 1/8" basswood plywood.
With the prototype:
Lit up:
If you’d like to attempt one yourself, here’s the file: octahedron.zip (612.8 KB)
And some tips:
-
The whole thing fits on 2 sheets of proofgrade material. I used Thin Basswood Plywood for both the contrast and strength, with the built-in cut and engrave settings. (I bet it would look pretty cool in frosted acrylic though)
-
It took about 3 hours to cut each sheet. 2 of that was the border engraving. I think it was worth it, but you could save a lot of time by removing them.
-
All joints are either hex-hex or hex-square. The angles are different for each, so the brackets are marked with another engraving.
-
The tabs are cut to fit pretty precisely, but not press-fit. I was worried that too much pressure would cause the faces to break. You will want to add glue, and I strongly suggest a needle-tip bottle.
-
Assembly is tricky. I planned out the tab layout before assembly and pre-glued one side into the panels. Then, for the full 3D assembly, I added glue to the other side of the tabs and fitted them together once panel at a time, using tape on the joints to hold them until the glue set. If you want to try this route, here’s what I did for the panels:
- All 5 cut squares with all 8 square brackets
- 2 hexes with 6 hex brackets, on alternating sides (A)
- 2 hexes with 2 hex brackets on one side (B)
- 2 hexes with 4 hex brackets and 2 square brackets on adjacent sides (C)
- 2 hexes with 2 square brackets on one side (D)
Start with a square, add hexes A and B on alternating sides. Dry. Add the remaining 4 squares, then dry again. Finally, add hexes C and D on alternating sides. Once those are assembled, there will be one empty square space with brackets to sit in the “base”
-
Cleanup on this is a real pain in the ass without a shop vac. I did the design work for the second revision a month or so ago, but I procrastinated on the actual cutting because I didn’t want to clean the little bits up again. I got a shop vac for Christmas, so cleanup took minutes this time