As long as you have done the initial calibration and then use a 20x12 artboard for object placement and do not shift material, bed or image, then it should cut in the exact place.
A shift like this when all other variables are isolated makes me thing of something wonky with the belts, steppers or rails. It is interesting that the shifts are not consistent. Needs continued testing to see where it arises, unless there is something off with the software positioning.
Not sure if you are talking about a re-calibration which should only happen at startup, or the material height scan which happens every time you hit Print on the UI. It’s just doing a height measurement.
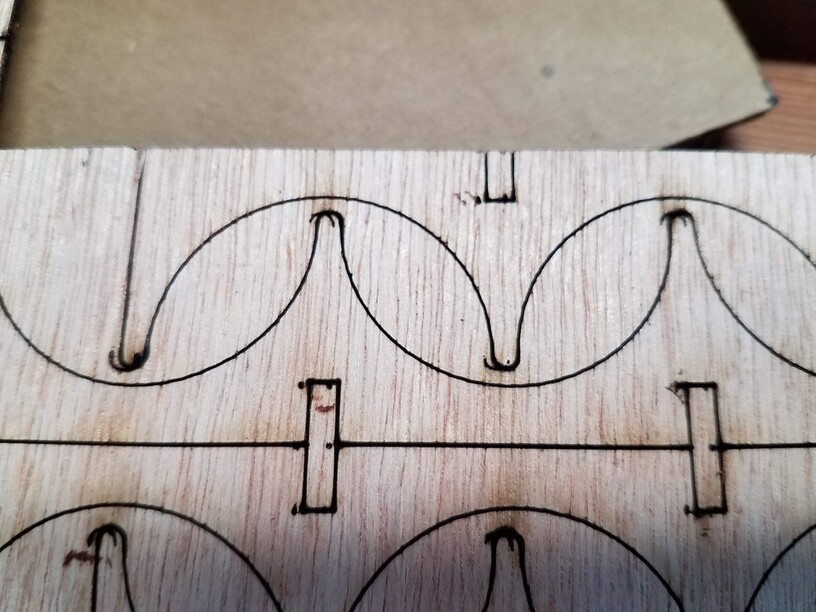
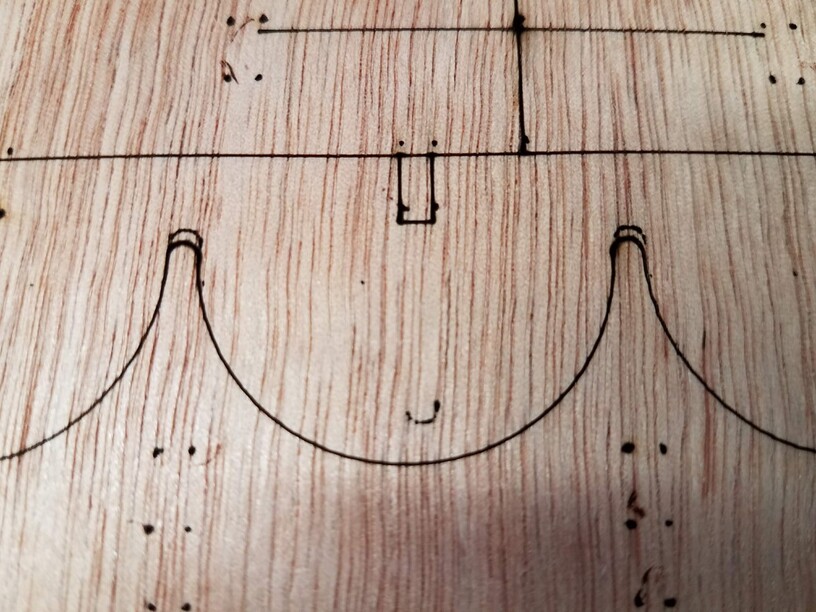
I can’t tell what the second and third pictures are. Usually when something.is off after a material flip in a pocket jig it’s because the pocket or the image is not symmetrical. Most of us get perfect placement with the right setup.
Thanks for reaching out. I’m sorry to hear you didn’t get the results you were looking for.
Your unit will calibrate every time you turn it on. It will also calibrate if it loses Wi-Fi connection or a print is cancelled.
I extracted the logs to investigate the issue. I found your design files and inspected them, and I believe they should print correctly.
There are a few things that might be happening:
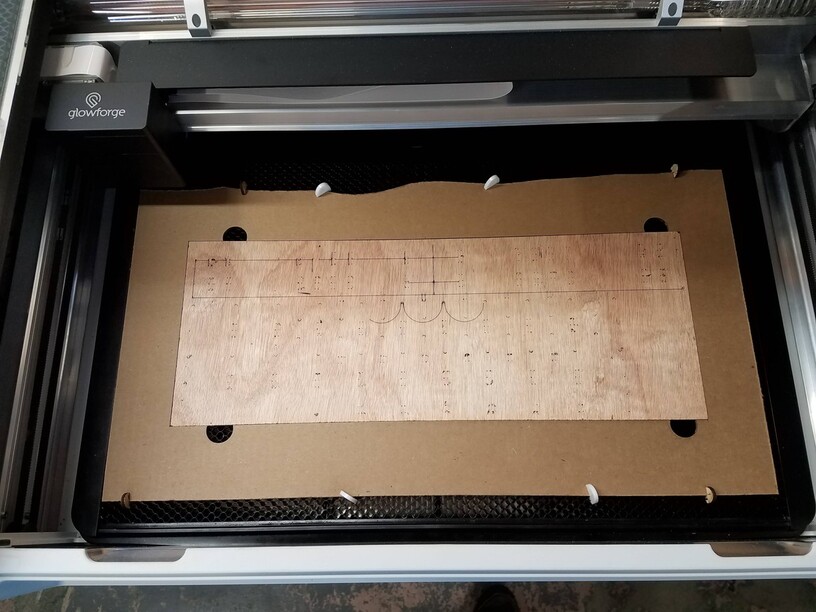
The material might be shifting slightly inside the cardboard cutout. Is there any gap between the cardboard cutout and your material that might allow a 1mm alignment error? Can you please place the material in the cardboard cutout, push it all the way to the upper left corner, place a ruler on the gap and take a photo that shows the width of the gap?
Alignment can drift over time, particularly if you bump the head of your Glowforge while removing material. If you accidentally nudged the printer head, that could also contribute to an alignment error.
If your material or the cardboard cutout isn’t perfectly rectangular, that could also cause an alignment error. If you have a protractor or other measuring tool, please measure all 4 angles on both pieces and let me know if you find any that aren’t 90 degrees.
It’s been a little while since I’ve seen any replies on this thread so I’m going to close it. If you still need help with this please either start a new thread or email support@glowforge.com.