Uneven engraving plus alignment issues

Hiya! I searched the forums but didn’t find a solution, so I’m hoping someone here has a quick fix to recommend for one or both of my issues. Last time I contacted Support, I was left waiting for two weeks before I got help, and I have customers already waiting on their orders. >.<

A couple of months ago I started noticing subtle variations in the color of engravings, which looked like a power or focus issue; one end of a piece would be charred black, while the other would be too light. Then I started getting uneven cuts, where some parts of a large design would not be cut completely through. This has been getting steadily worse, and now it’s going in stripes across the bed:


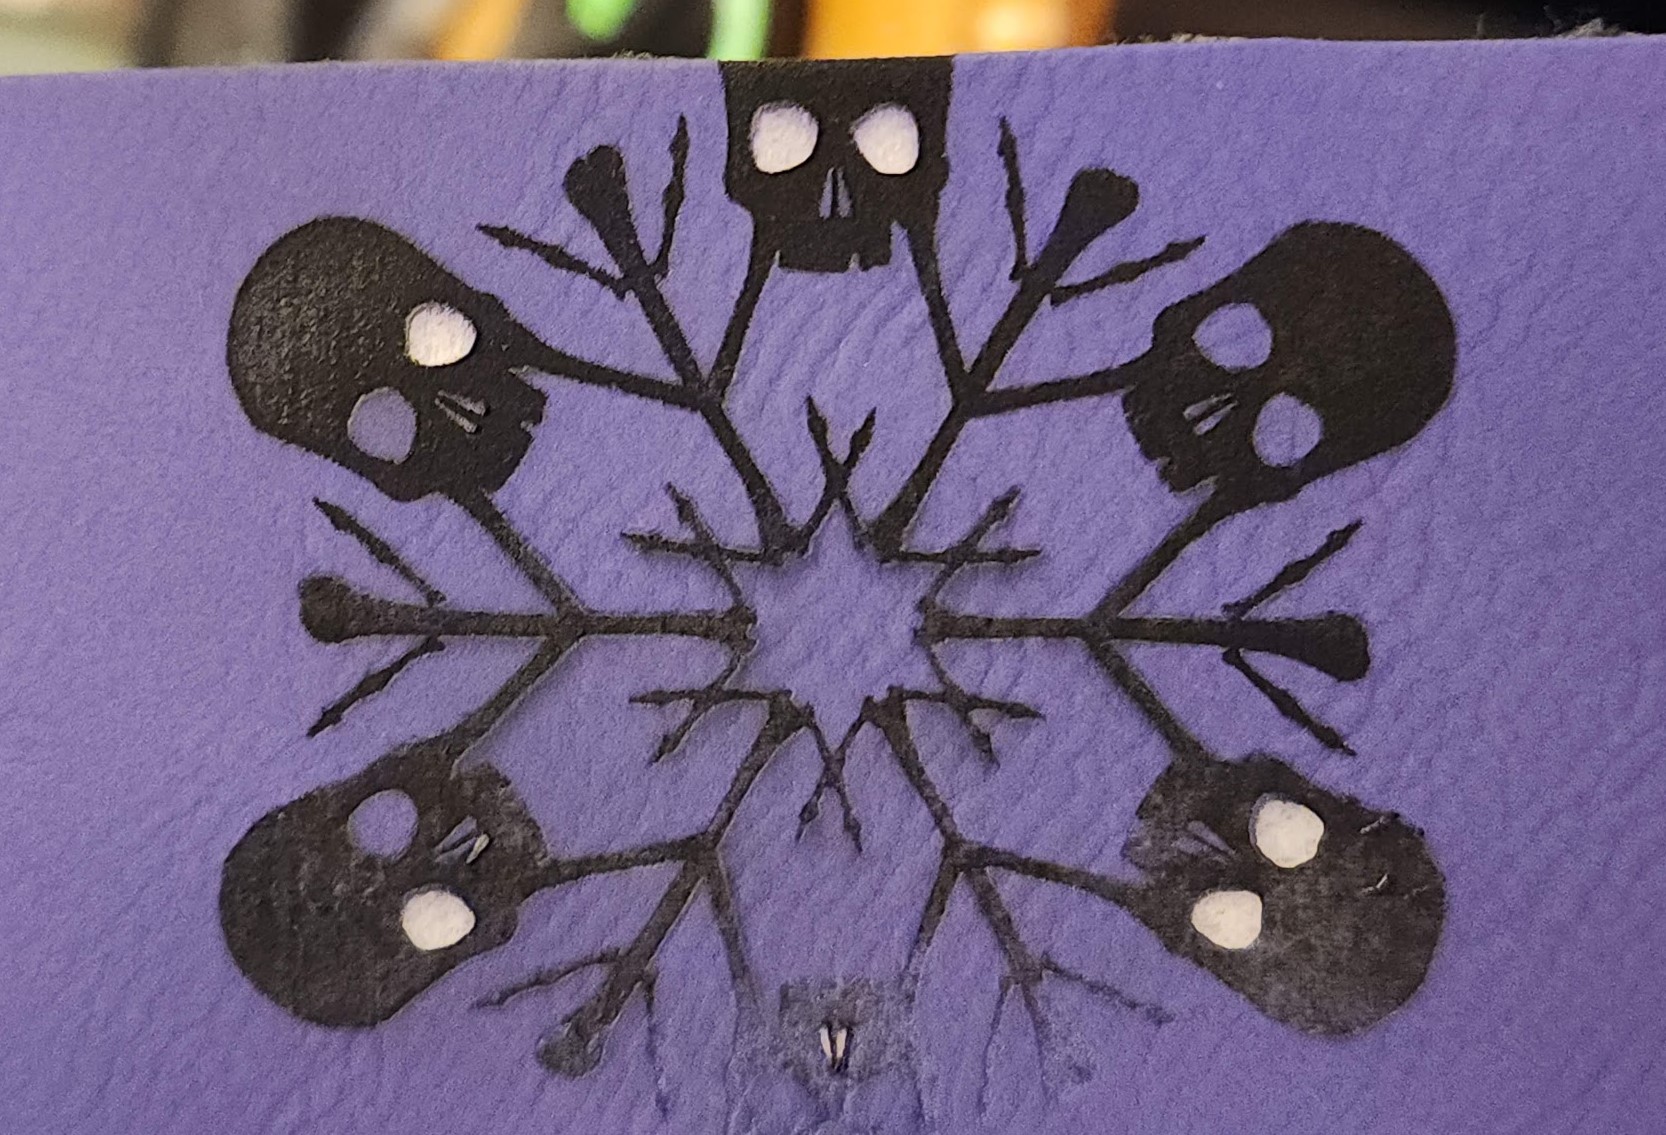
It’s worth noting that these two engraves were done sequentially, and the gradient reversed between them. The area of the bed that was lighter on the first one was darker on the second one.

If it were just a solid gradient top to bottom, or if it were consistent, I would assume that one part of the track mechanism was out of alignment and causing the head to get lower in one place, but I have no idea why it would go in sections like this, or why it’s really bad sometimes and barely discernible on other pieces. It happens on all the materials I’ve tried, and with many different cut/engrave files.

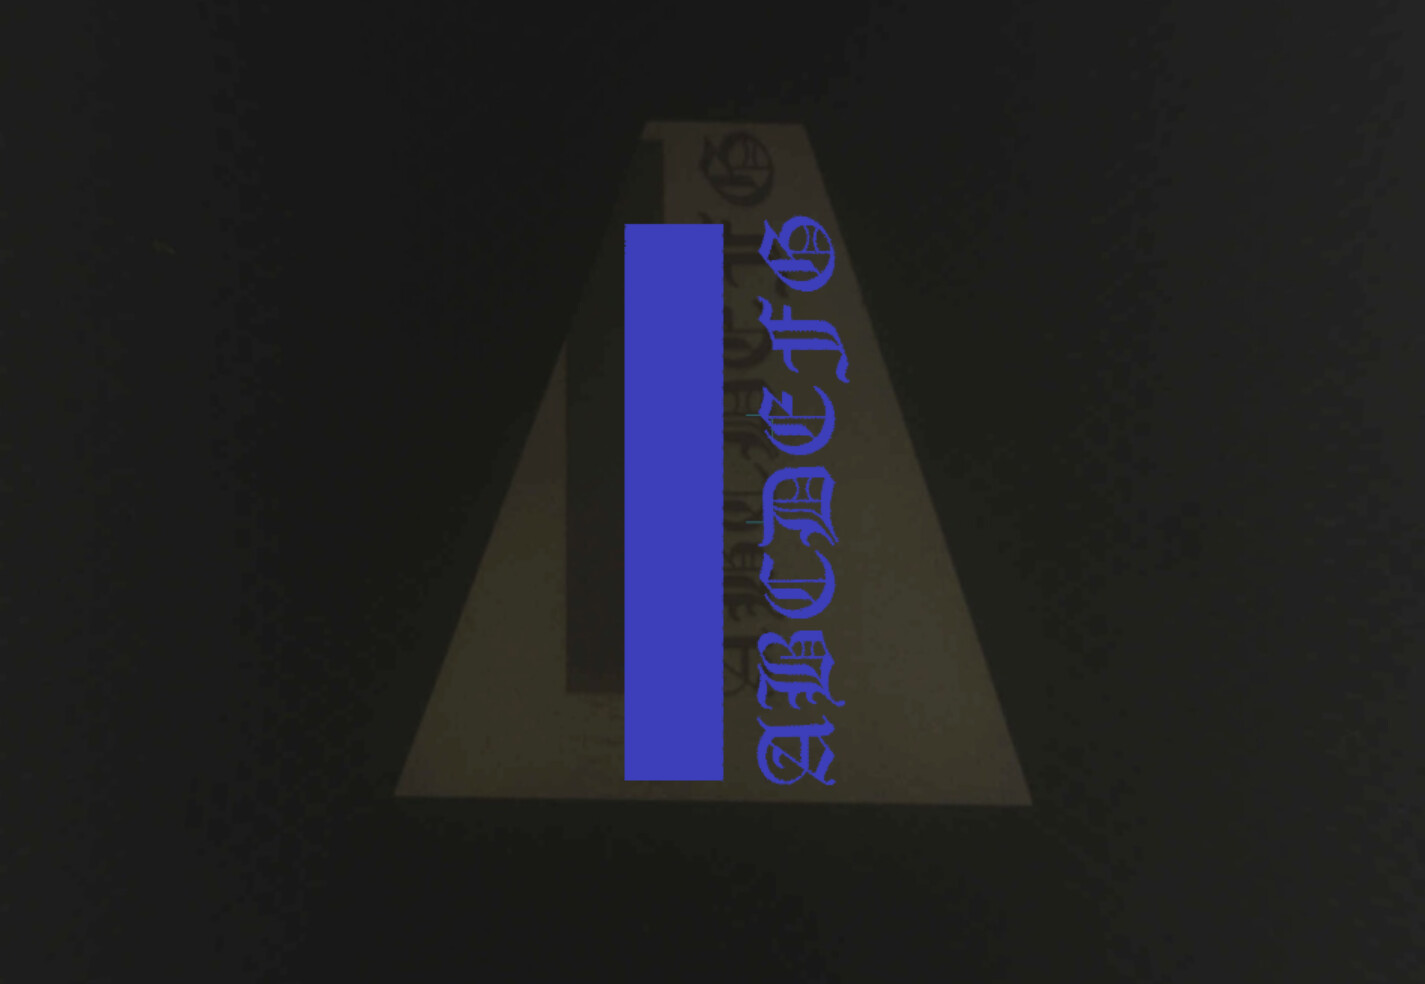
And then – as if that weren’t enough of a problem – while I was running tests on scraps of draftboard today, trying to find a pattern in the engraving issue, my camera alignment just COMPLETELY went out the window. This is what it’s doing now:

I have cleaned everything and swept/vacuumed out the area beneath the tray and the divots where the feet sit. I have tried turning it off and on again. :slight_smile: But I’ve had about $60 worth of materials go up in (inconsistently burned) smoke just today, and I’m running out of both time and material.

Thanks for any suggestions or help you can give!

EDIT: After running the auto-calibration twice, I think we’ve got the alignment back to normal. Not sure why it randomly went out when the machine hadn’t been moved or jostled, but it seems to be behaving for now.

3 Likes

This is strictly a problem of crud on the window on the left side of the gantry. It blurs the beam slightly and when the head is on the left it is not as much of a problem as when the head is on the right.

2 Likes

It may also be a bit of crud under the foot of your crumb tray. Try taking that out and thoroughly cleaning the surface underneath, especially the divots, and don’t forget to clean the feet of the crumb tray where they fit into the divots.

3 Likes

This is strictly a problem of crud on the window on the left side of the gantry. It blurs the beam slightly and when the head is on the left it is not as much of a problem as when the head is on the right.

Thanks for the suggestion! Cleaning the windows/lenses a fourth time did improve things a little (I had to go through several more wipes; I’ve been prototyping with a lot of draftboard and it seems to have left more residue than I’m used to), but I don’t think that’s the only issue, as everything is now squeaky clean and the Proofgrade settings still aren’t consistently cutting all the way through Proofgrade materials. Still have a support ticket in, so hopefully they can find the problem whenever they get around to my number.

It may also be a bit of crud under the foot of your crumb tray. Try taking that out and thoroughly cleaning the surface underneath, especially the divots, and don’t forget to clean the feet of the crumb tray where they fit into the divots.\

As stated in the original post, I have already done this, and no joy. That would have been too easy. :sweat_smile:

2 Likes

Dtraftboard (MDF) is about the dirtiest stuff you can cut, and one of the most likely to give trouble when cutting. If you were cutting :proofgrade: light maple plywood, it would seem a breeze and hardly any smoke (compared to draftboard). In non-:proofgrade: wood, Revolution plywood is my go-to as it is about the least expensive stil-actually-wood you can buy, though not very good looking and weak compared to others.

The issue you mentioned of cutting too much on the left and not enough on the right is virtually always a matter of crud on that window. (box dropped in shipping is the main other) Hopefully, that part was cleared up.

When you turn on the machine, in going through setup it sets where it will have the 0,0 point (upper left) and from that keeps track of where it has gone to decide where it needs to go. If at any time the head moves (or doesn’t when it should) the “keeping track” part will not record and be off by that much. The same thing hapoens if a belt slips and it does not go as far as it thinks it did.

As there is a lot of weird math that has to be done to make the output of a fish-eye lens look straight on, so there is an extreme effect that the slightest difference in height throws that math way off. This is why you need to use Set Focus to identify the place you want to measure from (that is more important than actually focusing)The numbers that get stored in the figuring can get messed up and if those are wrong you need to redo the Callibration.
This only really affects where the image aligns with where it actually cuts. The numbers you get from the lower left widget are the key actually used from that 0,0 point.

2 Likes