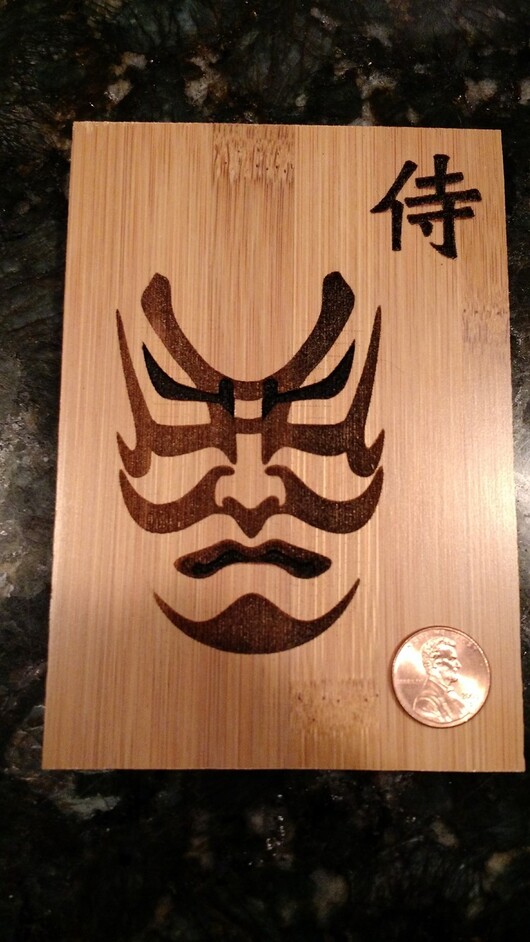
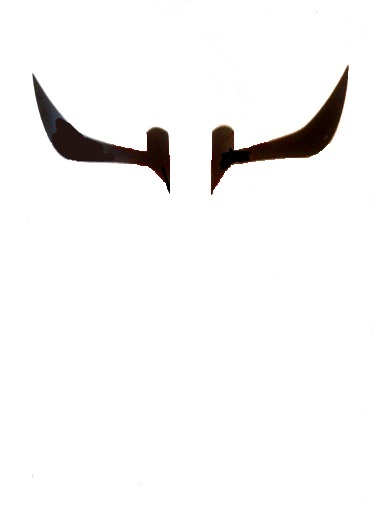
Had this graphic, a Kabuki Samurai that had two colors in two places so I wanted them engraved at different powers to reflect that aesthetic, so each feature had to be it’s own file to assign different values. The eyebrows and inset in the mouth, differed from the rest of the face.
(Kabuki is essentially Japanese dance /drama, where the make-up is an elaborate caricature of the character)
Material bamboo flooring 3/8"
Eyebrows - 60 power /335 speed /340 lpi
Mouth - same
Face - 30/335/340
So I opened the file and erased everything except the eyebrows and saved the file ‘as’. Then opened the original again and erased everything except the mouth inset and saved that file. Opened the original and erased the eyebrows and the mouth inset and saved that file.
I opened the face in the glowforge UI, reduced it to size and added the eyebrows. Reduced them to size (by eyeball) fit them to size and placed them, again by eyeball with the size handles and nudge feature. Added the mouth and did the same. All three sized and placed by eye, freehand without any numerical reference.
Print.
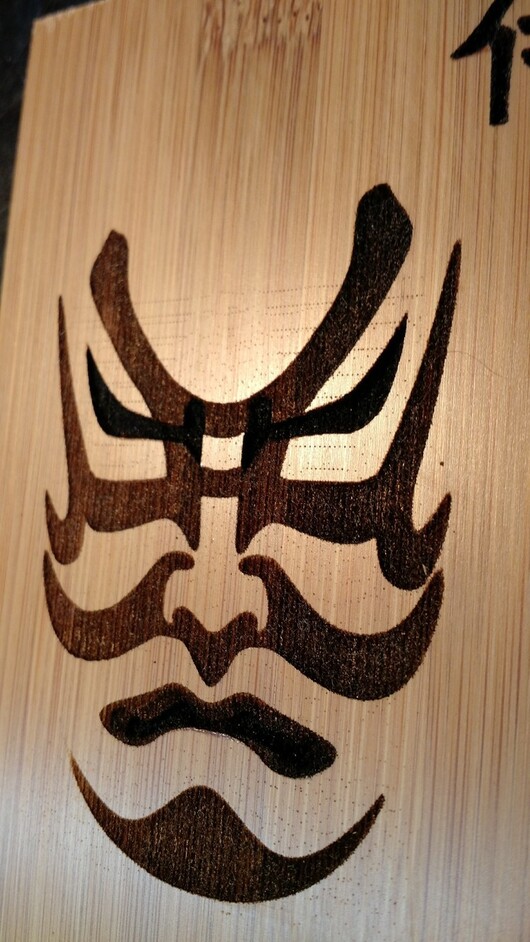
Watching the laser I noticed it swept up from the bottom all the way to the top doing each individual file. So the mouth started at the chin and worked up, line by line, engraved the mouth inset (340lpi) then proceeded all the way to the top of the head. Then it went to the bottom and started again, at the chin and proceeded to the eyebrows, engraved them and went all the way to the top again. Went to the bottom and did the rest of the face,all the way to the top. Print time 18+ minutes.
I could have saved myself and the laser about 10 minutes of that.
The root of my problem was I didn’t reduce the area to just what was needed for the feature, the file still contained all the area of the original file.The machine dutifully followed it’s instruction - dance all the way up to the top… each time
The odd thing here is that the laser produced these individual dots across the entire surface… all the way to the top. My guess is noise in the graphic. Rogue pixels?
I’m sure this is amusing to those who know, but for those like me - take a lesson, don’t burden the laser and your project with unnecessary real estate.
Cool design! This is a good live and learn ting too. The program will consider/process everything in a file, even the negative space. Interesting about the dots, they don’t look random to me and a bit too uniform to be file artifacts, but that’s just a guess. I just saw another post about the exact same thing so it may be a GF thing and not the file. I’m sure one of the other pre-users might have the solution.
Really great to add the setting you used too! Very helpful to see the different effects the setting have.
First of all: great image and great technique on the bamboo.
What file type is the graphic. I have noted stray pixels on jpegs that I have used. This is where an imaging process program would be used to select the backgrand and ensure nothing is in it by removing it. I am still learning GIMP tricks like this. I’m surprised at what shows up in a seemingly white area.
Something like this could easily be traced out since the objects are pretty discrete. Then you could use the vector paths for the different features and assign them a greyscale percentage for the fill. It would then be one file.
Uh-Oh! @Xabbess just saw those same dots…i thought they were an artifact, but the odds of two of you hitting them at the same time are perishingly low…
You need to report those to support, and so does she…I’ll go drop her a note.
I’d have thought that also, but @Xabbess just had the exact issue. Unlikely that both of you had similar rogue pixels. Maybe a new bunch of bugs were inadvertently introduced in an update and are marching across the artwork. Get the info out to support for pest control.
Edit: Jules, I type too slow, but we had the same thought.
Actually not that low. The set of prerelease makes every data point strong. And both are using bitmaps. So coincidence is really that they both were processing bitmaps. But could be Glowforge since they seem random. But when I have seen stuff like that, it’s been the bitmap.
Please report all surprises to support immediately. You’re welcome to post them here as well, but right now, it really hurts us to lose this data or have it delayed by even a day.
JPEG compression is based (kinda) on repeated blocks, so it’s not uncommon to get artifacts that make some kind of square/rectangular pattern. Also, jpeg is worst at representing sharp boundaries, best at smooth transitions, so something like this would be most likely to tickle a bug either in the original file or the GF.
I don’t see why you are calling it a user failure. Extra dots notwithstanding, I think it looks fantastic! I love the way you planned out the different shades of engraving. Cool image as well.
Thank you all!
I knew there would be an easier way, that was the first method I could manage.
@dan, I finished that last print late last night, and was ready for bed as I posted it, but I will report it and any other issues quickly. Sorry.
I wasn’t even sure it was an issue since it manifested as a result of my erroneous process.
I don’t have my GF yet, but one of the really quick ways I help myself see if there’s any odd stray pixels when using a PNG is to throw a colored square behind it. That makes the random pixels show up quickly so I can deal with them. Then I delete that background color and resave. Don’t know if this applies to your situation or not.

 jpg
jpg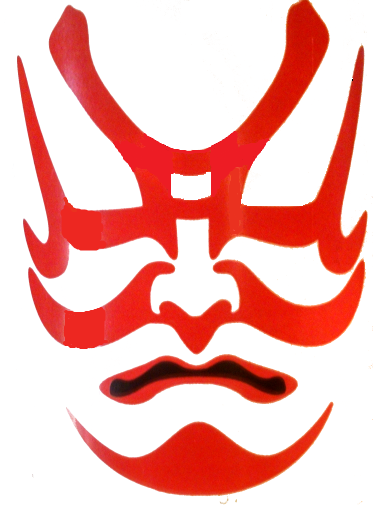 png
png

 )
)