I am using Glowforge dratboard and the engraving is pretty good, although it has been missing areas when I use other draftboards or the same thickness from Craft Closets. The real problem is that the cutting does not go completely through on the cuts using the medium draftboard setting and certified material. The cut will occassionally show a few dots on the backside of the material where it almost cut through.
I’m very new to Glowforge and am learning as I go. I did clean it using the instructions and the Zeiss wipes but that didn’t help.
Here are some things that you can check when a cut doesn’t go through:
Be sure to be clear when you provide more information to Glowforge about whether you’re using Proofgrade material or not.
MDF from other suppliers will not necessarily cut at the same settings even if it’s the same thickness. I have tested lots of suppliers including Craft Closet, and they are all different. A bit denser of a composition or thicker sheet and it’ll need a slower speed to cut through.
Make sure your lenses and mirrors are clean. I have found that, after cutting certain materials, the lens in the print head gets a coating of dust, which results in some poor cuts.
@cpaczosa123
I’m so sorry to hear that your print didn’t cut through.
Could you please post a photo of the front and back of the print and the date and time?
There are several things that need to be checked if the laser doesn’t cleanly cut through the material. We’ve discovered that photos don’t always come through well in emails, so I’ve included several links that will take you to reference instructions and photos. Please turn off your Glowforge and check the following:
The crumb tray is clean and properly installed
The material is perfectly flat on the crumb tray
All optical components are clean and undamaged
Once all these things have been checked, please perform the following test print.
Print the Gift of Good Measure on Proofgrade material, using Proofgrade settings.
When the print finishes, leave the lid closed and wait until the fans stop and the picture updates.
Check the completed print:
If the Gift of Good Measure fails to cut through, take a photo of the front and back of the print and attach these photos to your reply.
If the Gift of Good Measure cuts successfully, please try another print of the design you experienced the issue with, and let us know the results.
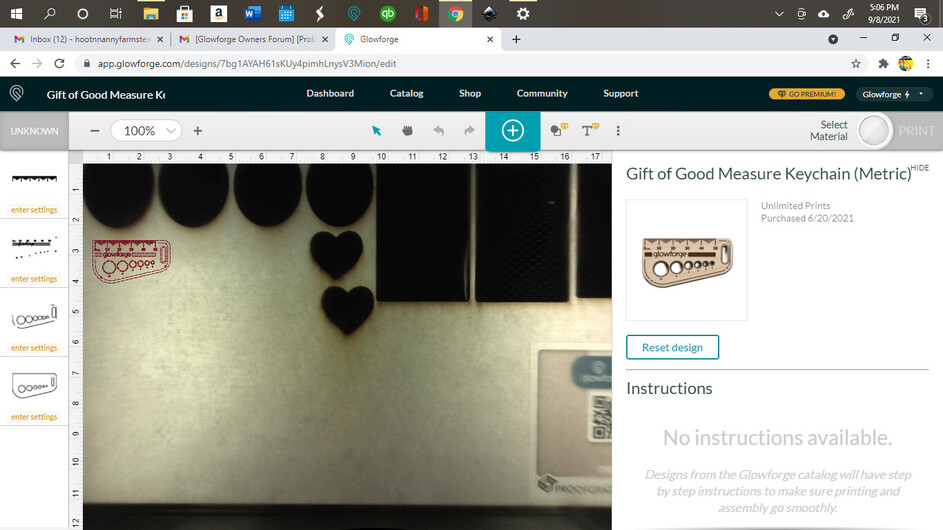
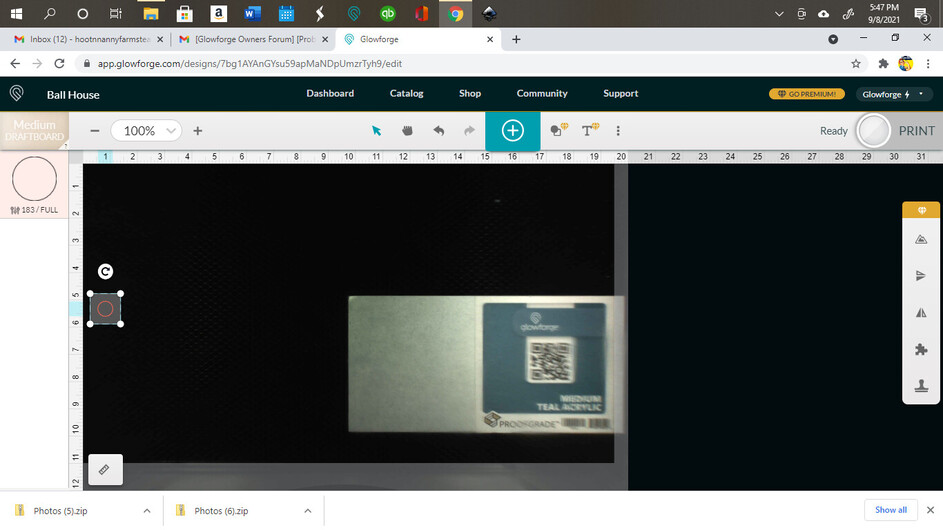
Above is a shot getting started. As you can see the settings don’t recognize the material being used and everything is pretty blurry. I have wiped the lenses multiple times with the Zeiss wipes trying to get it clearer.

The above shot is after I hid the pop up on the right.
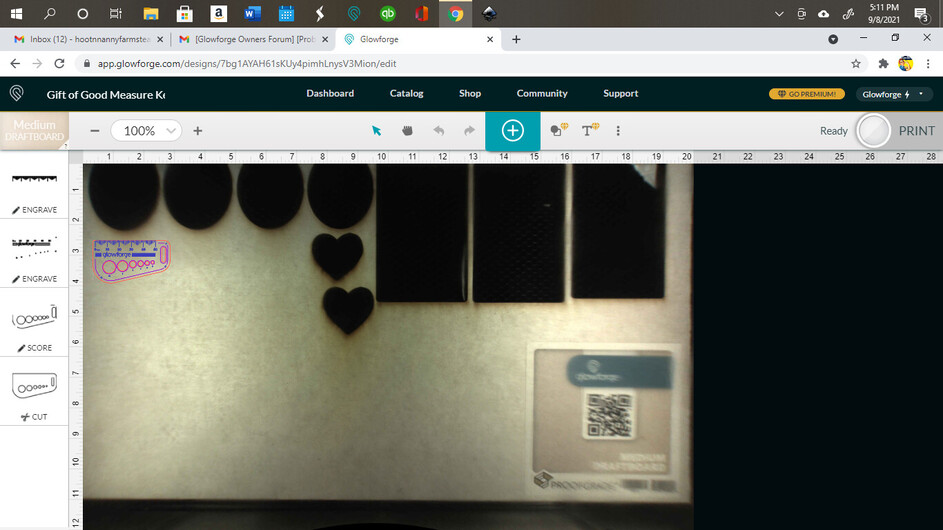
This is the shot after I told the machine what the material is.
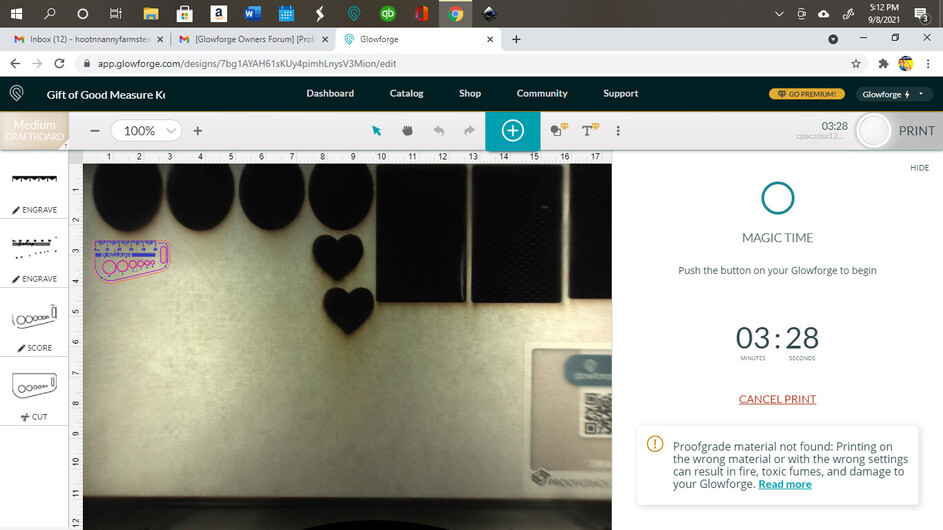
Here’s a shot before I pushed the purple button.
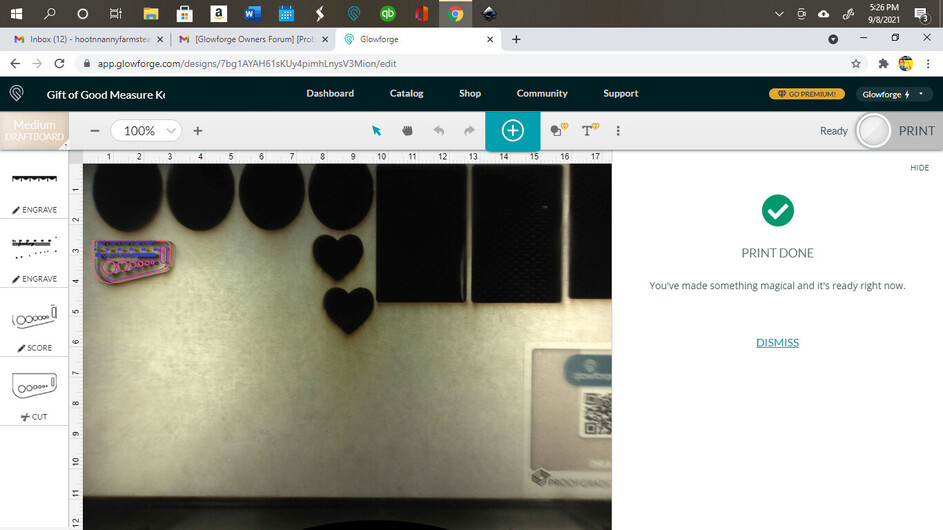
Just finished.
Images attached from phone:
1119 front
1120 back - nothing came through this time.
I actually did 2 other Good Measure cut outs and I’m attaching those photos as well. I was having trouble with my screenshots not saving in history. The following is the first attempt.
![]() IMG_1107.jpg
IMG_1107.jpg![]()
![]() IMG_1108.jpg
IMG_1108.jpg![]()
![]() IMG_1109.jpg
IMG_1109.jpg![]()
Image 1107 is the finished product, still attached to the rest of the board. Image 1108 is the item front removed from the board and 1109 is the back. It did pop out of the main board but barely and you can kind of see the rough (straight edge) in 1118
![]() IMG_1118.jpg
IMG_1118.jpg![]()
The next few are the second attempt.
![]() IMG_1114.jpg
IMG_1114.jpg![]()
![]() IMG_1115.jpg
IMG_1115.jpg![]()
Image 1115 is the front and 1114 is the back. You can see where it almost went through, but not quite.
In all attempts the machine did not read the barcodes.
But, I’m adding these shots to see what you think…
See how blurry…but
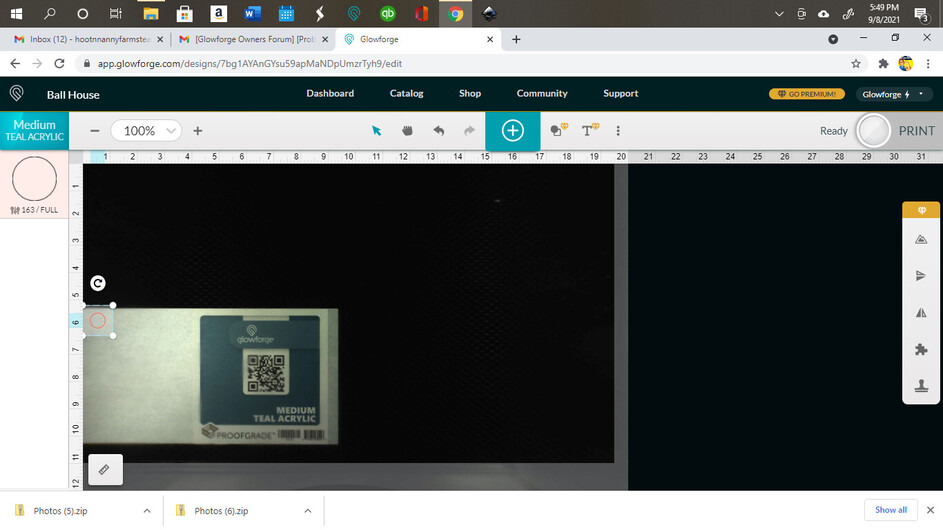
Now it’s clear and reading the material code. Images 1121 and 1122 are the final cuts in the acrylic.
Thank you for your time on this, I really don’t know what to do.
Regards,
Camille

Believe it or not, when cutting non-certified materials like plywood (especially 1/4") I choose Thick Acrylic and Full Power. Zero issues with cutting through. It’s like my go-to setting.
1 Like
Hello, @cpaczosa123 I’m Rae and I am stepping in for my colleague David. I carefully reviewed the history of this forum ticket and have determined the next steps. I would like to rule out the optics as being a cause of this issue.
Could you do the following for me?
Please send photos of all your cleaned optical components, with special attention to any damage you might find:
Both windows
The printer head window, on the left hand side of the printer head

The laser window on the inside left of the Glowforge

The printer head lens
Both sides of the lens, top and bottom

The mirror inside the printer head

The bottom of the printer head

I think I got them all. I sent more than one picture
![]() Photos (6).zip
Photos (6).zip![]()
of a few areas, but I looked really cloise and couldn’t find any damage and they’re still clean from the cleaning I did when this problem first started.
Thank you,
Camille
PS: I’ve been trying a few things and I found that if I put the label on my material towards the center of the tray it reads it, but if it’s over on the right it is blurry and will not read it. I have also cut out a couple of things today that cut fine, but I think there’s something going on.
Hello! @cpaczosa123 Thank you for taking the time to send those photos. After further review of the logs of your Glowforge printer, I need to move this over to email support. I’ve already sent out the email to you. Once you reply back to that email I will go ahead and close this forum thread and get back to you with the next steps.
Hello, @cpaczosa123 thank you for responding back to my email. To mitigate any confusion I will go ahead and close this thread.