Anyone out there had success engraving long material with the pass through on a Pro?
I have a 36” long sign I want to make but I don’t know how to begin. I can’t get my head around the process to do this. Aligning the board and aligning the artwork has me stumped! I’ve read another post about it but got confused as I’m a pretty visual person.
I don’t mean this begging or needy but if they will send me my pro I’ll figure it out and write up a tutorial. I’m using a pru that is on loan to me right now.
Ummm…not done it on a Pro with pass-thru. But I think I posted how to do this with a link to a video that ShopBot did showing the same thing done with a CNC in the event what I explained wasn’t clear in text.
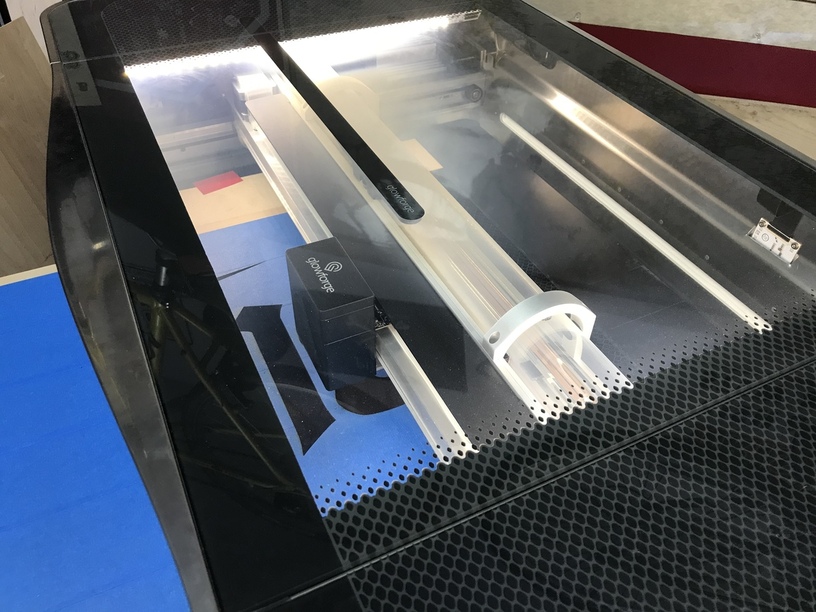
We’re I to have done it on my Basic PRU would have required an unsupported use of the garage door front of the unit which I can neither affirm nor condone Although that’s still limited by the distance between the top of your no-cut zone and the back of the machine.
I had to revert to the Redsail Wed night to cut some long multipart stencils that were 17.5"w by 28.5" long for an artist’s sidewalk painting public art project since the sheets were 19x48" they were being cut from. Hate having to do that - really looking forward to the Pro coming in someday.
EDIT: Here’s the post I did detailing a bit on how to index to do long material cutting/engraving.
Thanks for the reply! I have read your other post and watched the video a few times. I think I understand what’s going on.
So let me know if my plan is correct:
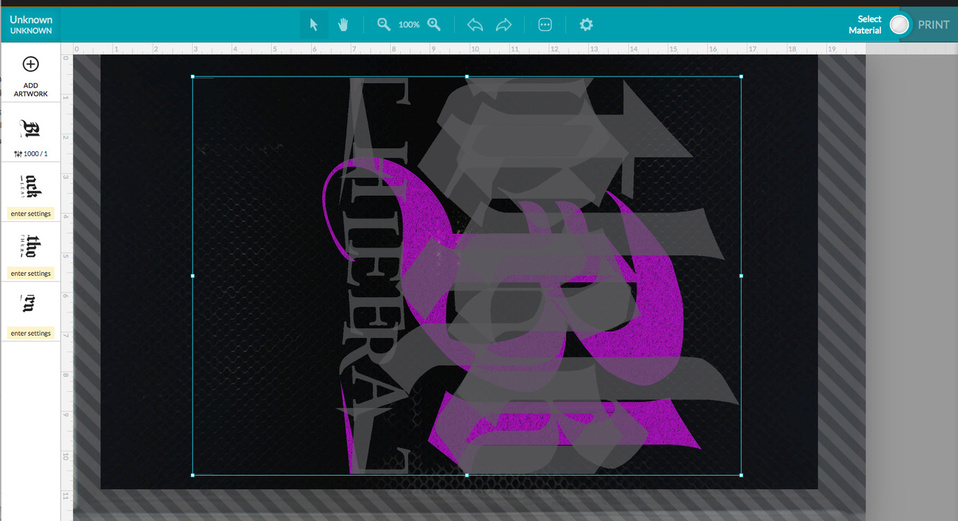
My sign will be split into 4 tiles, each 17x10.
I cut a 3"x13" piece of draftboard with an index mark engraved .5-1" down from the top edge. This is to ensure my art will be all in the usable area in the Glowforge. This will be my X/Y zero point. I taped this piece to the left edge of the crumb tray so it’s basically a fence to feed my material against.
I have index marks at the top and bottom of each of my tiles, spaced 10" apart. I probably only need two marks on the first tile and one at the bottom of tiles 2-4.
Yep. Did you see the other thread that @johnse posted on Pro Pass-thru tips? He had a detailed write up using fiduciary marks (vs pins) and even pictures Better for illustrating the concepts than my text only narrative.
Grrr… My file keeps erroring out after 5 minutes of waiting for it to “Preparing my Design.” It’s done it several times already and pretty much wasted my afternoon. Email to support has been sent. We’ll see what they say. I don’t think my file is complicated. Just large engrave areas is all.
The large engrave is actually the problem. The S/W can not handle large engraves beyond about 3 hours. A simple filled square that is very large could easily exceed that limit. It’s not complicated images that cause most of the problems. Eventually this will be fixed but for now Support is offering this advice.
Thank you @rpegg I lowered my LPI down and I am able to engrave this piece. I’ve been experimenting with speed/power to get the depth I want. It a been a slow time doing it but at least it’s going!
 Better for illustrating the concepts than my text only narrative.