Ok, I understand your question now. Btw, I’ve been using an 80w Rabbit laser system for about 6 months at my local maker space, primarily engraving custom cutting boards and pub glasses, so have had a fair amount of practice with the “normal” workflow with this sort of setup (i.e. truly crappy software).
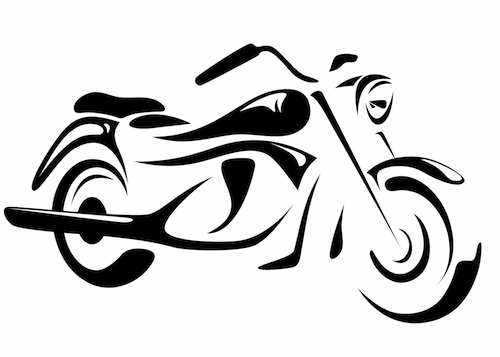
I have used both bitmap/rasters and vectors for engraving in the past, and have since given up on using vector files for engraving. Unfortunately, I don’t have a photo of the end result, but consider this file (browser-friendly bitmap shown, but trust me, this was a true vector file):

What I was hoping was that all the black areas would be “engraved” – burned down to a specific depth as defined by the power and speeds settings for “black” in the Rabbit software. What I ended up with was a meticulously-detailed outline of each black area. Still looked great, but wasn’t what I was looking for.
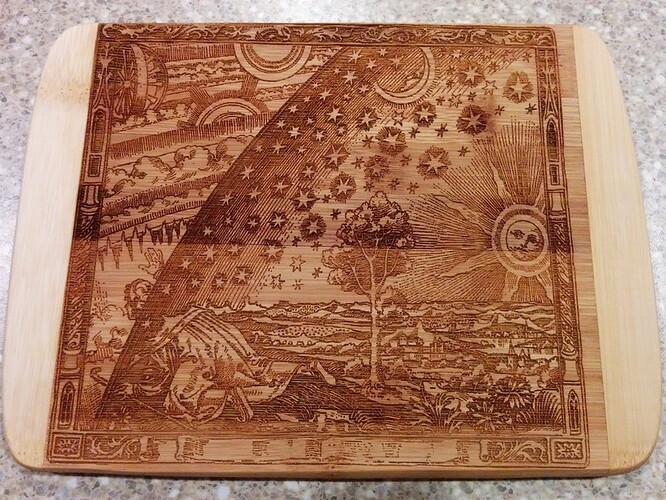
My current strategy is to use hi-res 2-color bitmaps, matching the resolution in DPI (dots per inch) to that of the laser. In my case, the Rabbit says it’s good for 800 dpi, but 500-600 is much more realistic. Here’s an example of a woodcut that I engraved at 300 dpi:
Btw, this image illustrates one of my biggest reasons for purchasing a GF. Notice that the image is aligned along the left side of the bamboo instead of centered. Despite my best efforts to calculate the center (and using the Rabbit’s boundary preview red laser) the actual cut was offset. I am eagerly awaiting my GF, so that I can have a live preview for alignment!
Hope this helps…
