That is probably a huge factor. I don’t like the spray stuff, only have experience with it from making posterboard displays with my son, and it took forever to get the overspray off the floor. What I used was double sided 3M sheets…so, I imagine it’s way too strong for paper, but it held that thin acrylic down really well…too well…
1 Like
See, you’re missing the opportunity here:
Sell it for 50$ and then charge 1$ a month to activate it via WiFi. Wait for the “it’s a paperweight”, “losing money”, “mah business” bingo card to fill in.
10 Likes
Sell it for $1 and charge $50/mo.
6 Likes
Yeah but most people will complain, even if you simultaneously have a presale of 14.99s. But you could always hold half price holiday sales. I hear those are always popular.
2 Likes
My support policy: “Maybe.”
5 Likes
Lol. Is that anything like the old 30/30 guarantee?
It’ll last 30 seconds or 30 steps of me walking away, whichever comes first.
2 Likes
Well this is the greatest mod/add-on ever. I may need to start doing paper projects. Nice work. Extra points for Prince…
8 Likes
What I like about it is that it’s just two boxes.
I cut the main tray without passthrough, I could have done the screen frame without passthrough too, the entire thing is a fairly approachable project.
Skip the power distribution board, skip the switch, use wire nuts and a screw terminal power plug: no soldering.
2 Likes
I’m just surprised that little fan has that much suction. I would have assumed multiple fans necessary. Will you have to use a paper outline jig for materials that don’t cover the entire screen area, or is there enough suction to keep materials down that are smaller?
2 Likes
Yup. You need a fairly good seal. You can see I use a strip of printer paper in that short video. The trace paper is 18” wide, the mesh is 11x 19.5” wide. The edge of 11” printer paper was there to get a good seal.
3 Likes
[feeding the power in through the front door and closing it]
Yup but you do need a skinny power cord to pull it off. I have a pro and slip it in the passthrough, but I could snake it in from the front if I had to
It’s possible to do curled materials but ideally they should be fairly flat to start.
3 Likes
The foam is flat (after I flattened it), but light enough that even the sheet of it moves around with the fan blowing on it. Thanks, I’ll think about it. Maybe I should just cut some stuff first.
The space between the lid and door has a zig in it but is somewhat large, perhaps bigger than side to side.
Yeah I didn’t try the gap between the lid and the door, I went around the side between lower door and frame. It worked out.
2 Likes
I’m a bit surprised to have not yet seen any jokes about how this appears to really suck.  So I guess this makes me the first?
The only thing that could make this better is a parts list with links. 
13 Likes
Aluminum foil lining. Glue, staples, or wedge it in with a couple of furring strips
Did you use 1 fan or 2?
Edit: I see the answer 2 posts down:
2 Likes
Well that’s the trippy part about pressure differentials, you don’t need much.
Let’s say this is pulling only 1 psi static pressure. With a 5"x5" square of material, that’s a total of 25 lbs of downforce. Even if that estimate is really high, even a fifth of that is like a 5 pound downforce.
It adds up really quickly. Now the CFM angle comes in because as you cut the material you’re opening gaps and eventually all your kerf becomes a notable “leak” in your seal. A high CFM fan is required to keep pulling air through those gaps while still maintaining a pressure differential. A fan with a really high static pressure* and low cfm wouldn’t be enough, a fan with really high CFM and very low static pressure is much more viable than the other way around.
In any case, this little guy seems to be doing the job, so I’m pleased. I’ll probably add the second fan just to try it out, it’s already in my amazon cart. ![]()
* A high static pressure is actually a problem in its own way. You need to have a screen surface that can withstand the downward force, something with a high open % (meaning more air than material surface area) and very rigid like the current crumb tray would be great, but steel honeycombs are hard to source and hard to work with. The nice thing about the mesh is that it cuts to shape easily with tin snips. It won’t withstand a lot of pressure without deflecting (bending), so we’ll see if the two fans cause a problem. I suspect they won’t, it’s been a long time since my fluid dynamics courses but I suspect this will increase total airflow a fair amount but static pressure will not increase much at all. Physics!
9 Likes
A 40 mm fan is ideal here, you can use the fan specced for the air assist (~19$):
Or if you want to save a few bucks and get marginally lower airflow, you can use the one I have (~13$):
https://www.amazon.com/gp/product/B0099WB5RW/
EDIT: jump ahead to this to see discussion of higher power fans:
The screen I chose was this guy:
https://www.amazon.com/gp/product/B07NPDKWDV/
I liked it because it was a bit heavier duty than many others, I wanted it to be fairly strong.
It comes rolled up, so the first thing you have to do is flatten it, which requires bending it back the other way. I actually rolled it “the wrong way” around my masking material roll, it was the perfect diameter to bend it back to flat. Wear gloves when handling the screen mesh, the ends are pointy.
The rest was MDF and a 12v power supply I had laying around, and a few electronics bits I had laying around (switch, vero board, pin headers, wires, solder, assorted screws and other hardware you want to use etc)… but most of this stuff is up to you. The fan and mesh are the only really bespoke things I purchased for the project.
15 Likes
Sorry for the spam but I’m still figuring out what this is good for.
So I cut some linen fabric. The tricky part is that the fabric is (of course) porous and can’t get a good seal.
I laid some trace paper on top of the fabric and made a linen sandwich. It worked pretty well.
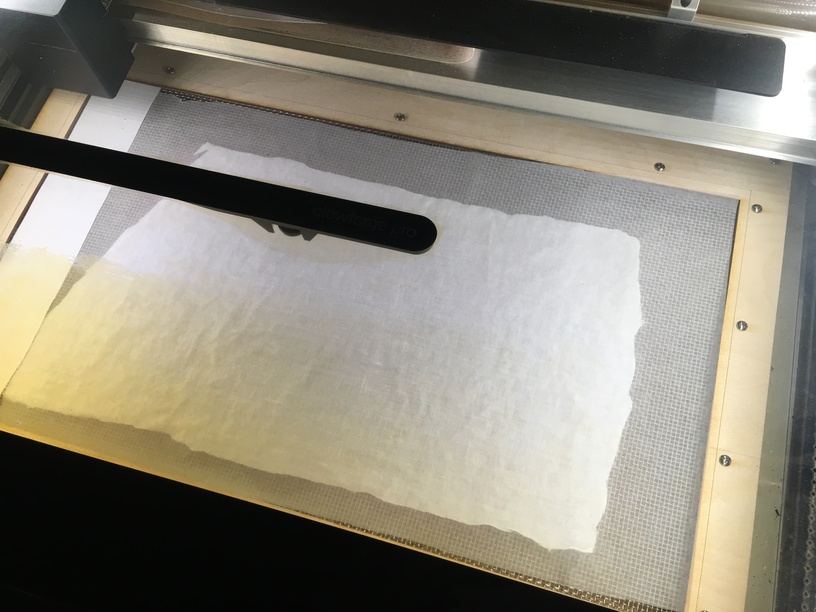
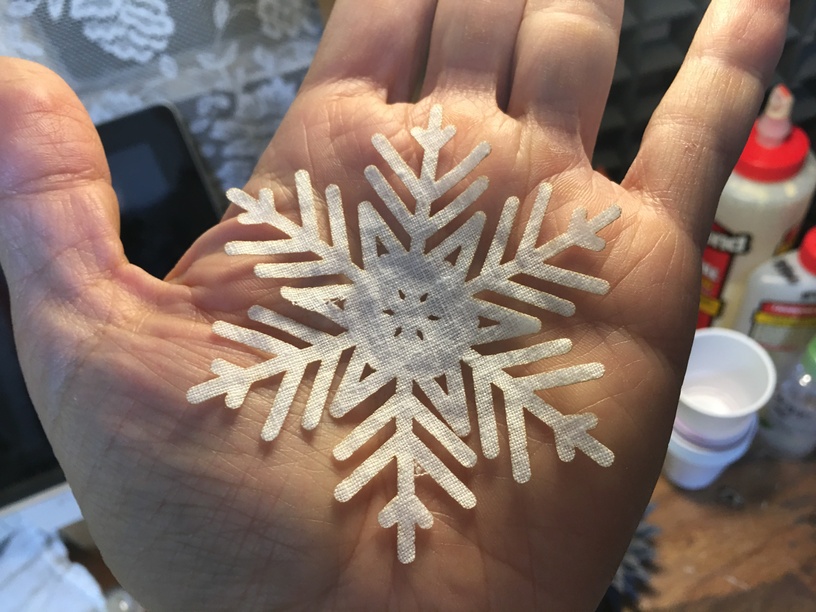
I’d probably be better off masking the fabric, the masking would stick to the linen and would not rely on the vacuum to hold the sandwich together.
It worked but I probably wouldn’t do it this way with something as light as tracing paper again. Maybe cardstock. More experimentation needed.
16 Likes