Variations of finger joints

Wow! This is incredibly inspiring! Thank you for sharing these ideas!!!

2 Likes

My goodness, what a lovely collection! Thanks for sharing your techniques. I can only imagine the possibilities when you add engraving to the mix.

4 Likes

All you need is someone to load material and push the button :slight_smile:

3 Likes

Totally depends on the specific joint. I assembled the half-finger joint first, then put the yellowheart studs on after assembly, but I stacked/glued the layers into the joint with the yellowheart stripe before assembly. All depends on what you’re up to.

The woven inlay one in particular took a lot of assembly first, hence the comment above about fiddliness.

2 Likes

Might you have an inkscape design to share as an .svg? Great designs.

Not really. I kept adding to the same monster file so it’s a total mess.

My method was basically this (simplified to keep the steps easy to understand. There are ways to speed this up or be more efficient, but that comes down to your specific style. I personally use clones, but everyone has his/her/their own preferences):

Assumption: You have a target box size before you start here. If you have a desired finger size, you can adapt this technique to hit that goal too. OK let’s go!


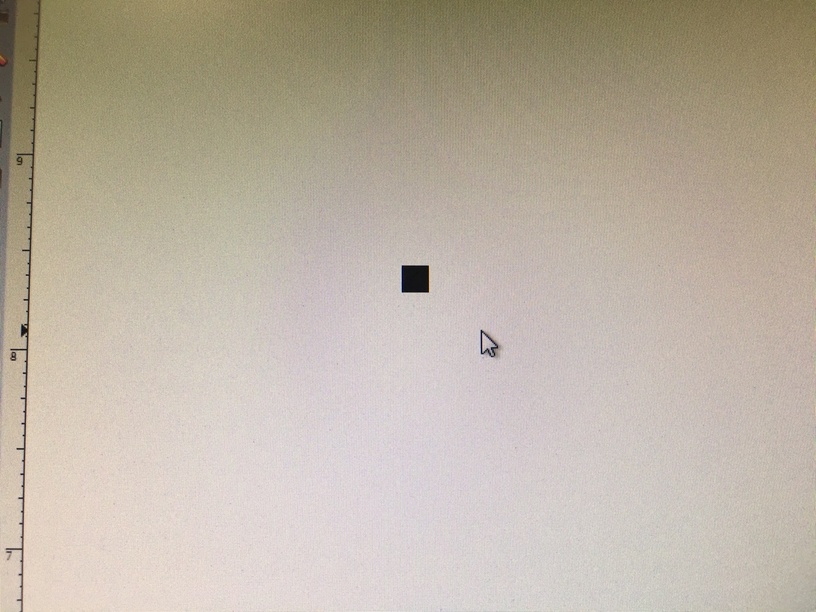
Create a rectangle that is the desired width of my finger. Be sure it’s filled and no stroke, or the align (later) won’t work.


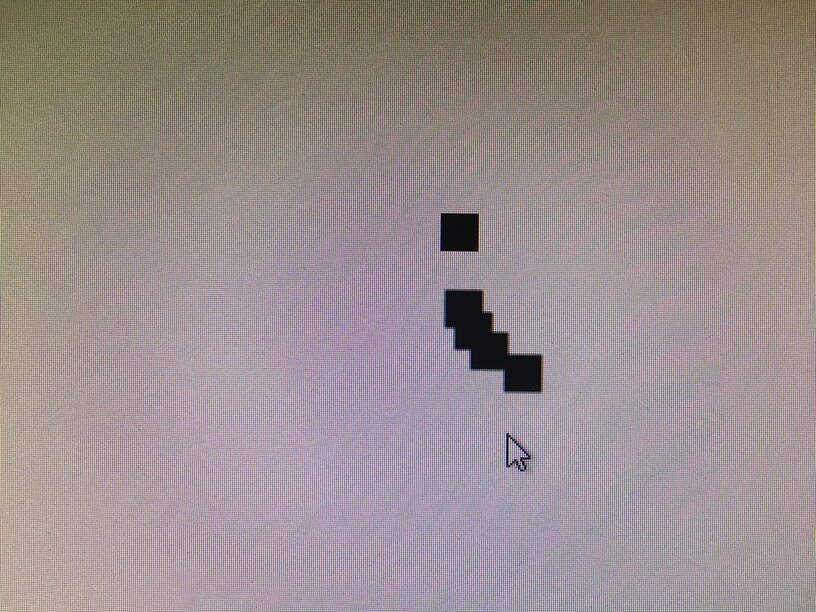
Copy and paste however many fingers I wanted into a big jumble, placement doesn’t matter. I chose 5.
[This is when you’d do anything fancy to them that you wanted to do.]


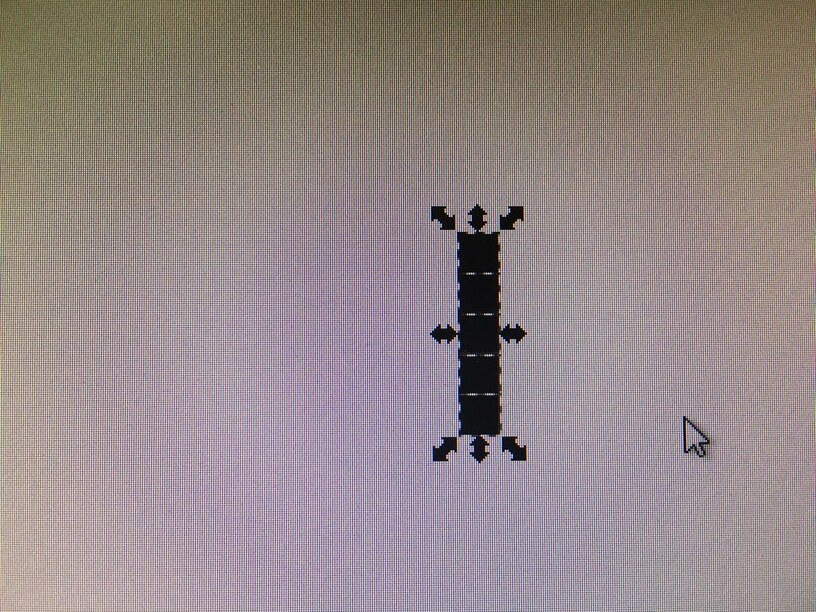
_Use the “arrange” tool to align them into one column with zero y-spacing. Now you have a stack of your fingers. _
[This is also when you’d do anything fancy to them that you wanted to do.]


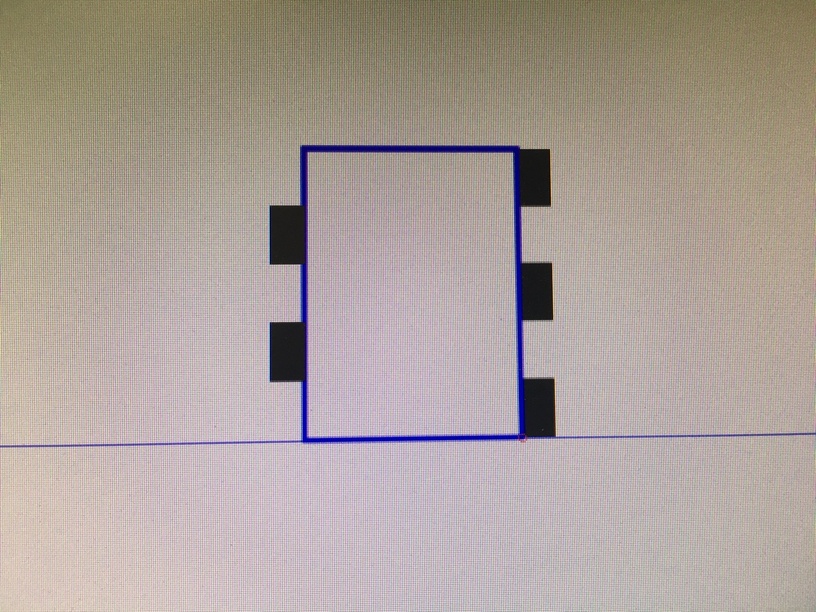
Draw a rectangle that is the desired size of your side. Convert it to a path (path->object to path)


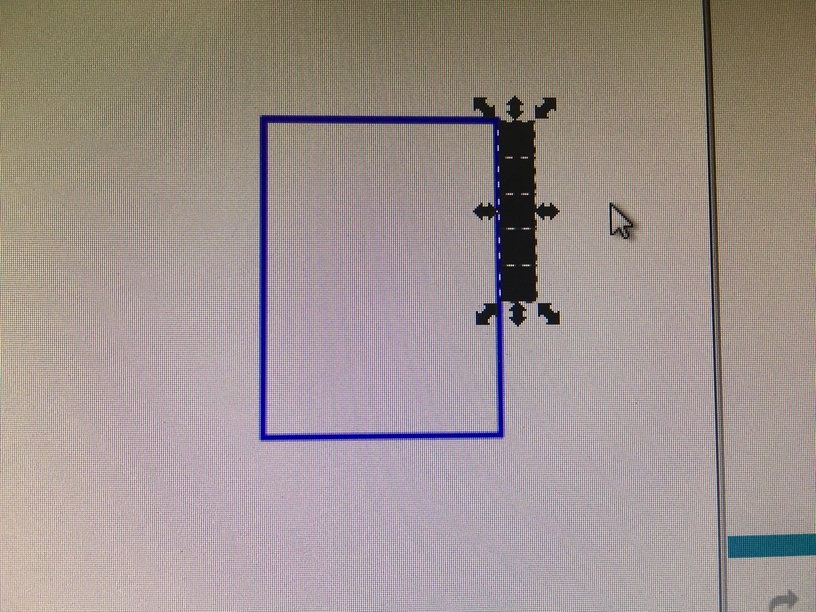
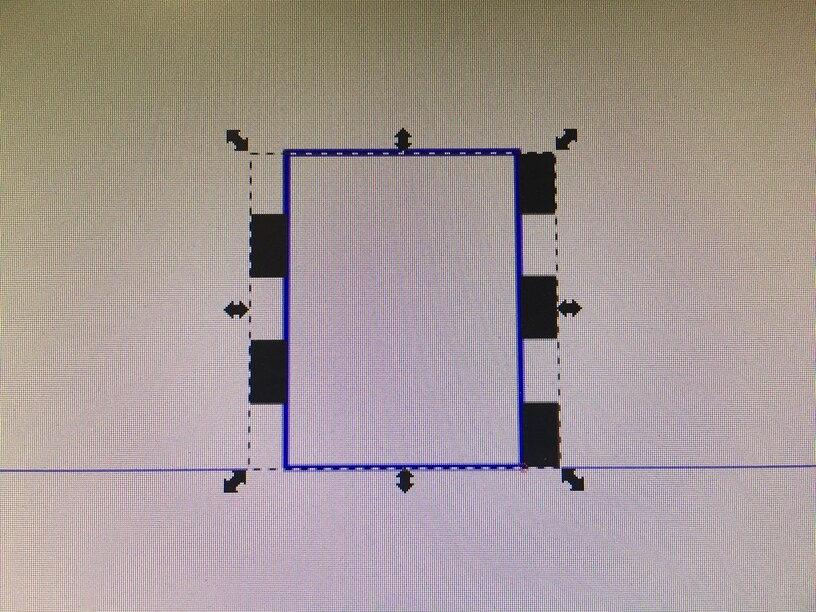
Align the entire stack to the side of a rectangle that is the desired size of your panel. The stack will not be the exact size of your rectangle. scale it vertically (using a guide if you like) to get it to match your desired side size. (This would be reversed if you had a desired finger “height”, you’d match the rectangle to your stack of fingers, you dig?)
Copy and paste your stack and align it to the other side(s) of your rectangle as necessary.


Select every other “finger” in the stack(s). Remove them however you like (delete, cut, whatever).
_Now you should have a set of properly aligned fingers. _
[This is also also when you’d do anything fancy to them that you wanted to do.]


Turn them into paths (path->object to path) and then combine them (Path->combine (control-K)).


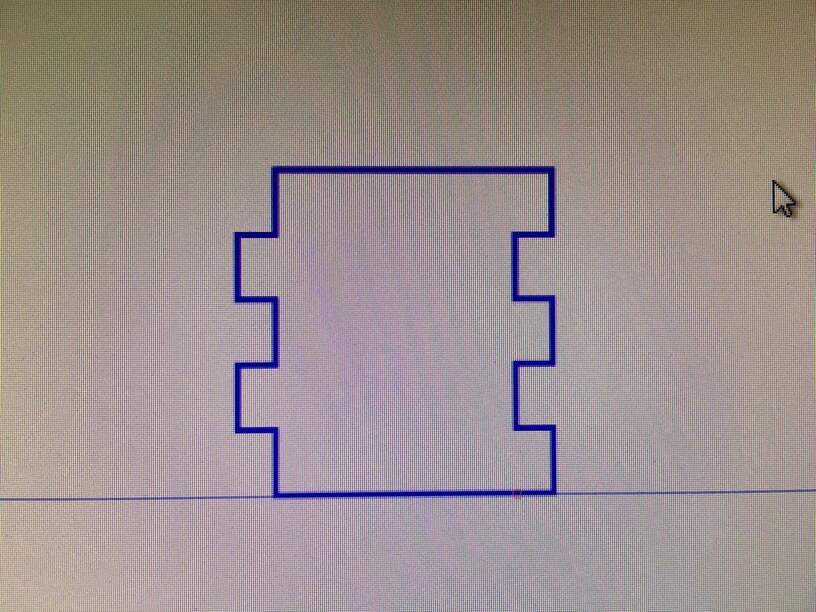
Now you have two path objects. This is good because we can then select both and Union them (path->union). Voila fingers!

Correct for kerf (I use the “stroke to path” method) and you’re off to the races with super well-fit fingers.

Clear as mud, I’m sure, but hey I’m moving quickly :slight_smile:

17 Likes

Imagine no longer! This was always my first thought about that:


Walnut. Not sanded flush to preserve the contrast.

Well, I did say “run toward the light”… :slight_smile:

Also, a bonus: My boss said the cutout circles was close to a favorite but it needed to be filled with gold or something.

Enter 1/16" brass rod, resize the holes for a kerf adjusted 1/16" and now I have inlaid friction-fit brass pips:


Walnut and brass.

For a more permanent installation I would epoxy them, but this will do for a proof of concept.

34 Likes

This is some awesome inspiration! Thank you for sharing. I have a couple of boxes I need to make for some brass letter stamps. I wanted to do something cool and I think you’ve opened my eyes to a good direction. Cheers!

2 Likes

I have taken a somewhat different tack.
First I make a finger of the size I want…

and then I duplicate it selecting each time so the numbers get big quickly, and then array that finger at the desired distance between fingers…


I can then Union all the parts together and save it off as a standard. After that I simply bring it in and align it to the work and any guides to assure the parts mesh correctly, and use the difference boolean to remove that amount. Any excess will simply disappear, I can then clean up the ends up or down as needed.

10 Likes

These are amazing and inspiring!! Thanks for showing us your rabbit hole!

1 Like

That works, though there are two caveats:

  • The arrange tool will base the gaps on path and stroke, regardless of your bounding box mode. This will make your gaps tricky to figure out. My no-path stacking method plus later kerf adjust ensures a precise fit.

  • This method works when your fingers are uniform thickness. It’ll break down (or at least get weird) if you try variable finger size.

But as we know there are a lot of ways to do this :slight_smile:

2 Likes

There are other very precise means of a variable array in terms of spacing matching thickness but if you have various thicknesses they will array at the same distance between each,

I have been making a standard finger arrangement so that everything fits everything else, so I can just drag in the appropriate set of fingers to match the source of wood and thickness, As for kerf that could be calculated up front when setting up, and depending if the finger were to be added on or cut out, it gets done once and not need fiddling for each design in a given material at least in theory, however I keep finding that for a number of reasons the amount removed in the cut is not a constant even in the same cut, so I have found that a hair loose still works but a hair tight does not so I favor the loose side of dead perfect.

As the old saying goes “many ways to skin a cat” though it is a Schrodinger metaphorical cat I hope.

3 Likes

3d engraving texture into the fingers works but needs tweaking to get the proper gradient.

image
Walnut with “conical” engraves in the ends of the fingers. Makes for a fluted appearance.

12 Likes

So much inspiration, need to do some finger joints!

2 Likes

This is incredibly inspiring! I’ve bookmarked this thread so I can come back to it.

Thanks for sharing your process as well. It’s always great to see more tips and examples for using Inkscape. I feel like I learn something new every time I see someone else’s process.

6 Likes

I couldn’t agree more. @rbtdanforth and I come at it from totally different directions, but both get good results. I steal bits of everyone’s processes every time someone is generous enough to share.

6 Likes

Ditto!

4 Likes

Beautiful. inspirational. Amazing work.

3 Likes

OK so I decided to try the ultimate obfuscation – totally hidden fingers.

Here’s how it went:

hidden
Maple.

Basically you engrave the fingers, essentially making them deep pockets, and have an “overhang” that conceals the cross fingers.

The tricky part is getting your engrave settings dialed in to make a pocket that very nearly comes all the way through your wood. There’s also some variation in the depth of the pockets that makes for a “wavy” bottom, which shows up on close examination of the joint from the side. This could probably be beaten with a cleanup pass or maybe a clever gradient for each pocket or perhaps multiple lower power passes.

Actually all you might need is a way to clean the pockets, the waviness may be just accumulated gunk. Q-tip with ammonia or something? Certainly getting rid of the fingers and just doing a concealed butt joint would get some of the benefits of alignment that you get in finger joints with the ease of assembly of a finger setup – but I digress, this thread is about the noble finger joint!

As a proof of concept, it’s not so bad, but would need work to be truly dialed in.

I also wonder how well this would do on a less uniform species of wood, probably be really tough to get the engrave right.

14 Likes

That is sort of where I started from not caring for the finger results I was seeing in most cases. That “waviness” is the different strengths of the wood on a fine scale with considerable differences between species, and you will find it at the bottom of any deep engrave… to get it clean and flat takes either sanding or cutting with a scalpel wood carving tool.

As for dialing it in, I have found a 10 to 20% variation, depending on the species. Cuts that are 95% to 110% of the way through along the same cut line based solely on wood grain I find commonplace and “dialing it in” amounts to finding the point that the least amount of cutting is 99.5% or in deep engraves the point that the greatest amount of cutting that maxes out at 95%, but just when I think I have it I find a case more extreme in the direction I do not want…

1 Like