Vectors by hand

My wife and I recently returned from a trip to Alaska. We had a great time and stayed at many amazing places and went on even more adventures. Since we happen to have a superpower to laser things we wanted to send a few gifts back north upon our return. So, I’ve been working on a few coasters and key chains (ssshh).

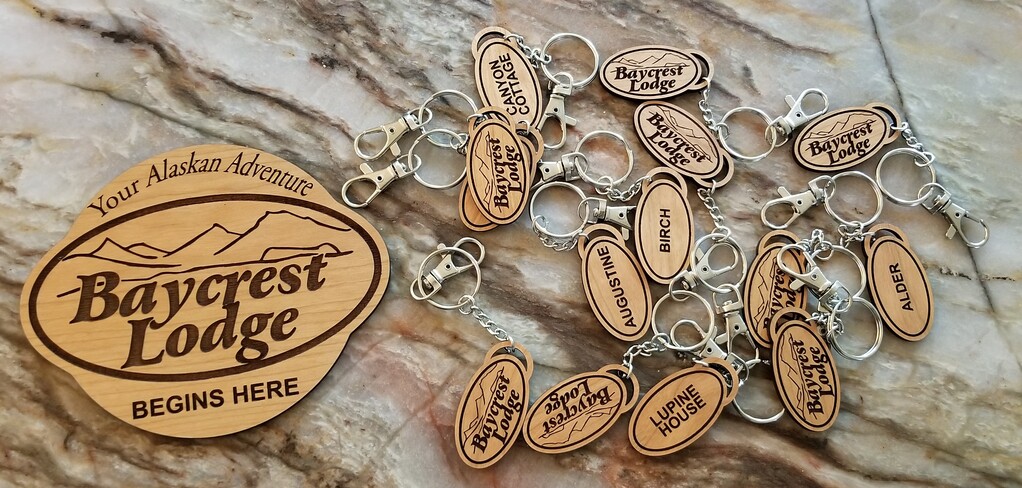
BTW – If you are ever in Homer AK look them up.

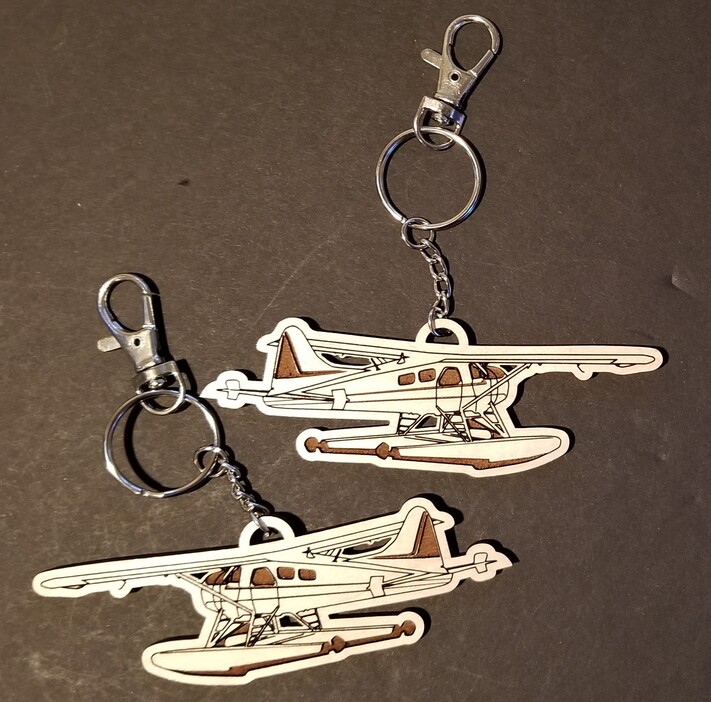
Now I ordered some keychain parts, and for fun, I made a few for myself with designs I’ve picked up over time.

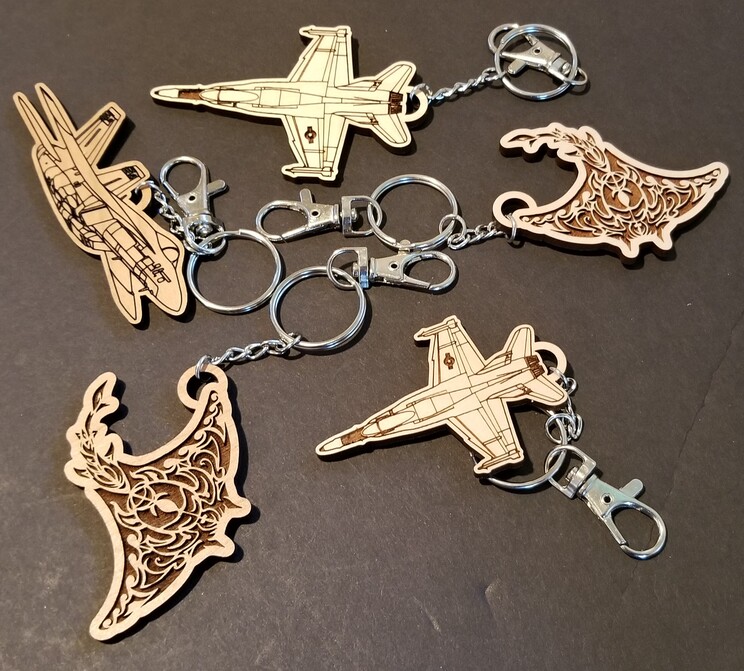
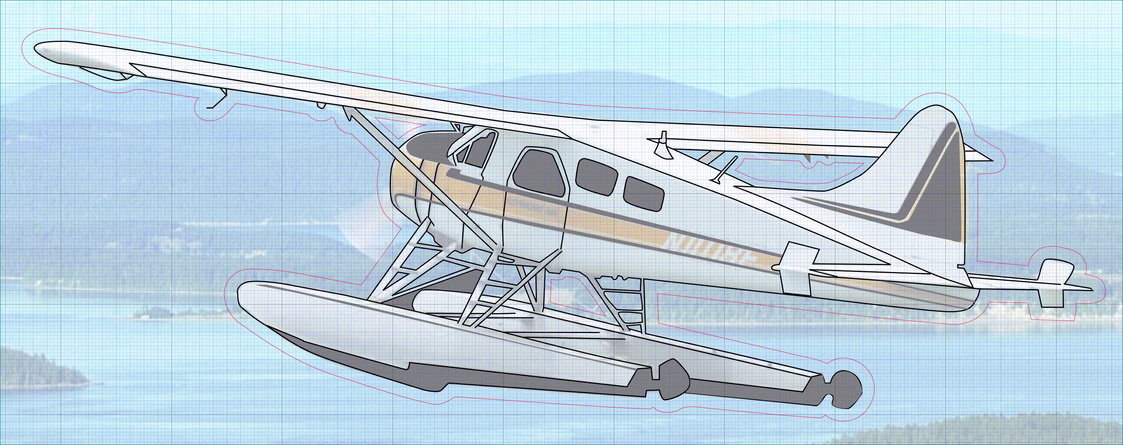
Since the designs are not “mine” I use them for myself or small gifts for friends. One vector design I personally wanted, but was never able to find one I liked, was of a seaplane. Being in Seattle and going on vacation to AK Seaplanes are a good friend.

Today I searched again and didn’t find anything that would work for me. Well guess what, I’ve learned a few Inkscape tricks since beginning this adventure, so I decided I’d try to make a vector design of my own :O. Now I’ve started a similar process before, but my attention span falls fast with detail work like vector drawing. Today was different.

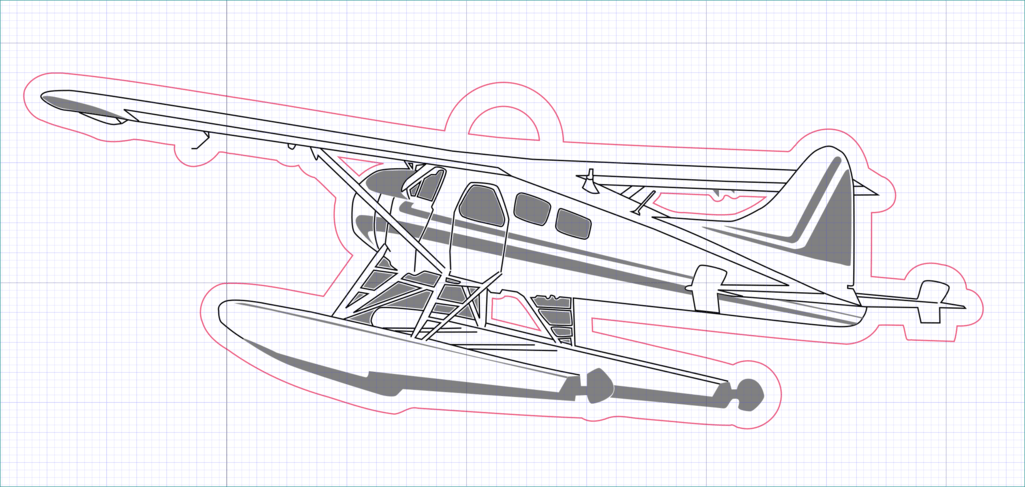
Today I saw a photo I liked of a Seaplane and I just started tracing it by hand. It started out a bit slow, like when I’ve tried similar projects in the past, but today I blew past the frustration. It wasn’t long before I was having fun deciding what to add and what to remove or what should be an engrave, score, or cut. I’m sure I have many more tweaks to make, but here is my first pass…

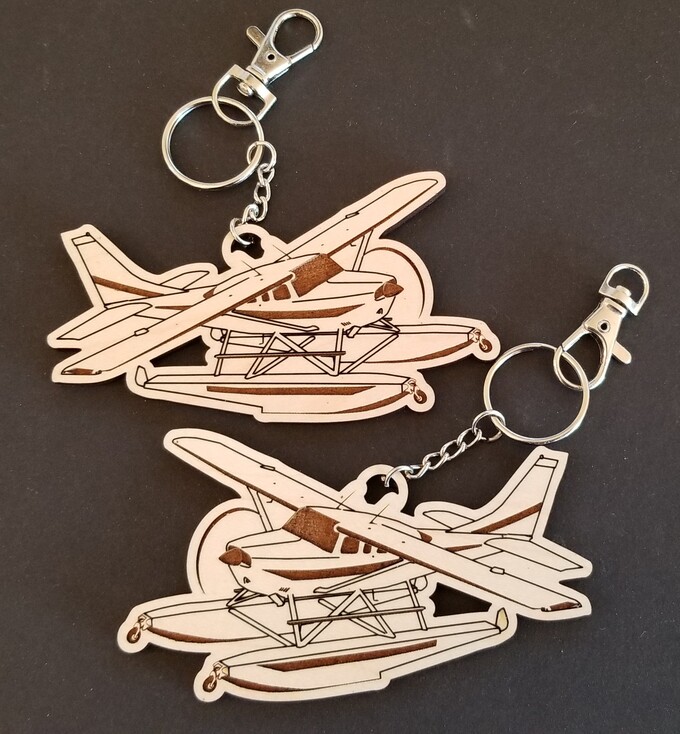
…and converted to a key chain…
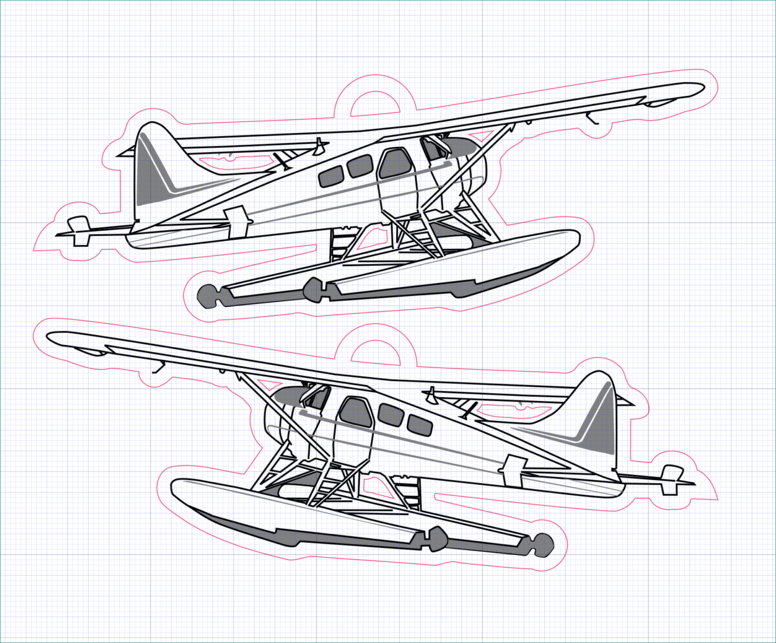
Black - Score
Gray - Engrave
Red - Cut

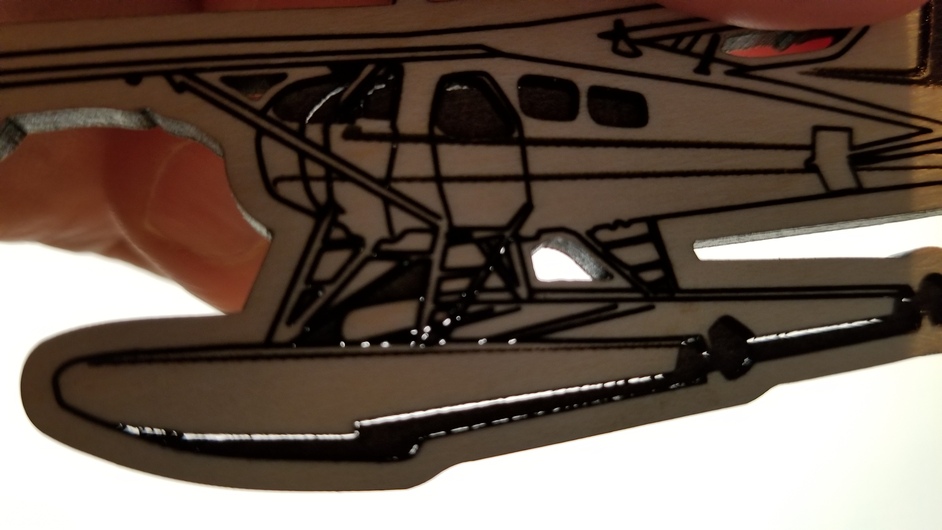
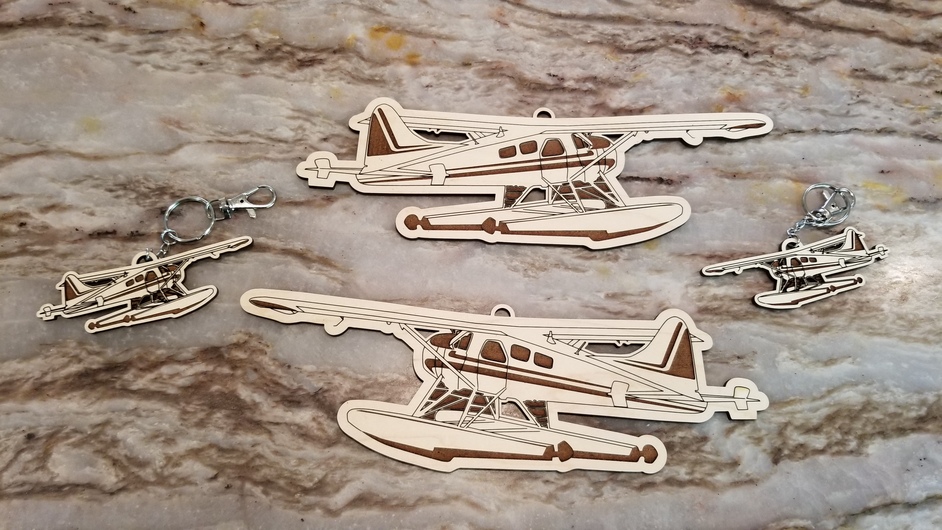
…and finally cut on the GF…

I’m happy to find that time invested just working with vector tools can have surprising results over time! I now have a design I can call my own! :slight_smile:

40 Likes

Nice job all around. I like that manta, tribal without being too tribal, good stuff.

2 Likes

Love the Manta :heart_eyes:

1 Like

A whole bigger, better world just opened up for you.

When learning Illustrator, the first thing I was taught (in school) was how to use the pen tool. That involved a lot of tracing things. Curvy lines at first, then more organic things like fruit, etc.

Even when you get into the more advanced things like gradient meshes, etc. remember that those can all be engraved as well - just make a copy of it, rasterize and you’re good to go with your own artwork.

5 Likes

Finding vector files optimized for laser cutting can be a real challenge (double lines etc). That is why I’m starting to look at making my own. Here is my Seaplane design on close inspection (note I’m scoring/engraving both sides)…

I’m sure, with a little more work, I can optimize the scores lines and engrave shapes to prevent this, but it’s a good illustration of the challenges getting files ready for laser cutting. Challenge accepted!

9 Likes

I am sure you had great memories while designing and burning these gifts.

1 Like

Great job on the plane!

Very thoughtful to make items to send North!

1 Like

Deleted.

1 Like

I thought about that, but the design had a number of areas where the lines were doubled or crossed engraves. Once I fixed those the issue of burning through hasn’t been significant.

I’ve made a number of other tweaks as well…

Here they are printed at width 4" and 10" both double sided…

One thing I’m learning is the details that work well at a larger size need tweaking when shrunk down to the point that lines/engraves start getting closer than intended.

I may start playing with tweaking the power for different shades of “gray” or rasterizing to make some elements gradients.

Thanks, and I agree, its been very satisfying and I find when I encounter a problem I know what tool to use to quickly fix it! I’m sure I’ll be frustrated trying more or more things, in the future, but successes, one can enjoy, help build confidence to take the next leap!

6 Likes

great job - love the clean designs and a wonderful job describing the process - thank you

2 Likes

Why stop with one design :slight_smile:

The main experiment, for this design and print, was converting some of the scores to engrave fills to bring out the detail. You can see the attempt in the wheel gear on the front. I think I’ll tweak some of the “lines” a bit to be more logical but I like how it turned out overall!

Drat, missed some weeding on the rudder and front wheel, fixed!

5 Likes

In for a penny, in for a pound, right? Check out the gradient mesh tool :slight_smile: you can pretty much do photo-realistic work in Illustrator with it.

1 Like

The easiest way to find all the areas you’ve missed when weeding is to post a photo here. You’re guaranteed to notice all of them just after you’ve posted it. :joy:

6 Likes

I also noticed I assembled one of the keychains wrong! :open_mouth: My thumbnail really didn’t understand why it needed to go through the pain of spreading the ring for the easy end of the swivel latch.

1 Like

I take photos of everything I make as a learning thing. I discovered this a long time ago…looking at various projects on my big screen iMac…weeding just jumps out. It’s a pretty good way to make sure you get it all. Or at least as much as possible.

2 Likes