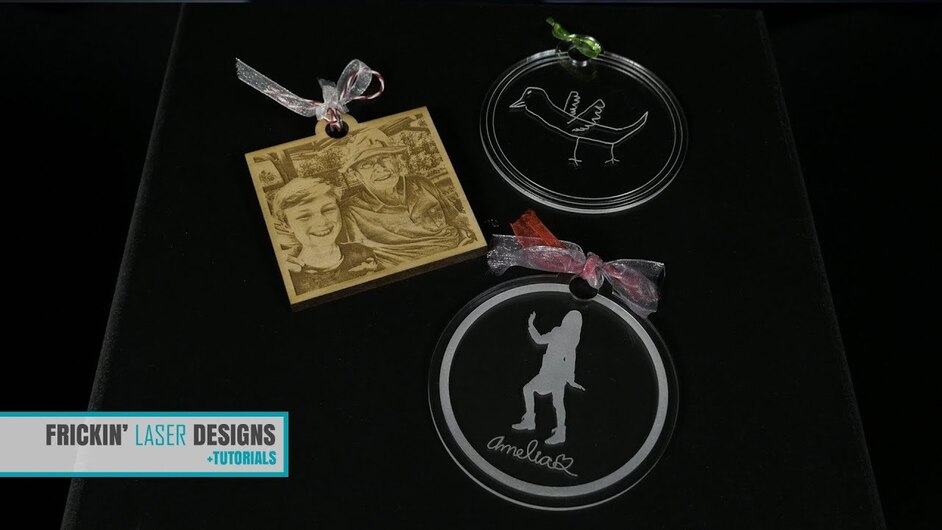
Here is a pretty simple tutorial for the holidays:
Very nice, I’ll shift it to the Tutorials section and add it to the Matrix. 
Okay, thanks.
Nice video to help people get a basic understanding of putting a design together!
Just for fun. It’s been a while, I know, so please forgive me. In the video I included an Easter egg. In one of the ornaments (the wooden one) I used a picture of an “elderly gentleman” with my son. It turns out that the elderly person is Clint Eastwood. He got to meet and be directed by him when Eastwood filmed The 15:17 to Paris. I thought people would catch it and comment. It appears no ever did, so I thought I’d finally mention it. Take care everyone!
Hah! I did watch that but didn’t realize that was Clint Eastwood! (How totally cool that he got to meet him, he’s one of the greats!) 
Thank you so much for posting this! It took so long to figure out how to remove the white background.
Can anyone help me figure out how to engrave the inner parts of the image but cut out the outer parts if you don’t insert your own shape (circle, rectangle etc.)? I am wanting to take the outside edge of a vectored image and seperate that edge to cut but keep all the inner vector lines set to engrave. I have been looking everywhere and trying everything but can’t figure it out. I’m sure it is simple but just can’t figure out which buttons to click.
Thanks!
@jedwards I’m brand new to graphic design, so someone else may have a better answer. But I’ve found that if you convert the engrave part of the image to an embedded bmp file, it works better than engraving vector files. I break apart the whole vector, hide the part I want to remain a vector, select the rest, and convert it to bmp. Then you can unhide the vector part and re-save as a vector with embedded bmp file. The real graphic design artists here may laugh at how I explain it, but hey, it works. 
