So first off, @Jules is like my Ygrette - “You know nothing @henryhbk”. So to start out with I realize daily that I know nothing about AI, since before having a laser, I would use it once in a very long while to fix something for a poster or something; and of course @jules is amazing; so when I comically discolored and burned (engraving and cutting wouldn’t really apply to that hot mess) some walnut veneer, I figured I needed some help.
So after learning how to properly trace and then fix-the-trace on a wave pattern I needed (actually not the one I ended up using, but the technique was the same), and how to properly do an outline offset path so I could do a tight surrounding cut, off I went:
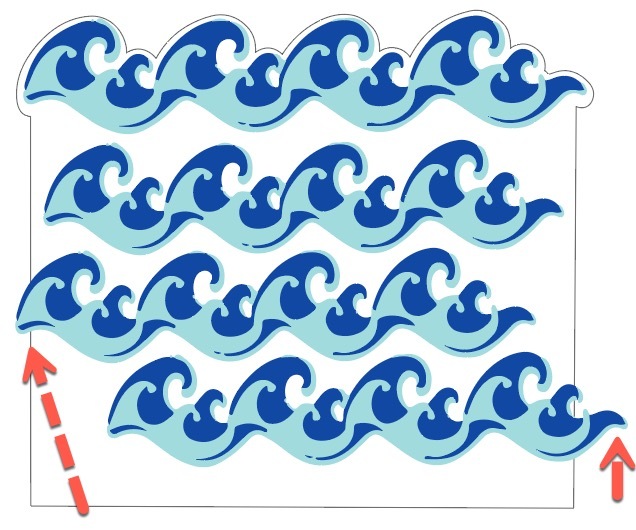
Now note, the going outside the cut line was very deliberate (I wanted it to give the “looking through a window effect” and while I could have masked it, wasting a pair of 1/4" little spots of veneer really didn’t matter enough to spend the time.
So engraved and cut it and ran into a problem (although it sort of works with this project):
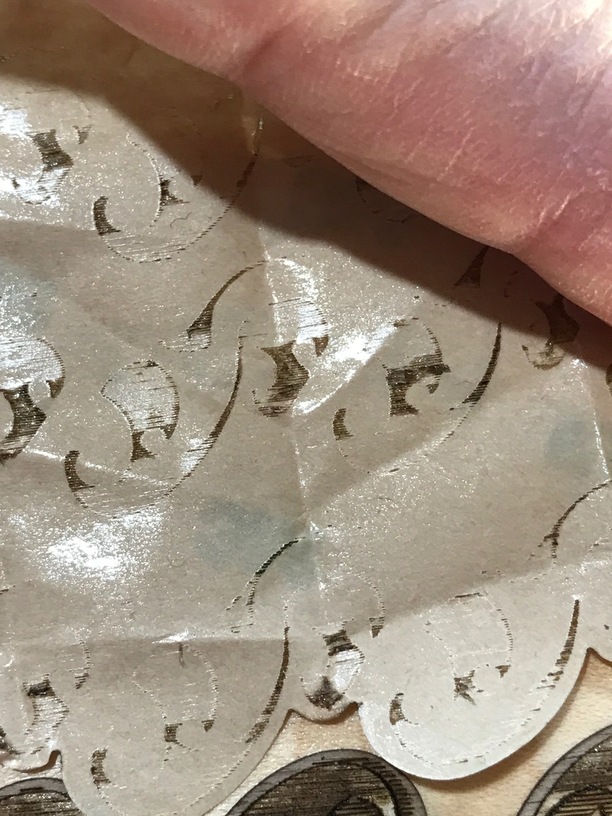
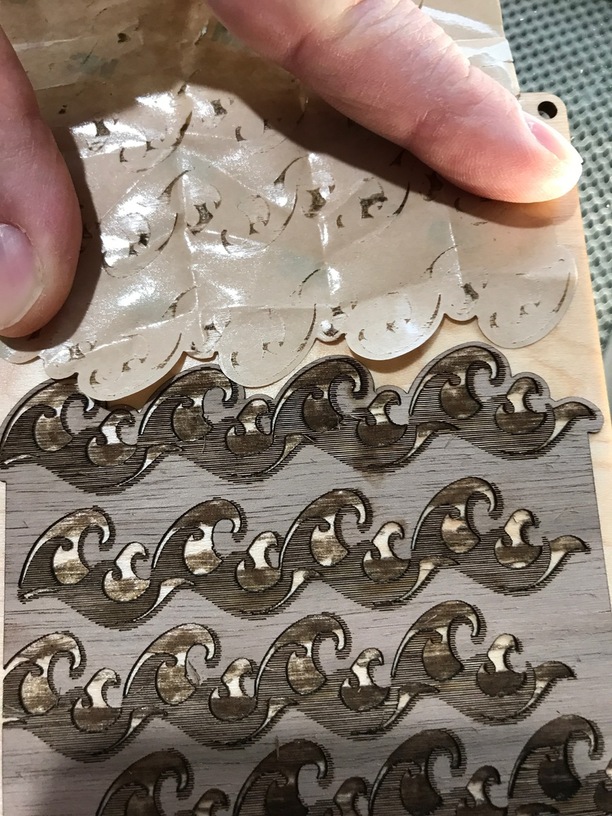
The dark engrave setting is cut way too thin for the strength of the adhesive backing. When you peel off the protective sheet, it peeled the thin wood right off with it (no matter how gentle I was). The lighter engrave works perfectly.
Luckily when laid on the maple backing, it sort of resembles foam on the waves, so I went with it.
Unfortunately I can’t show the final project for my friend (which looks really cool) as the thing laid on top of this can’t be shown (no not that way you perverts, as in “public can’t view product prototype”). But the prototype was made in a kind of cool way as well.
It is an insanely complex CAD model with 545 parts in the assembly and then partially covered by a really complex lofted spline surface and I wanted to do a cutaway drawing. Suddenly I had an insight. What if i used the mechanical drawing mode of OnShape and produced the drawing I wanted, and exported the drawing as a PDF which I could edit in AI.
So the process works pretty well (note what appear to be lines are actually shapes in OnShape’s PDF) but since I wanted to engrave that worked fine. Note all the other stuff on the mechanical drawing was slightly painful to remove (tick marks, information tables, etc) but not hard.
For the cut line I used the outline technique that @Jules steered me to, which is basically bake the objected an outline path and use that to offset path the cut line.
Looked fantastic, and since I wanted this thing to be sitting as if it was backgrounded by the ocean, I used some 3M VHB adhesive tape (Very High Bonding) which is industrial double stick tape which is pretty thick stuff so actually makes the part look like it is floating in front of the walnut waves since it actually casts a shadow.
Then just engraved the team info in a nice arc above the product (even more floaty appearance) and cut some mounting holes…


 )
)
