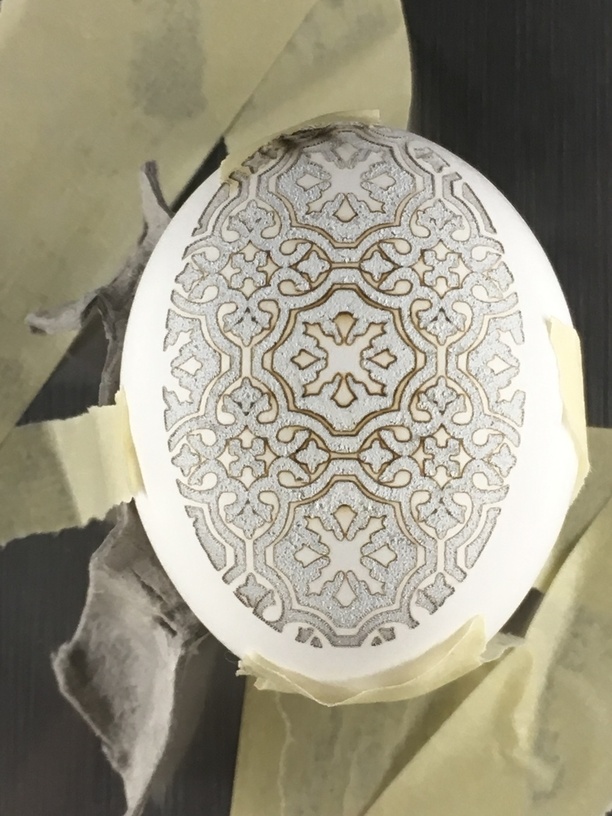
Ok, today’s test of the GF was to see if it could engrave an egg. After getting a small jig made to hold the hollow egg shell, I gently taped the egg in place to keep the air supply from blowing it around.
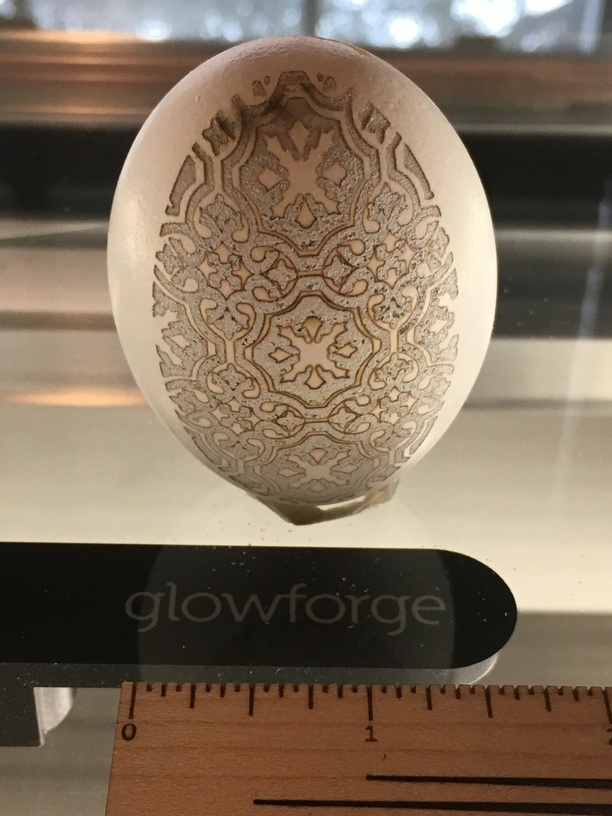
The first burn was at 1000 / 10% 450 lpi, with no discernible change on the surface.
I ran a second pass at 30% power and saw a light brown etch.
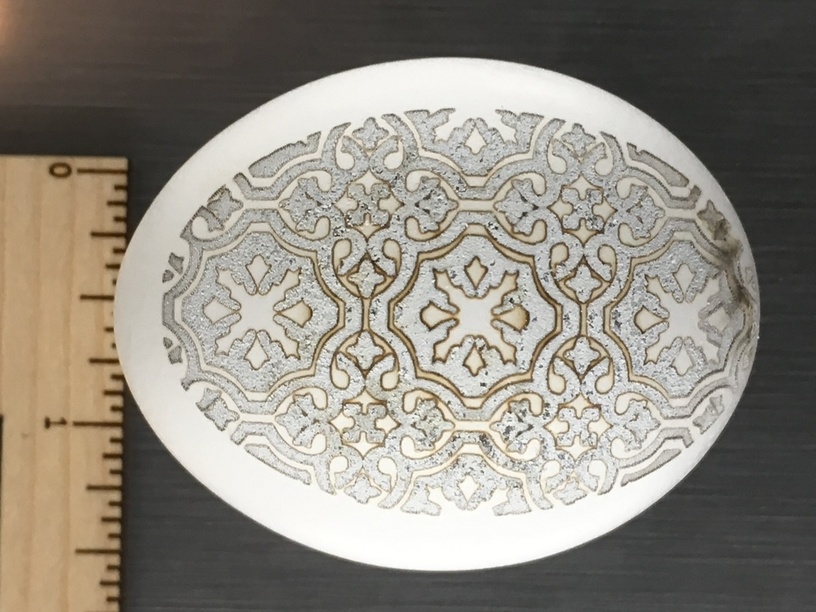
The 3rd pass was at full power - Bingo! good engrave depth and a wonderful shadow when lighted from beneath. Taking the egg of of the GF was a bit tricky ( I need younger hands). I’ll take the egg and clear coat it now for a little more rigidity. Next we’ll see what a reversed 3D engraving does.
Chris, I might try another one - and just keep rotating it in the jig till it is covered. The challenge is anchoring the egg so it does not blow around. Taking the tape off without pulling the shell apart.
Would your jig allow you to put something like clay or that blue tacky poster stuff in it so you could put your egg in it and it’s held by the surface adhesion to the clay but that adhesion isn’t so much as to make it difficult to remove or possibly break the shell?
What’s amazing about this is before the design you had to do had to be connected to each other ( I’m sure there’s a name for this)since you would use a Dremel to remove material. but with the laser you can have design that are free floating since instead of removing the shell completely you just burn enough to be visible yet still holding it’s shape. I’m sure WE as a community can come up with a jig. But thanks for the pics more ideals to fill glowforge capabilities. I wonder if your crazy enough to try a picture on an egg shell