Newbie here. I have only done a couple projects on my GF, but I notice a problem already. When I place my design on the material IMAGE on the App, it seems to be within a quarter inch or less to the edge of the board. HOWEVER, when it cuts it is actually an inch to an inch and a half away. Whats up? Is this a calibration issue? Camera issue?
Normal. Currently they do not allow edge to edge cutting, as the laser head needs time to decelerate.
2 Likes
If it is cutting an inch and a half away from where you placed the image on the screen, you definitely have a problem. The current accepted variance is within 1/4", and that assumes that the material is flat and that you have entered the correct height of the material in the Unknown Materials slot for non-Proofgrade materials.
You might want to capture a screen shot after a print that shows the image, the cutout results, and the rulers in the shot, so that folks can take a look at it.
1 Like
I thought he was 1.5" from the end of the material, not from where he placed the image?
i.e. the image on the GFUI is Not 100% of the material, so it would look like it’s farther away?
1 Like
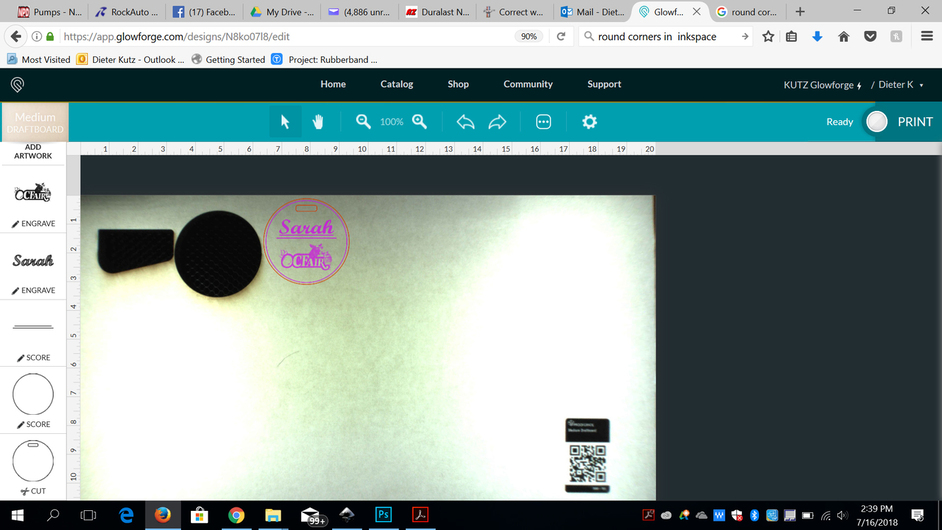
I have noticed that the lower I put the material in the bed, the more accurate the top space is. Here is the image of my latest design…
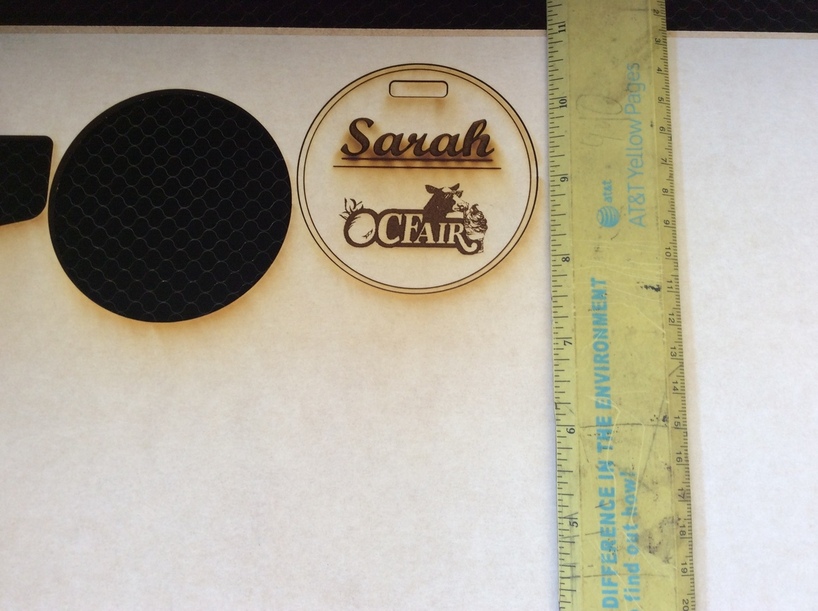
Here is the finished print. This is closer because I pushed the material all the way to the bottom/front of the bed. Not sure how that will effect the prints on the bottom of the board
Okay, that’s actually correct. What you are seeing is a fish-eye effect from the lid camera. There will be less distortion if you place your objects to be cut directly underneath the lid camera in the center of the bed.
And @Houdini7 is correct, I misunderstood what you were saying about the cuts falling farther from the edge than you were expecting.
The top inch or so of the material is not reachable by the head - the current cuttable area will leave about an inch at the top of the material uncut unless you flip the material over and cut with that side of the material at the front grid portion of the tray.
You can reach the physical edge of the material at the front edge. Place it just where the grid starts at the front of the tray.
There is also a strip of about half an inch at the right side, and 3/4 inch at the left side on a sheet of 12" by 20.5" material that the head cannot reach on the current layout.
If you want to maximize the use of your material, place the lower right corner of the material at the lower right front corner of the grid portion of the tray. (Make sure the material is over the grid at all times.)
1 Like
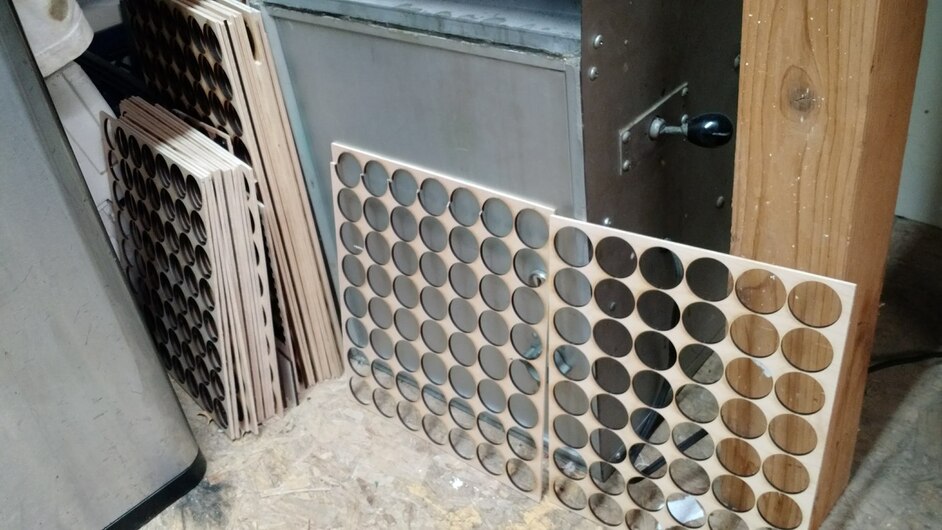
I will generally use a sliding miter saw to cut what I need from a full sheet. That allows edge to edge use of your material.
The two pieces you see here are a full 20x12 sheet.
7 Likes
And what are you saving all those token cutouts for? Enquiring minds want to know…
3 Likes
Chuckle! He’s as bad as I am. That’s a heck of a lot of Honeycomb Pins. 
“Let go Luke!” 
1 Like
I have no idea… Yet. 
Maybe a colorful 4 point star dogpile sculpture of some kind.
Those were from that 1,000 token order, and I’m about 600 into another order of 3,000, so if I could take that amount of waste and do something useful with it… 
Normally that kind of inspiration only comes after you throw it away.
2 Likes
Thanks for asking.
Like @Jules and @Houdini7 said, the Glowforge Basic and Glowforge Plus bed can accommodate materials measuring 18 x 20.4”. The maximum printable area is 11 x 19.5”, and it’s reduced somewhat when the laser operates at high speed, as it can take space for the laser to decelerate.
The software on your Glowforge is responsible for ensuring that the print lands on the material in the same place as the preview. When you’re done with a print, let a new image load. If the print appears on screen far from where it was supposed to go, you may have an alignment problem.
Most alignment problems come from the material being closer or farther from the camera than expected. While the software is still improving, you can take these steps for the most accurate alignment results:
- Use Proofgrade™ materials.
- If you don’t use Proofgrade materials, use a precision set of calipers to measure your material, and enter the thickness in the “uncertified materials” dialog.
- Use material that is not warped or tilted.
- Place your design near the center of the bed.
- Clean the area underneath your crumb tray, particularly the four indentations on the floor.
- Reboot the machine. Alignment can drift over time, particularly if you bump the head of your Glowforge while removing material.
If you finish all of these steps, and find that you have an alignment error of more than 1/4", please post a new topic so I can investigate.