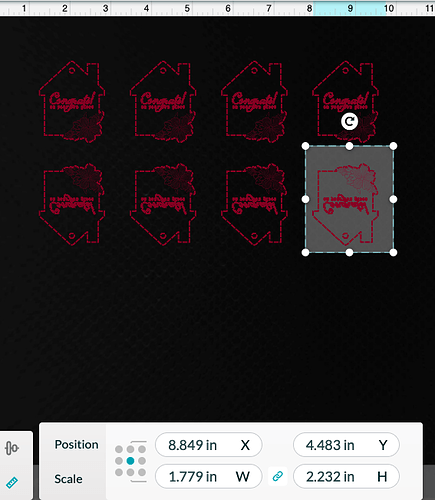
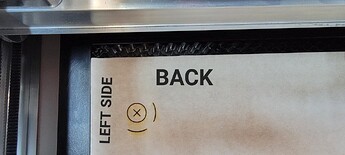
Don’t know what I am doing wrong. I am trying to engrave on 1/8" bamboo plywood. I place the board in my GF Pro, let it scan the material and place my design on the board in the GF viewer where I want it to engrave on the board. I put in my engraving settings and start the print, but the laser head starts the engraving more than 4 inches off from where I set the design. Help!
What is the coordinate point of the engraving? If you shift the point 2”, then does the engraving end up 2” from where you first had it?
Do a screen grab of the GFUI with the artwork loaded. Post the image here.
Normally, you’d want to use a jig for this. Create your artwork with a rectangular outline of the workpiece you want to engrave. Tape some corrugated cardboard to the crumb tray and set the artwork to “ignore” so only the rectangle is enabled. Use that to cut the rectangle out of the cardboard. Then lift the lid, remove the cutaway piece, and place your actual workpiece in and aligned to the hole you just created in the cardboard. Then go back to the GFUI and set the rectangle to “ignore” and reenable the artwork for “engrave” and it’ll engrave it exactly where you want it.
The problem is, 4" is a lot. More than you should have even if the camera alignment is way off. There is a procedure for aligning the camera, but if the problem isn’t alignment (4" makes it unlikely) that’s not going to make a difference.
I’ll give that a try.
I’m not sure what you mean by “coordinate point,” but when I moved the design over to another spot, it also was off by the same distance.
What is the procedure for aligning the camera? I’m completely new to this.
I doubt you need to do a calibration. I believe you are not understanding how the lid camera works (it is a fisheye lens) and how to align objects. Always select your material and use the set focus tool before placing your artwork. Make sure the focus beam lands squarely on your material at the point you intend to engrave.
The coordinate points are the x, y points that appear when you select a design element and then click the measurement/placement tool. That is the icon that looks like a ruler. You can select how to align your object. In this example, I have chosen the center as the point of reference.
Quoted for truth.
OP, you can practice on paper or cardboard instead of your nice bamboo.
You will learn the placement tricks, it takes a little bit.
To be off by 4” tells me that the head was bumped or moved while the machine was turned on (thus losing startup calibration).
I found out it did get bumped when a piece of wood that was too thick was placed and then the machine was turned on.
How do I recalibrate?
You don’t need to recalibrate. Turning the machine off and then back on gets everything back to normal.
Is it normal for the print to be off from the camera image on the screen about 1/8", not showing the top inch of the material in the screen image, and engraving 1.25" from the edge and cutting off part of the precision grid, even though the camera image shows it’s right at the top left corner of the material?
The very first thing I would do if things are off is to turn the glowforge off, gently push the arm to the back of the machine. Turn it back on and let it do its thing. Then get a test material out (whether it’s scrap or cardboard or whatever) and try to cut out a small shape and see if it’s still off.
Should the material be flush with the front of the tray? I have it centered between front and back.
It doesn’t need to be flush with the front of the tray, where you have it should be fine.
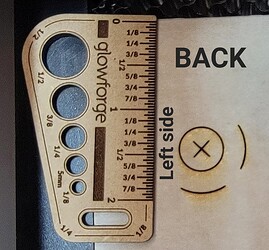
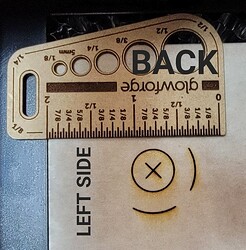
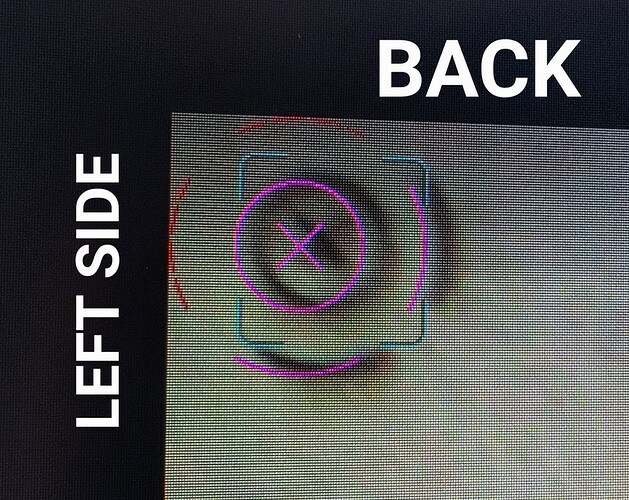
The interface shows the usable area of the bed, not the entirety of the bed. What you are seeing is normal. If you have a full sheet of proofgrade material on the bed, there will be a section of the board that cannot be accessed - the very top and the far left.
If you look at the printhead of your machine in its home position, you will notice that there is material behind it and to the left. The printhead cannot physically move to those areas of the board as it cannot print behind the home position or any further left. Alignment within 1/4" of what the camera shows is also within specs of the Glowforge.
Please see the diagram posted by @Jules in this discussion thread. Camera and cut not matching up - #4 by Jules
It doesn’t need to be flush, but you’ll get more usable print space if it is.
This topic was automatically closed 30 days after the last reply. New replies are no longer allowed.
