Hi everyone!
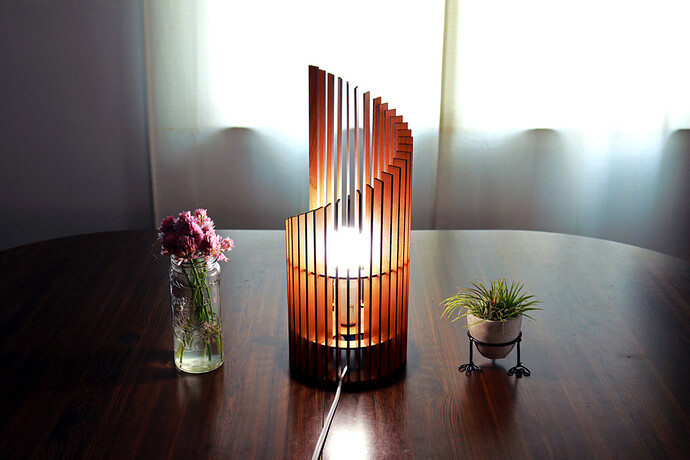
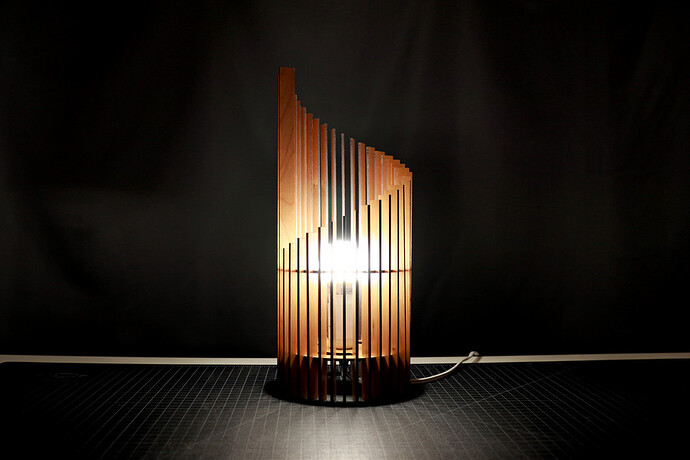
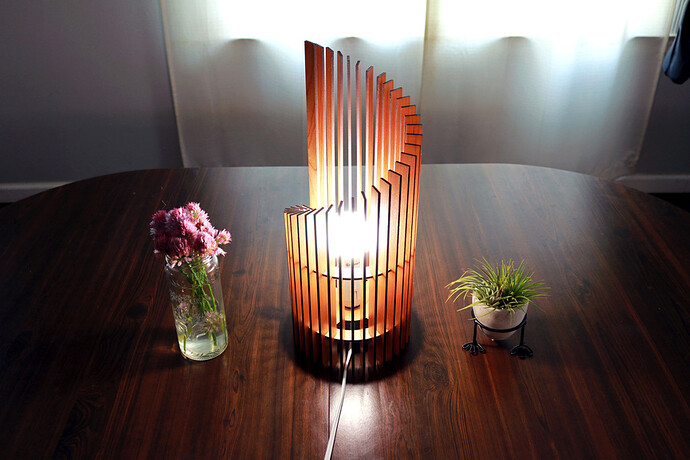
I recently designed and made a simple wood light using proofgrade cherry wood that I’ve had for some time now. I seem to have a habit of buying a lot of materials with the intent of using them “eventually” and I’m happy I finally got around to this project!
Here’s a quick breakdown of how the project came together and if you prefer to watch/listen to the process, you can do so with my YouTube video.
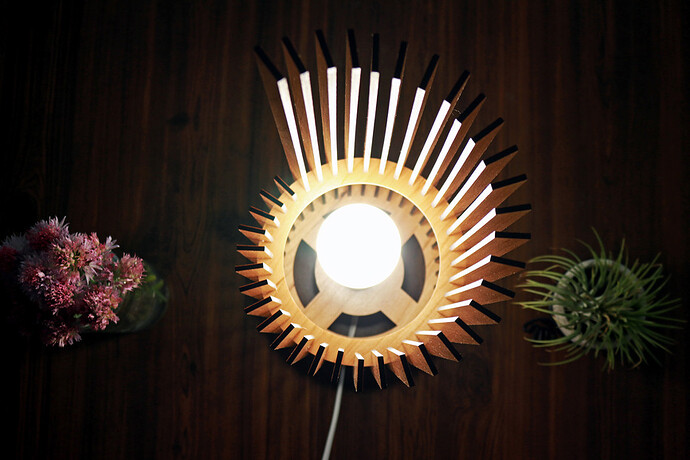
I start all of my projects with planning and design. For this wood spiral table lamp, the design idea was to make it as simple to construct as possible. With this in mind, the entire assembly is comprised of 2 circular wood frames with finger joint cutouts around the entire perimeter and a center cutout for one frame where the table lamp base will be installed. Then, there are 36 wood slats that have 2 finger joints in them at the exact location when measured from one end. The opposite end of the wood slat is offset by 1/4 inch from one wood slat to the next, which creates the illusion of the spiral.
All of the pieces come together and are quickly friction fit into one another. For similar projects like this one that I’m currently working on, I’ll need a little dab of wood glue in some of the finger joints, but this specific one didn’t require any glue. The friction was enough to lock the pieces in place.
And there it is! I hope this project inspires your work.
If you want to learn more about my process of designing and making projects similar to this one, I’ve been developing videos on my YouTube channel that focus specifically on the process behind my products. I do this as a hobby in my free time, so I don’t sell any of my products. Instead, I hope these videos will help you learn more about design ![]() .
.
Thank you for reading this far!
Tim


