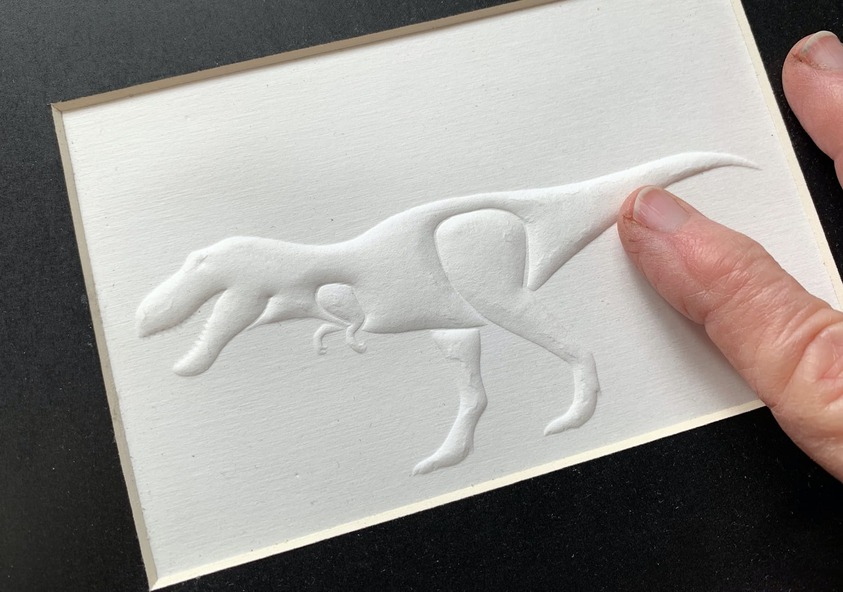
This is my first post. I make braille and paper embossment books that are used by children and adults who are visually impaired or blind. My GF Pro can quickly cut through 1/8" thick plywood to create a negative mold. I place 140 lb., moistened watercolor paper atop this mold and slide these elements into a plastic bag that I insert into a vacuum system like a FoodSaver. The vacuum sucks the paper down into the cavities of the wood. When released from this mold and flipped over, the paper maintains a detailed raised surface. I then describe the subject, in this case a dinosaur, in text that is part of a separate booklet. That text is recreated in braille by a professional braille transcriptionist and placed beneath the embossment. A parent or braille teacher can instruct by referring to the text as the student feels both the embossment and the braille.
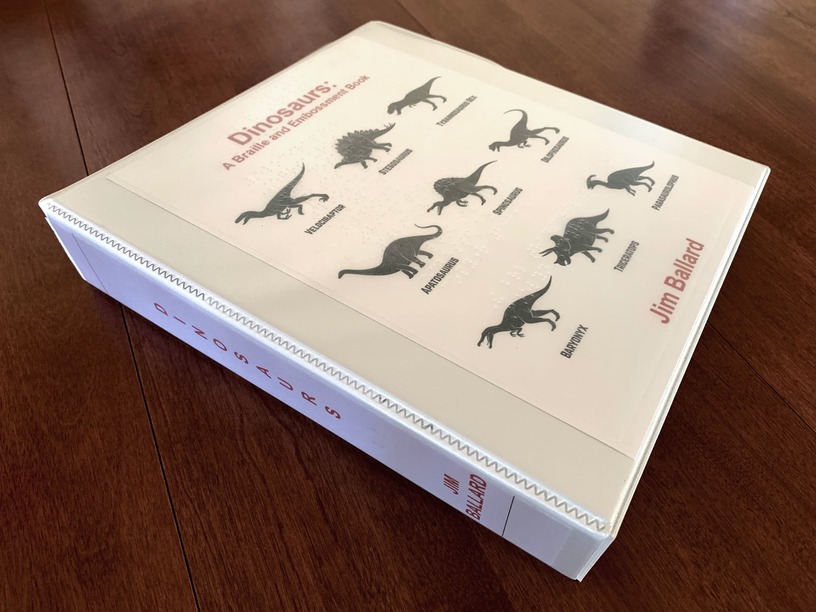
I donate these books to libraries like the Washington Talking Book and Braille Library, the Perkins School for the Blind, and the Lighthouse For the Blind libraries. These books help children and adults learn to read braille and provide basic information about the subjects. The separate text booklet closely follows the order of the braille.
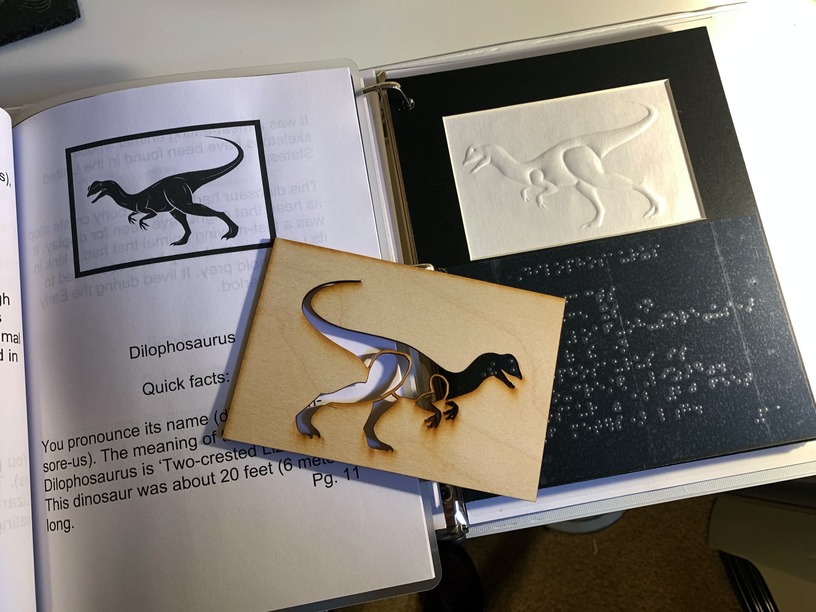
A wooden mold of a dinosaur sits atop the finished panel and the braille description of this animal:
Very interesting. Have you considered depth engraving? With an image where the high places are white and the lowest places are black and the grays in between are the heights in between you can get quite a lot of detail.
This is a lion head that is common in those collections…
Thanks so much for this suggestion! Before I bought a Glowforge, I would place stencil resist material on wood or ceramic tile and, using silicon carbide, sandblast to varying depths. Because I’m just beginning to learn how to use the Glowforge, I’ve only been using black and white images for the prints. I definitely will learn how to control depth using your suggestion. Are there videos or articles that you find particularly useful in describing this method?
Yes, I have used this method to make cards and fine art prints. You might try using Canson Mix Media paper which is rated at 98 lb. It will produce very fine detail, more so than with heavier watercolor paper. After the paper has dried, you can use Golden fiber paste to fill in the back side so that anyone touching
the embossment too heavily won’t cause it to lose its form.
The FoodSaver system has an automatic timer. After you place the mold and moistened paper into their plastic bag, you insert it into the machine and close the latch of the lid. You push the button to begin the vacuum process and the machine automatically turns off in about ten seconds.
Here’s an important thing: the paper will have been sucked down into the cavities of the mold. But because the paper is now sealed in a plastic bag, you can use tools with rounded plastic heads to push onto that plastic to get even deeper results. The plastic acts as a cushion to protect the paper from tearing apart. It amazing how much you can fine-tune the results by using these tools which are really clay-forming tools.
You can use your Glowforge to create braille. I knew the braille configuration for the word “Snowflake” and kept testing until I found the correct alignment and diameter of the holes required to produce the braille. After the paper containing the braille holes has been vacuumed, you need to use small rounded plastic tools to press against the plastic covering the paper. You need to get the correct depth to produce the correct height of each dot once the paper is turned over.
A side note: most readers of braille use a style called contracted braille. This means that not every letter has a braille component. In other words, if a word ends in “sh” or “ing”, the braille transcription is condensed or contracted. There are somewhere around 180 contractions today, but that number keeps changing with time.