For those wondering how to get started, and how it works, and how you get results, and what your files need to start out with…
Continuing the discussion from
I design starting with a 12x20 artboard because that’s the bed of the Glowforge, though it isn’t currently the full cutting and engraving area. Others use that as the artboard to begin.
When I’m ready to cut, I save my file as an svg. It is a good workflow.
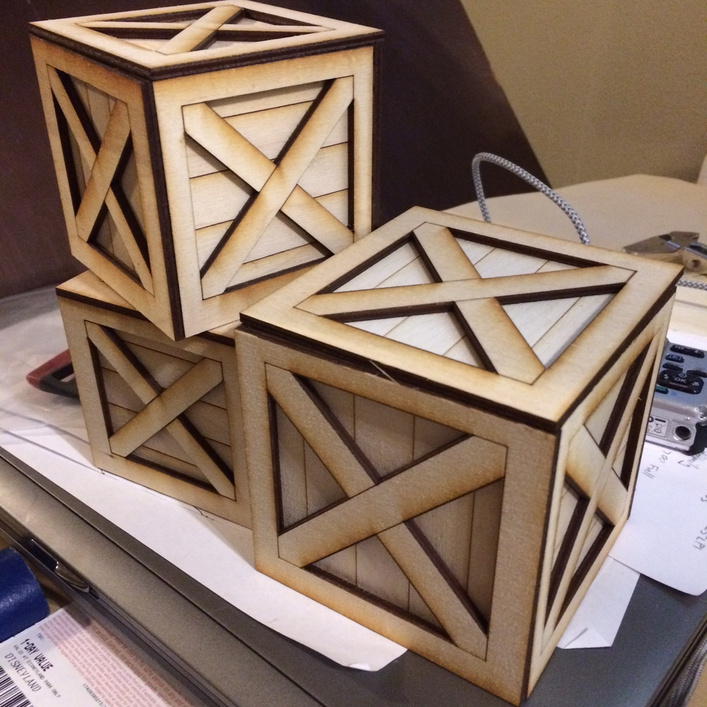
I shared a free file a little while ago, and it is a reasonable illustration.
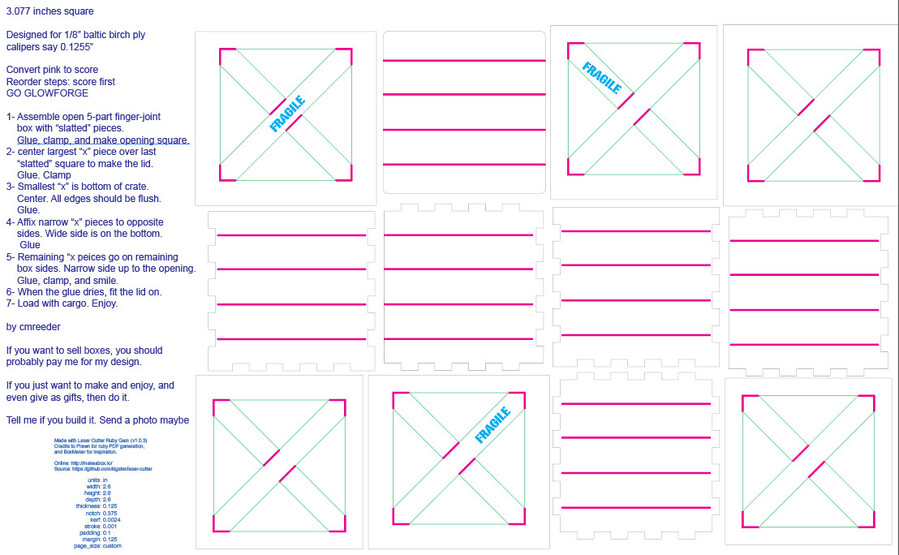
There are 4 colors in the image, plus instructions.
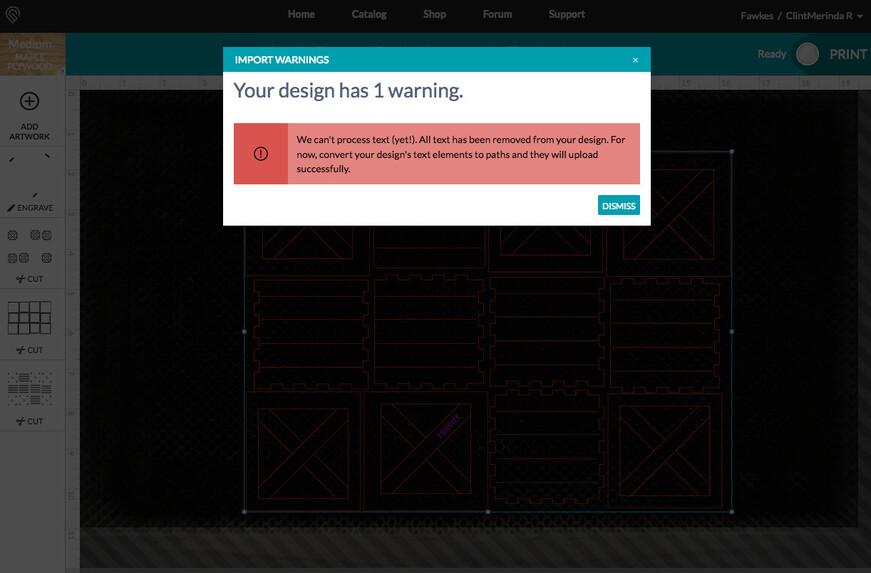
First, as you import into the GFUI (say in your head, “guhfooey.”) the GFUI will throw up a warning: it doesn’t process text, so it didn’t even put the instructions in. It did put in the blue “FRAGILE” marks, though, because I converted that text to a graphic.
Second:
In the GFUI there will be 4 steps on the side.The cuts correspond to colors in the design.
Some of my lines are intended as scores rather than cuts. You convert them in the GFUI, and you can also re-order the steps.
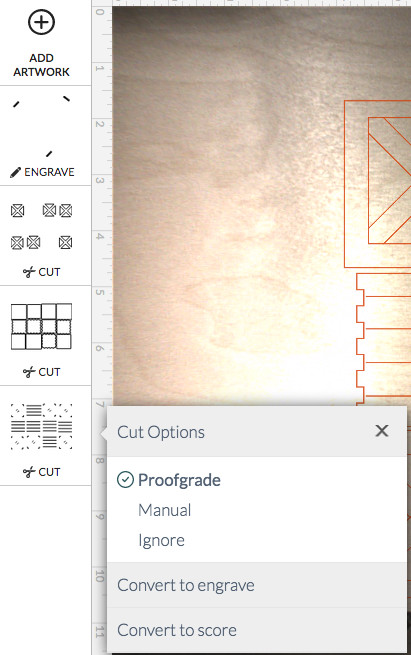
You can rotate, drag, scale, and otherwise adjust where the file will cut on your material. Here I have unmasked baltic birch, but I find that the medium proofgrade maple settings are a good start for me, and I adjust settings on each cut, engrave, or score from that starting place.
Third:
click the word “print” by the picture of the glowing button. (why doesn’t the circle do the same thing?)
Wait for a couple minutes while the cloud turns your design into instructions for the Glowforge.
Fourth:
Push the glowing button.
@marmak3261 identified the GFUI default cut order based on colors. I might save some effort by planning my design and getting my colors in order so I don’t need to drag my steps around.
As you are designing and planning, though, that workflow should at least get you started with what to expect.