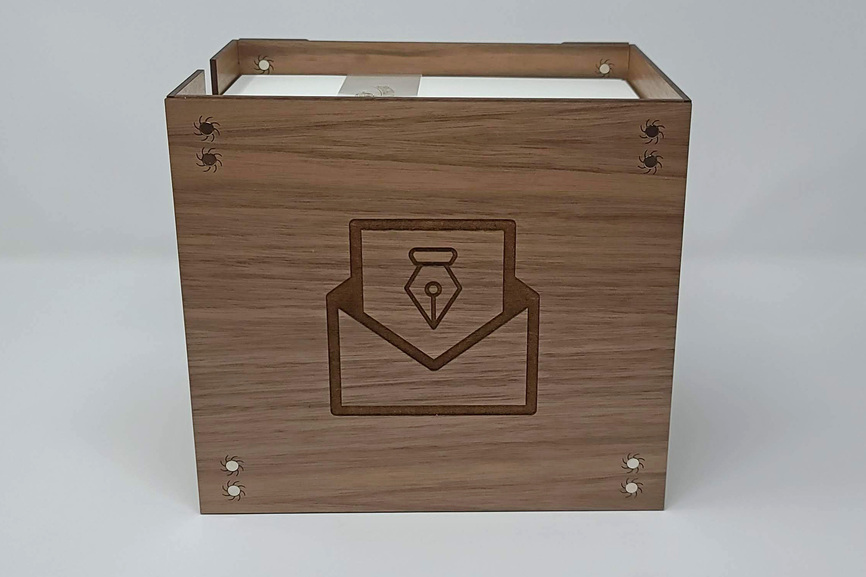
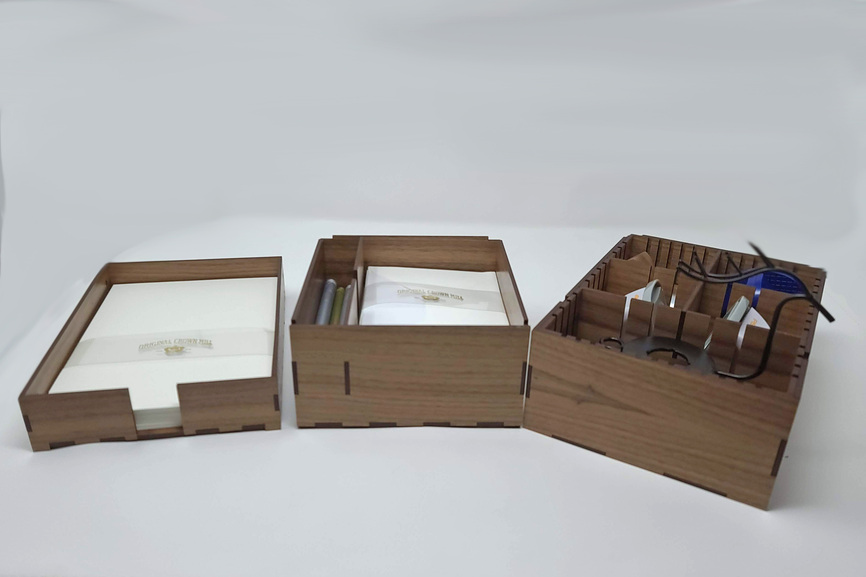
I made a little writing station to hold my letter writing supplies. File and additional details can be found on my website: Writing Station — Lasered By Me.
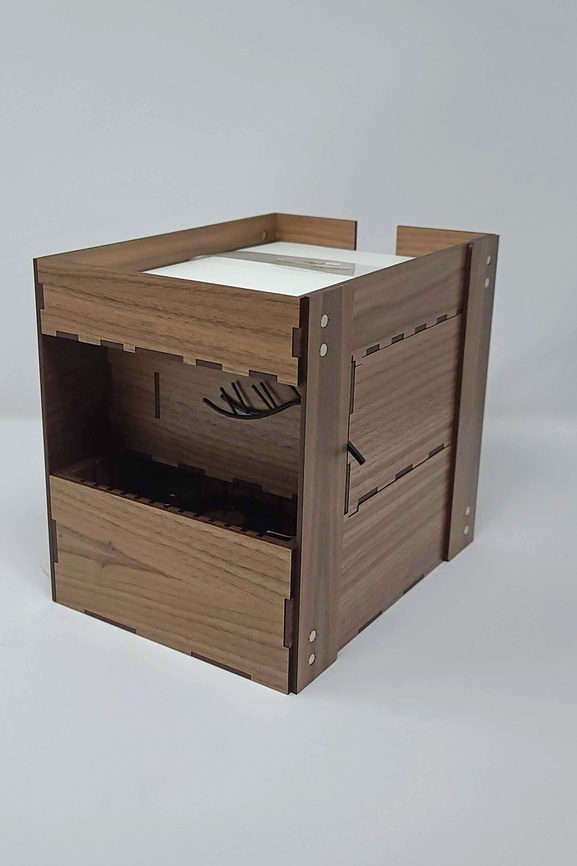

Thanks for looking!
I made a little writing station to hold my letter writing supplies. File and additional details can be found on my website: Writing Station — Lasered By Me.
Thanks for looking!
That is great, and looks awesome, too! Nice practical cut.
Letters! You write letters! What a wonderful guy.
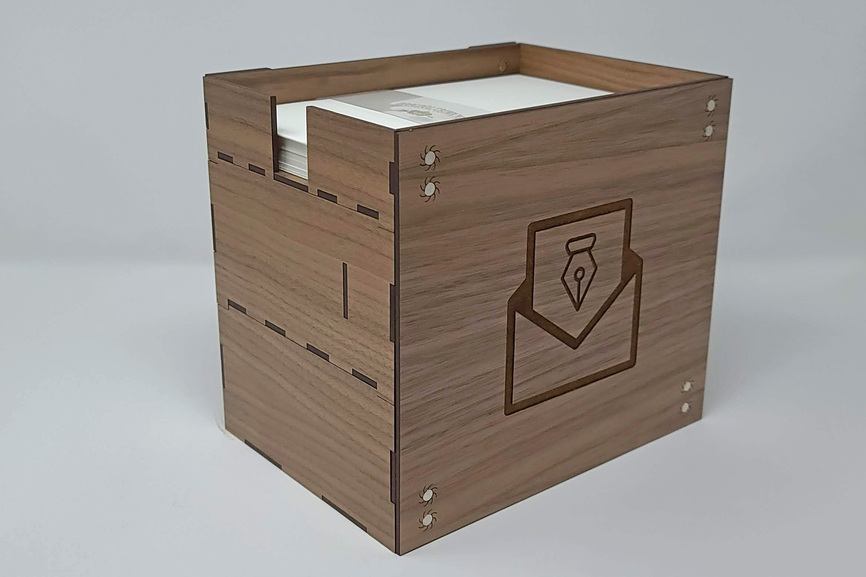
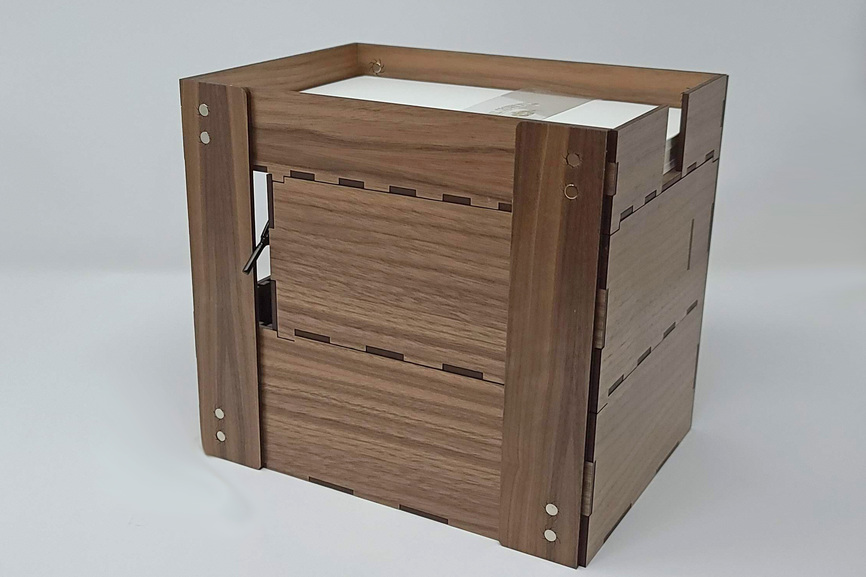
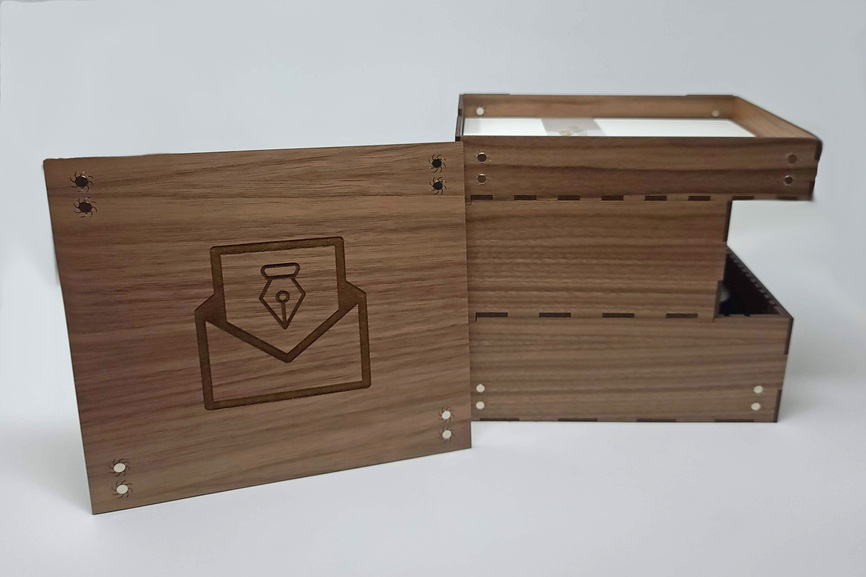
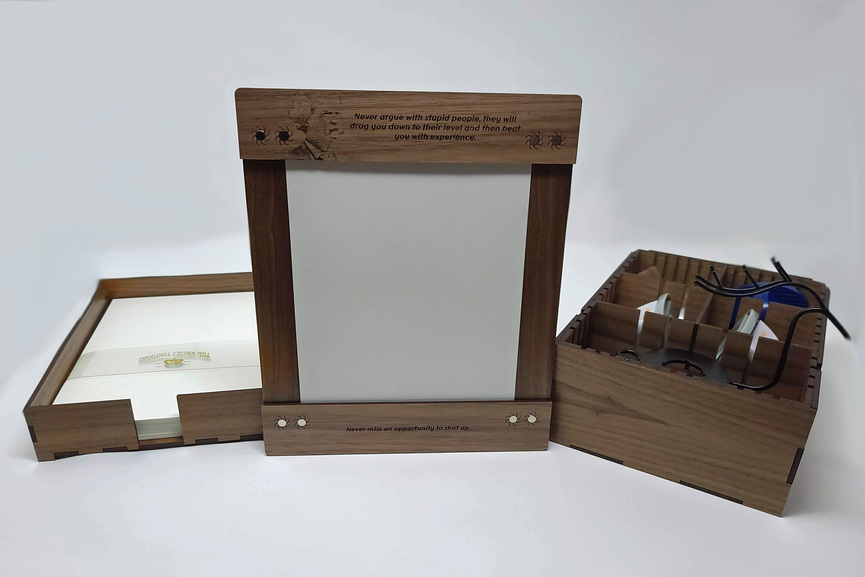
Your design is awesome; I love how it opens & folds up.
Thanks! I don’t write as much as I’d like to, but fountain pens is one of my favorite hobbies, so letter writing is a good way to provide time to that hobby while providing something nice for someone else. Plus it lets me play with sealing wax and such :-). It’s a lot of fun to both send and receive a wax sealed letter with someone’s custom seal on some really nice paper written with some cool looking inks.
I have a lot of hobbies and not enough time or energy for them, so I try and combine them whenever possible.
My handwriting has deteriorated over the years, but I still love sending letters. Fancy stationery (chosen for the recipient), artwork, and interesting older postage stamps make up for a computer-printed letter. I used to be a stamp collector, and I’m using up my mint collection. The used collection will eventually become artwork framed with a laser-cut border.
Amazing and well thought out
The walnut is a classy look. 
This is super neat! I really like how everything fits together with magnets. I am sure many writers will get a real kick out of owning one of these. Such a clever and fun design!
Clever thinking with the magnets, bet that concept could be used for lots of things.
What an ingenious design!
Thanks for the kind words! In case anyone can’t tell from my designs on my site, I have a thing for magnets  .
.
Modular and magnets— doesn’t get any better than that! That clipboard is really quite clever.
This is awesome. Can be modified for other uses too. I have a couple of questions, if that’s ok. First, are the magnets the thickness of your wood? Second, it looks like the top and middle levels are designed to nest in the corners, right?
And I absolutely love your Mark Twain quote.
Thanks and thanks double for asking questions about it  .
.
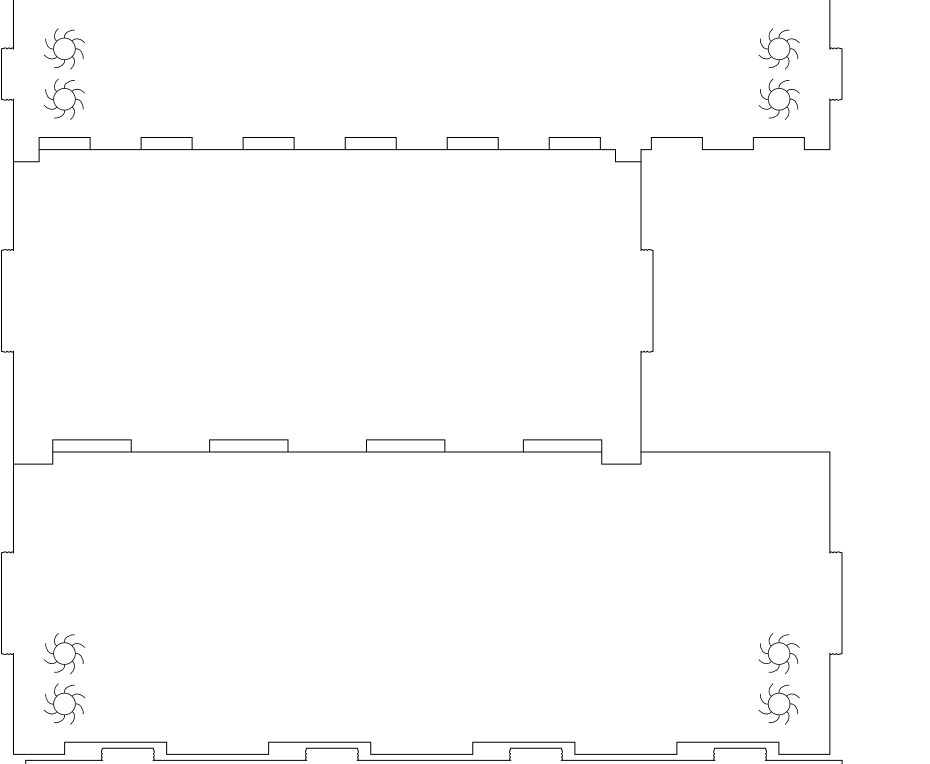
The magnets are the thickness of the wood (approximately). The magnets are 3mm thick and are 6mm in diameter. They’re friction fit - the little star swirl pattern is one I tried out to get them to push in easier but still hold firm and I liked the results so have been using it in my projects.
You’re also correct about the upper boxes nesting onto the lower ones. The top and middle boxes both have little 3mm feet that extend down below the bottom edge of the boxes. The middle and bottom boxes have cutouts for those feet to sit in. It helps the pieces fit together more securely and not slide around. The magnets are then just responsible for holding them together vertically.
Here’s the section of the SVG file that cuts the side pieces for example. You can see how they fit together. Also I have them nested this way in the cut file so when they go together they can provide a continuous wood grain. As an added bonus I was able to remove some of the cut lines since they are shared across pieces - so it lowers laser time and material waste as well.
Extremely well thought out. And the star pattern, does it make it easier to friction fit the magnets and are they cut all the way through? This is a very clever engineering project, I think.
Yep they’re cut through. The magnets can push in with a finger but its a little easier if you have a hard flat surface to push on them with. I have a rivet setter with a flat end that I use, but have used a butter knife in the past.
My typical workflow is to grab a stack of the magnets big enough to grip in my fist. I orient the magnets according to one of the already placed ones (if there are any) and then push it half way in the hole directly off the bottom of the stack. This allows me to quickly place them without setting them all the way flush. I then go through with my rivet setter and push them in to be roughly flush with the edge (theres a little wiggle room thickness wise so they end up not quite flush on one or both of the sides depending on how you push it in). Magnets go in easier if you have the piece laying flat on the table (vs already assembled into a box). That said I put mine in after assembling to ensure I got the polarity right on my first go.
Here’s my magnet hole svg if you’re interested in trying it out (sorry for the zip, tried uploading as an svg and couldnt get it to show up right):
MagnetHole_sun.zip (1.6 KB)
If you need magnets to fit the hole, they’re readily available on smile.amazon.com. I had trouble finding a consistent supplier that had information about the quality of the magnets and such, so I ended up buying a few thousand direct from a manufacturer. Since I have so many I started selling them on my website for those that want to support my work. 80 N52 Rare earth Magnets - 6mm x 3mm — Lasered By Me.
Thanks! I’ll check out your site.
WOW that’s amazing…
I am more impressed that a man takes the time to write a letter.
You my dear are a special person. If you ever want a penpal I would like to nominate myself.
I love to write letters with beautiful stationary.
What’s really amazing is the group of people and sense of community on this forum. Thanks so much to everyone who leaves a kind word or question, or gives me a like, or visits my site, or otherwise allows me to share with you. I am a social animal and like to share my creations and this is a great place that is always so receptive and kind.