XPS FOAM, Cutting a Movie Title

Lots of mixed data on laser cutting foam board, so for those that are interested in using XPS, Yes it cuts great! Here is some info:

XPS is extruded polystyrene foam, its most often seen as the blue “Styrofoam” or pink “Foamular” rigid insulation foam you can get in building supply stores.

EPS is expanded polystyrene foam made of lots of little foam pellets that is most often seen as packaging or as the material in cheap coolers. EPS is what most people think of when they think of “Styrofoam”, but really that is just Dow’s brand name for both XPS and EPS products.

XPS has a bad rep on many laser lists and is often sited as producing cyanide gas and bursting into flame.

Neither XPS or EPS will produce the cyanide gas that you get that you get when you burn ABS or the corrosive chlorine gas from cutting PVC foam… which can be found in many but not all foam boards. In fact it produced less smoke than it does with my hot wire cutter and I’m kind of pissed that I waited so long to experiment with it. Im not saying that it’s a healthy alternative to air, but I didn’t notice a smell and it’s not cyanide. If you are not sure what foam you have, don’t cut it, and if you ever see a green flame then don’t breath.


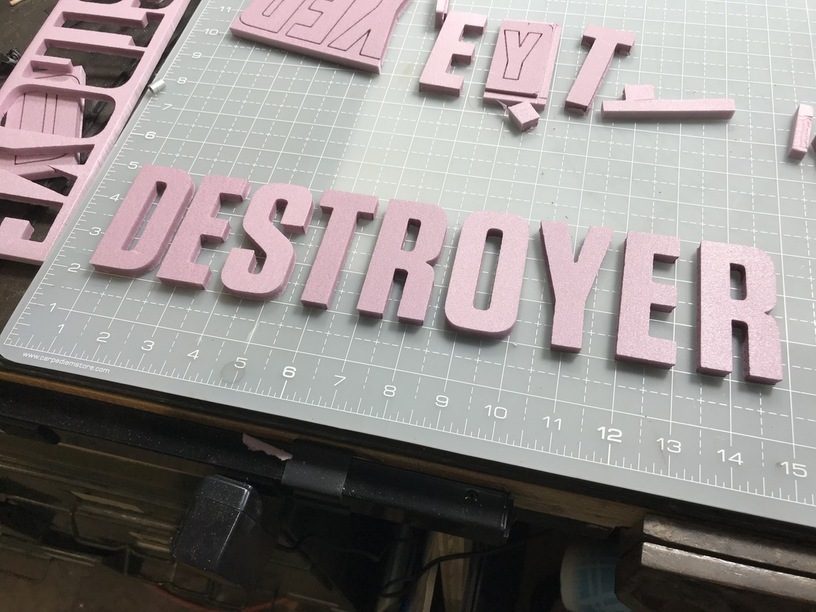
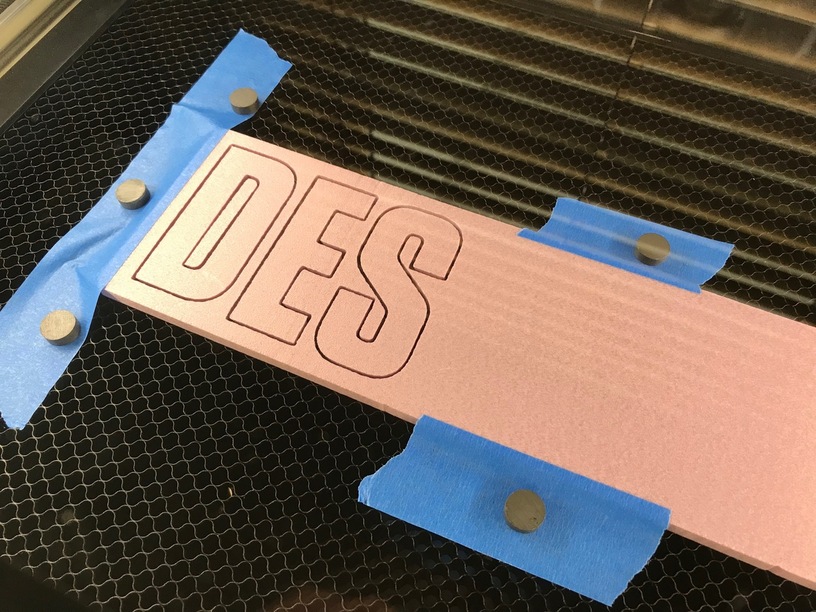
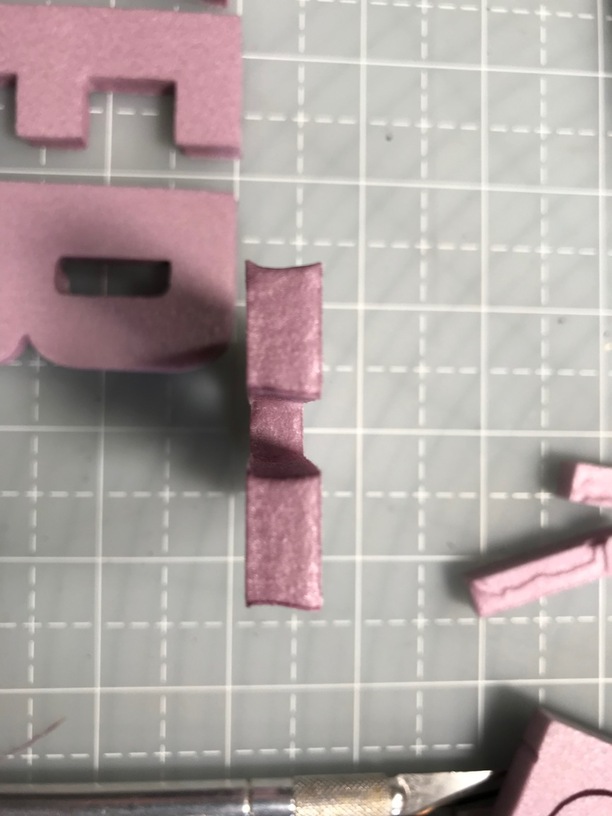
These 8mm thick letters were cut on a standard GF with the power at 20% and the speed at 225
With the power at 20% and the speed at 500 the cut goes about 2mm deep. Going much over 20% makes the kerf wider and more ragged than I liked,

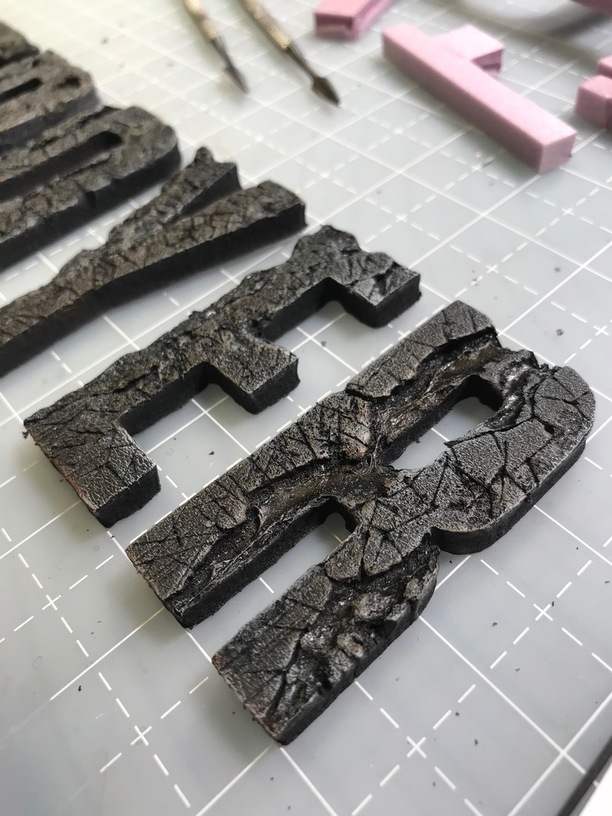
The kerf on the top of the board is about 1mm thick, as it punches through the foam it produces more of a scooped out edge than you would get with a hotwire cutter. I don’t think I would go thicker than 10mm, Im guessing the fire hazard may become more of an issue when you are trying to cut thicker sheets.

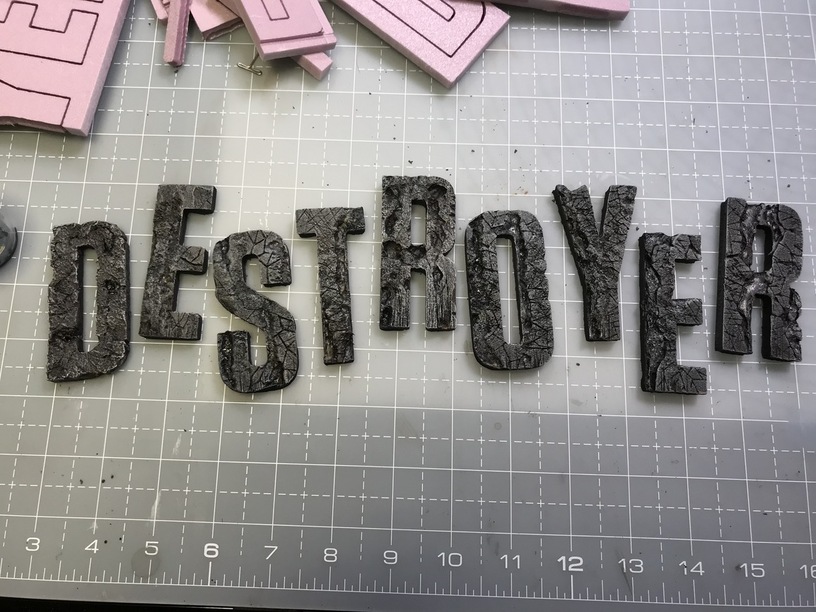
Here is my title after sculpting and painting the foam with some quick weathering techniques, now I need to shoot it with a macro lens and I saved myself a day in z-brush modeling it… until they change the font on me anyway :grimacing:

48 Likes

Now that looks really, really cool!

3 Likes

That looks great! I’m gonna have to play with XPF now. Please post a clip of the film when its done if you can. I would love to see how it turns out!

1 Like

OHHHH man.

Looks like I wont be getting rid of my Proxxon hot wire cutter after I get my Glowforge.
I use XPS foam quite a bit for tabletop crafting and for prototypes. Its great to see it working well. but with some limits. It is going to be such a good tool to add to my arsenal

1 Like

wow, this would make some awesome quick halloween decoration! i love how the weathered letters look!

I’ve machined some pink insulation foam before, and used the wire cutter, but definitely need to try lasering it now! :smiley:

3 Likes

@Brotron

Did you achieve the texture by applying heat? Is the crackle/alligator look naturally occurring or did you cut/score prior to heat? Either way excellent results and going to have to get some of the pink stuff to try making quick decorations as @Dia mentined.

I didn’t use any heat on this. I used a combination of hand cutting the cracks with an exacto knife and lightly streaking and dribbling acetone across the face to erode the surface. It was suppose to have the look of burned and rotted rubber.

I use a similar technique for wood bark and lava stone, with slight variations. The acetone is kind of a controlled accident application. I use a hollow needle applicator bottle and wipe the tube lightly across the face of the foam. The acetone eats through the foam “very” quickly, so practice on scrap until you get a technique that works for you.

A micro torch can leave a similar effect, but I find it less controllable for small things.

4 Likes

Did you try a score? I made a skull-like pendant which had a cracked/crackle design over it, and just pulled those details into a seperate layer.

Very nice, and thanks for sharing, because I worked with pink foam a ton in my RC days, and have thought about so many things I could use it for with the GF if it wasn’t for all those pesky do-not-laser warnings I keep reading…

I plan on using the score for more mechanical stuff and as a guide line for different types of depth sculpting. It was a bit too wide for natural looking cracks at this scale, for my taste.
I haven’t tried engraving yet, I don’t hold much hope for an even melt depth but I hope I’m wrong.

Can you please discuss the process of how to cut the letters. Do you use the trace function? And if so how does that work. Thanks very much, Dave.

Have a wee look here, you should be able to find what you need.

2 Likes

Perfect thank you.

Dave

Dougie
Owner

    March 26

Have a wee look here, you should be able to find what you need.

Very welcome Dave.