Hello there, I know the yellow light generally means the machine is too cold to run but I was running for quite some time without problems and it’s pretty warm in here but I am in northern Michigan and the hose is connected to the great snowy yonder.
Can someone from GF support please check the logs and tell me if the yellow light is currently from my machine being cold or something else? When I’m running the GF UI tells me to refresh my browser and that there’s some unknown error.
Someone on FB just suggested that to me and I checked, hoping it was a shiny easy fix, and alas- mine is totally secure. But I’m happy to learn that’s a thing that can make the yellow light pop for future reasons.
Hello @feeby123 - Sorry to hear you’ve run into this snag.
I extracted the logs from your Glowforge to investigate, and it looks like the yellow button is appearing because the Glowforge is having trouble communicating with the printer head, so the steps @geek2nurse offered are right on track here. There are two key connections I’d to ask you to double check for me.
Could you please do the following?
Turn off your Glowforge.
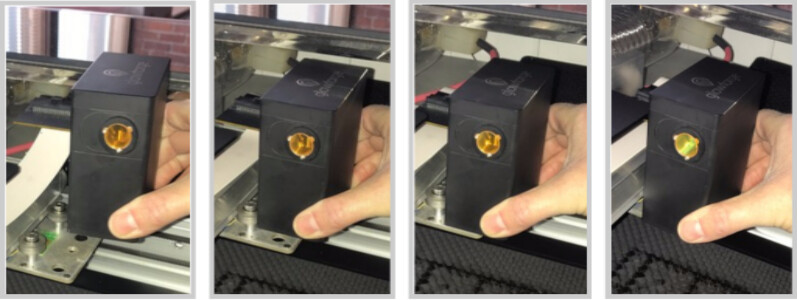
Holding only the finished black surfaces, grasp the printer head as shown. Pull gently up and back to disengage the magnets and remove the head.
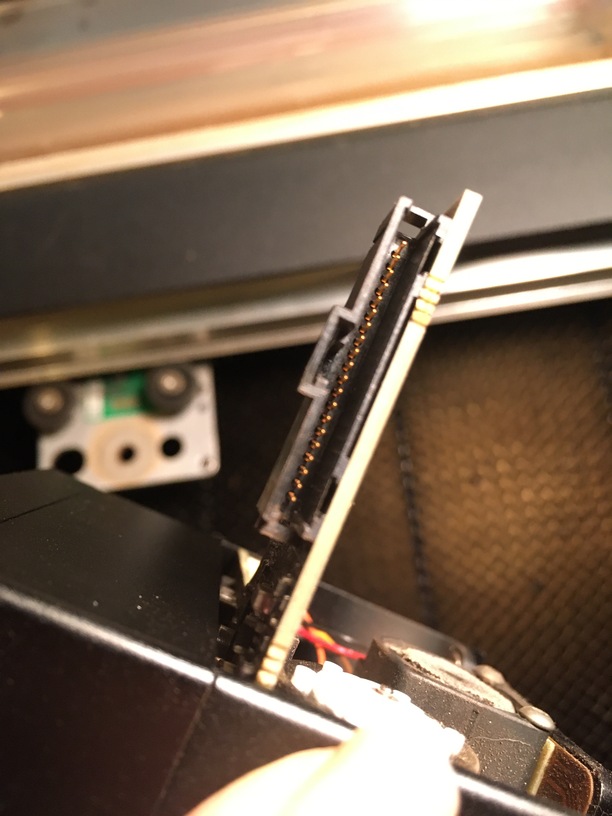
There is a small tab in the center of the wire ribbon. Push down fully on the tab to release it, and gently pull the wire ribbon plug from the printer head.
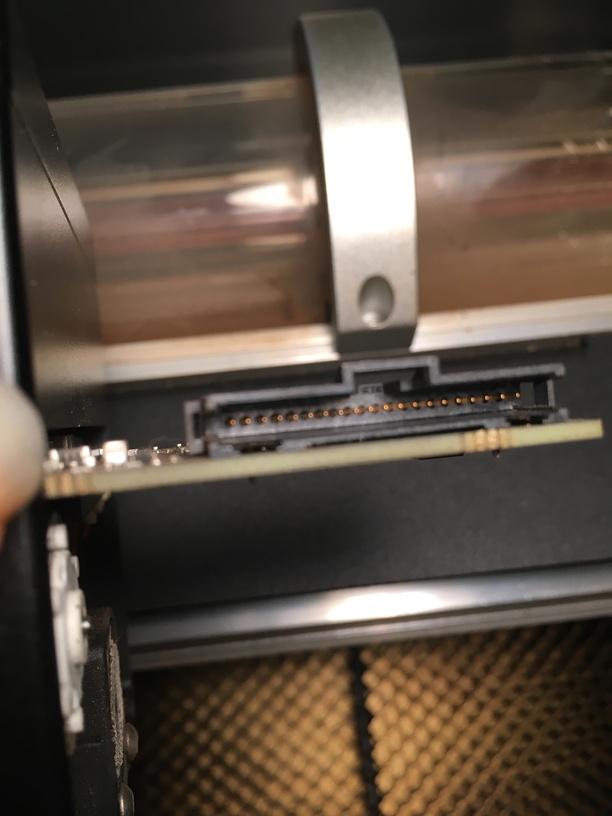
Pick up the printer head and wire ribbon. Make sure the tab on the wire ribbon is facing up. Slide the ribbon back into the head until it clicks.
As shown, lower the printer head over the metal plate so that it rests next to the two round posts. Then push it gently away from you – you’ll feel a “click” as magnets pull the printer head until it sits snugly atop the metal plate.
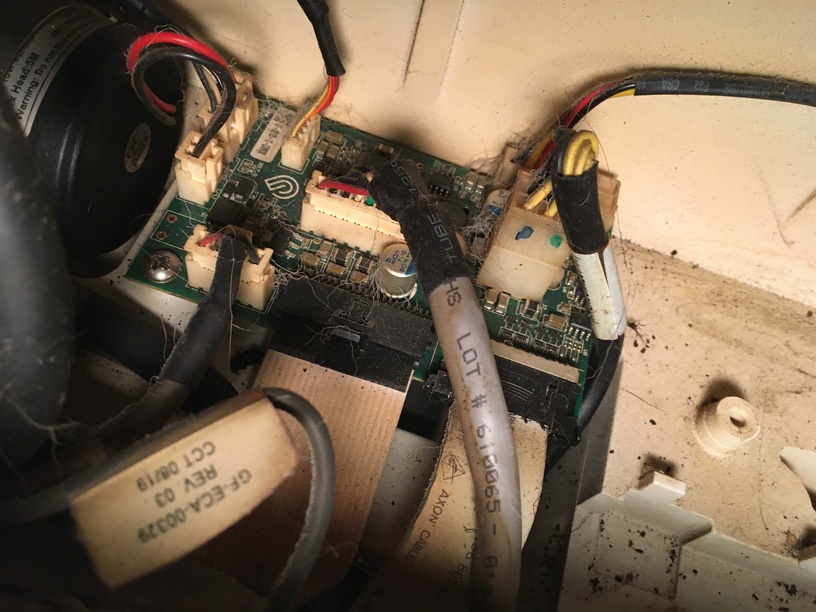
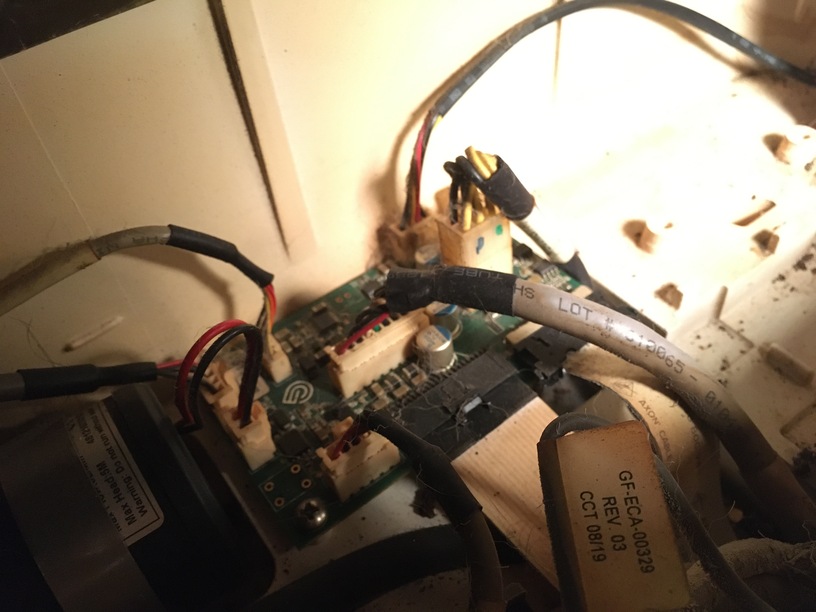
Take a photo of the circuit board. If the cable I’ve indicated above with the red arrow appears to be loose, please reconnect it and try printing again. This cable should ‘click’ back into place.
Thanks for sharing all of this detailed information. I just followed up directly by email with the next steps so we can get you printing again soon. Since we’re talking there now, I’m going to close this thread.
 But I’m happy to learn that’s a thing that can make the yellow light pop for future reasons.


 I figured what with the weekend and all…