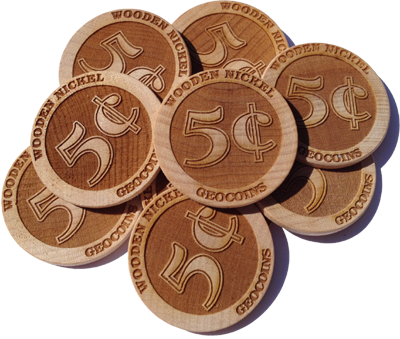
I’ve been wondering how to create the 3D text effect that I’ve included in the pictures below. When I’ve tried myself I’ve only been able to have text or numbers engraved or scored using the proofgrade options. I’m sure there is something obvious I’m not doing or haven’t figured out, being a beginner and all. Any help or instruction would as always be greatly appreciated. Thanks guys.
I did something like that. I made a circle with black fill and added white text in the middle. The black area got burned away as expected but the white text was only able to be engraved or scored. It wasn’t carved out so to speak like I had hoped.
Check the tutorials. The white letters need to be a filled shape that you then use a Boolean operation to subtract out of the black circle. The GF will engrave to the edge of the white letters and leave the white space alone.
You actually want the letter fills to be null (no fill) so the resulting shape is black with null areas embedded to create the islands you’re trying for but white works in this case because the GF won’t engrave that’s.
Boolean (subtracting, welding, etc objects together) are hard to wrap your head around until you get it and then it’s “ah ha!”.
The tutorials @Jules assembled cover it pretty well.
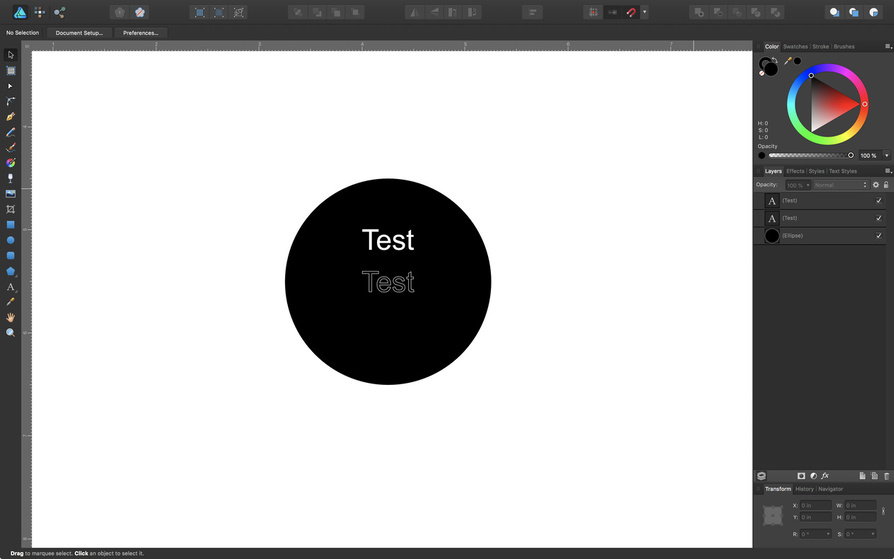
Here’s what i’m looking at. When i send this to the GF it won’t allow me to engrave around the text. Is there anything you can see that i’m doing wrong? I’ve tried both, outline text and fill only, neither works. Thanks for the link i’m looking at it now
Unfortunately, Affinity Designer is not a program that I have, so I can’t tell you specifically how to pull this off via vectors. (In addition, there is something kind of weird that has to do with clipping paths and how it subtracts things in that program.)
One thing that you can do is to rasterize the image. That will convert it into exactly what you want to use for engraving.
Place the white text on top of the black circle, then rasterize it. (Turn it into a bitmap.)
I haven’t seen anything written up on how to do it in AD except to right click on a Layer and choose Rasterize. If the text and circle are on different layers, you might not be able to do that, since they need to be combined.
The other option is to take a screen shot of the image and save that as a jpg or png file. It’s a quick way to rasterize. Then you can import the jpeg into AD and draw a vector cut line around it in the AD software. Anything pure white will not be engraved, anything black will be engraved.
There are a couple of folks here who use AD that might be able to give you some other suggestions… @tim1724 I think, and @Xabbess.
Great thanks very much, I just rasterized it but it looked blurry when I zoomed in. Should I increase the dpi from 300 to maybe 900 so I don’t see the distortion. Will it make a difference? Also sorry I’m not that techy with all the lingo and meanings so I’m a little lost with your explanation, my fault!! I’ll let you know how it turns out
A raster is going to look blurry when you zoom in, typically, depending on how far you zoom in.
I usually try and engrave with a source image around 600 PPI if the image supports it (and being a vector to raster, it will support whatever you put in).
Here is a file that I created that might help you. Just look at the history to see the steps I took. It is a 3 in outer circle, a 2.5 inch inner circle and the word TEST subtracted from the inner circle. I used the latest version of Affinity Designer.
If you export to SVG properly it should do what you want it to do. I will admit I can’t get it to export properly (there is something about the S that it won’t render in the GFUI correctly) but I attached a SVG here that I exported and one that I “fixed” by bringing it into AI. LOL, now I’m annoyed with the export not working. It’s not my day for SVG files apparently
And the “fixed in AI” version.
Anyway, both files should do what you want except for that “S”
Wow, sorry I didn’t see your reply until now. Thank you so much for doing all this for me. I’m going to try it right now. Again thank you and sorry for the late reply!
I pushed mine up to 900, that fixed the blur I was noticing. However when I exported as a pdf and loaded it into the gf. It didn’t recognize the text and just gave me a blank box. I’m sure it’s just a trial and error process. Thanks for the tip too.
Sorry about the late reply, when I converted the text into raster and exported as a pdf the gf just had a blank rectangle where the text should have been. It was like it was erased. Very strange.
perfect, thanks for the posts Jb. I’m reading them now. I was curious about increasing in dpi and gradually working my way up in order to improve the sharpness. I can see the first article covers that, which is ideal for what I’m doing, thanks again