So making a cool sign inspired by @BigBlueMark’s sign:
my nephew was an intern at SpaceX and they of course have a rocketry team (SERIOUS MODEL ROCKETS!). Anyway they are headed for a competition and I decided to make a team sign (their rocket is liquid fueled (methylox) carbon-fiber and is expected to reach around 50,000’ and go around mach 2 on the way up! (it’s nice to have SpaceX’s shop available to build your rocket and access to rocket scientists to ask questions of…
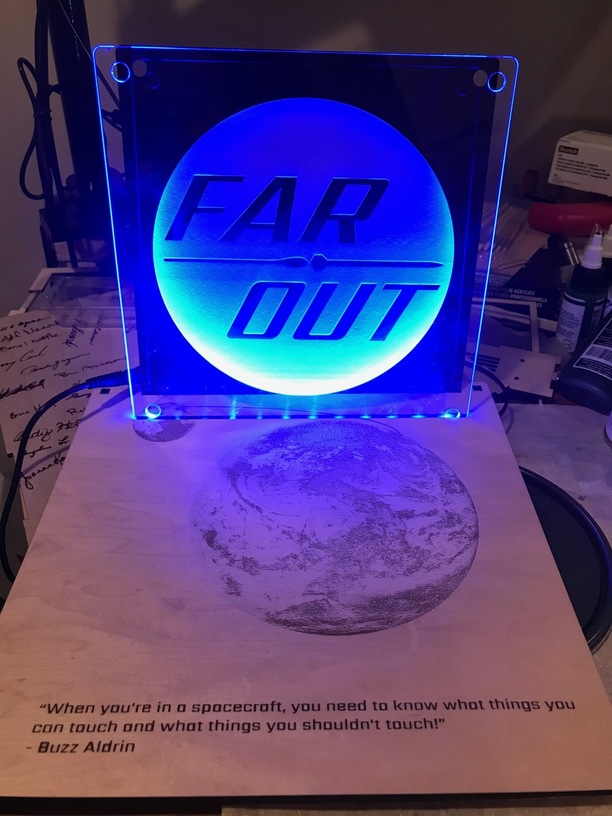
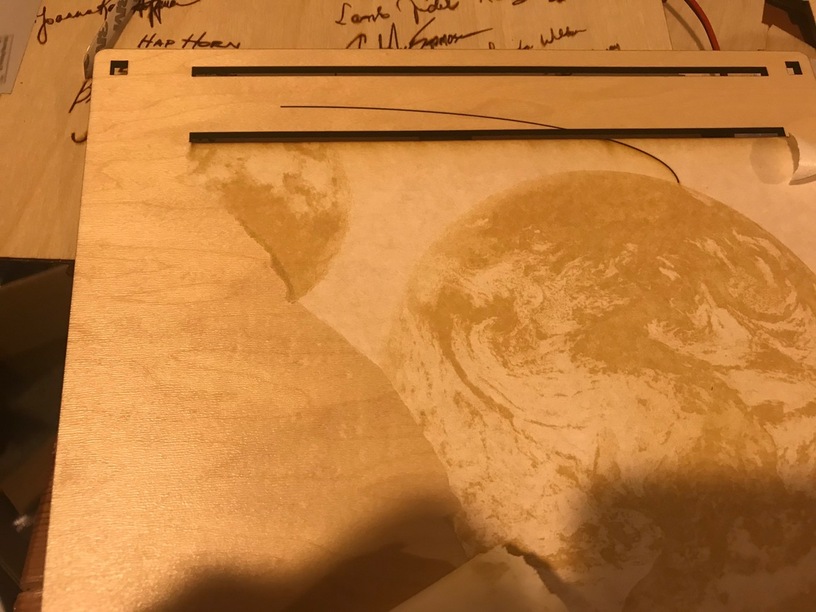
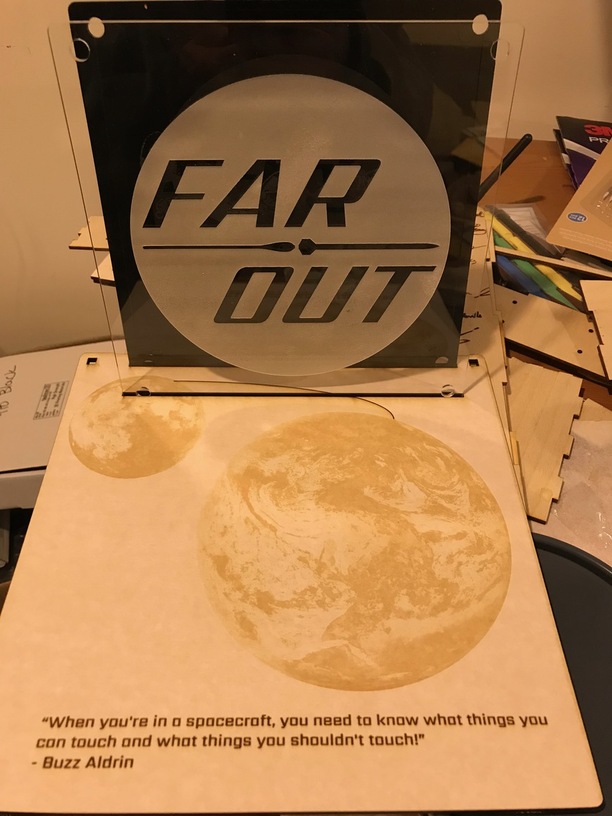
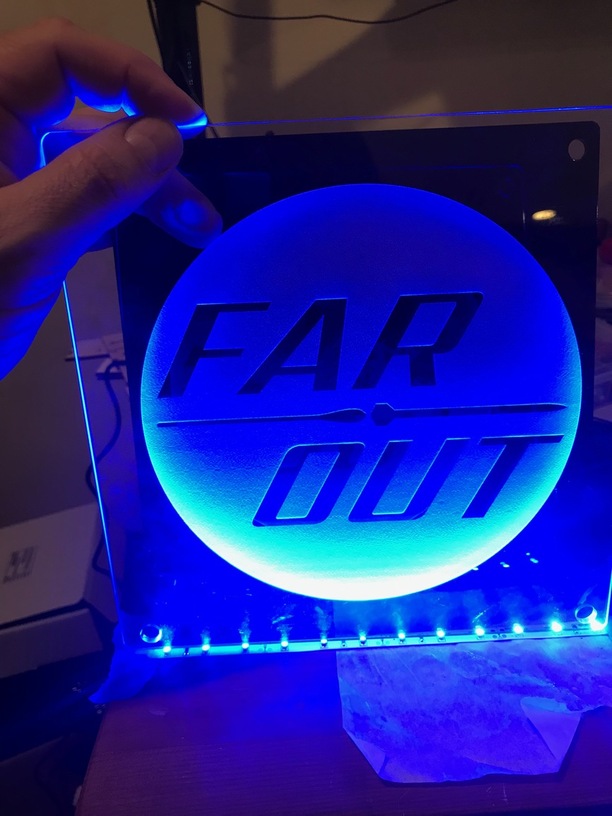
All material are Proofgrade. So I decided a black background with a hidden engrave behind their logo in clear (a nice drawing of the Apollo lander) and then the earth with a transfer orbit onto the moon engraved in, along with a quote of Buzz Aldrin’s. It was a monster engrave (over 3 hours). It looked really nice. and today I went to weed the maple, only to discover the engrave ONLY ENGRAVED THE MASKING! This was an embedded PNG set to HD photo. Luckily my LED standoffs haven’t come yet so the sign is somewhat delayed anyway. I am re-engraving the job directly on the wood…
Looks like the power was set way too low or else the source file was all light greys. A minimum power of 5-10% or so is needed just to burn through the masking. For lighter engraves it’s necessary to remove the masking first.
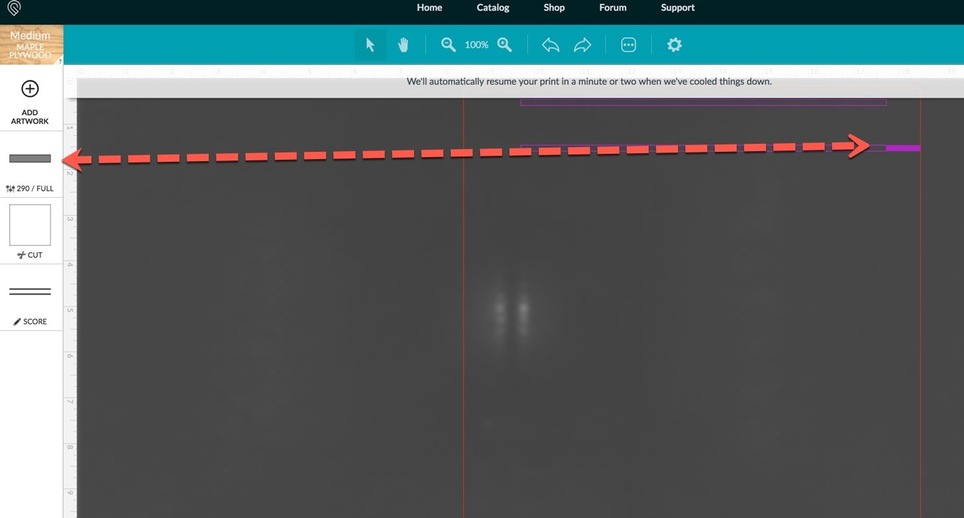
This job seems cursed. The engrave worked without the masking. So ran the second sheet through (the base is two layers thick). So weirdly the engrave (which is the slot for the wire for the LED strip, never executed (it never even tried). Again this was Maple ply:
I saw another user of FB talking about the same issues with the new engrave settings. I haven’t use me them in a few days, but it sounds like there are clearly some buggy things going on…
FWIW, I’ve experienced really light printing with the HD photo settings as well and I just avoid using it now. I hope they take a look at the settings.
That’s really weird about the missed engraving. I wonder if it’s the same thing I saw when I processed an engraving and cut project and the GF only processed the cut operation. The only reason I caught it was the obvious time dependency; it should have taken hours and it was only going to take 30 seconds. There was nothing out of bounds and no obvious reason it missed the engraving step. This happened to me about three times and a least one other person has seen it as well.
I get having cursed projects too. I spent HOURS last night trying to get an image to process. I even tried to run it at 10 lpi and GF just flat out hates the image. I broke it into three parts and still just nope. I processed the image a dozen times and finally got the GF to process one of them today. It just finished and it looks like crap lol.
Your sign looks great though. I really love the light reflecting on the earth engraving. Are the little square cutouts in the wood decorative or functional?
So now you’ve perfected a process of making masking sickers.murals !!!peal off the masking and ist is a self adhesive wall mural , And you still have you unmarked wood for the project !!! win win
And of course to finish the curse (always in 3s) the cut on the second layer failed to cut all the way through (on maple ply!) Had to finish it with a razor knife…
My experience with diminishing power recently was fixed by cleaning the lenses. I use to have a go to setting for cutting through 1/8 BB ply. Lately I had to up power and lower speed. And even then I was having problems. After a good cleaning I was able to go back to my normal setting.
Best guess PG auto setting are indeed from GF testing, but they probably cleaned thourghly before each test. And the machine can’t account for gung on the lense.
Regarding the cut through issues, have you already gone through the steps listed in our troubleshooter? If you have and still need help, please let me know what you’ve tried. I’m happy to look into it further.
I’ll take a look at the settings and update this thread when I have more information.
I’m glad you were able to finish your project. It looks great and I’m sure your nephew and his team will love it!
Would you try the HD Photo settings again on the same material with the protective layer on and see if it prints better? You can make the print smaller or crop a section of it if you’d prefer.
It’s been a little while since I’ve seen any replies on this thread so I’m going to close it. If you still need help with this please either start a new thread or email support@glowforge.com.
 materials