Happy Free Design Friday the 13th!
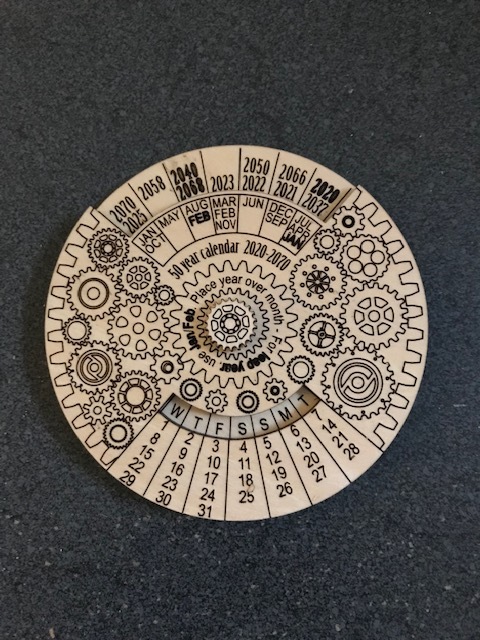
According to my sister I’ve always been fascinated by calendars. When I was about 7 I saw one of these disk keychain calendars and I was fascinated by it. Didn’t have enough pocket money to buy it and apparently my mother didn’t think my fascination would last, so I didn’t get one as a present either. Well, many, many years, later, I still want one! So I bought a $4 one on Amazon, in order to see how they work. From that it took me months(!) of figuring it out, often putting it aside because it hurt my brain, but I couldn’t let it go. The one I bought started in 2010, so I even got rid of the first 10 years and added the '60-'70s. Not that I’ll be around to check it out by then. I’ve even improved upon the way the leap years are shown - prompted by my husband, who says I’m nothing but persistent. I had about 24 layers going in Inkscape, some nested, some support ones, etc. The pivot was relatively easy to figure out, but that too was a milestone for me. The complex file was too big to upload in the GFUI so every time I printed a draft, I’d copy the file as calendar ‘front’ or something, delete the layers I didn’t need and then it would run.
After all that work, I’d rather have more people than just me enjoy it so this may be a good present for those who:
- want to know when the next Friday the 13th is
- are also fascinated by time pieces
- already have everything
- need to figure out what day a date falls in the future
- you have or know of a kid just like I was
50 Year Calendar - 2010-2070
for personal use only - as per Glowforge forum rules
svg, zip and pdf:
calendar50 final.svg.zip (286.2 KB)
calendar50 final.pdf (497.8 KB)
Notes:
- Use proofgrade medium basswood ply for the circles; thick basswood ply for the post in the middle.
- Set red to cut; green to score; black to engrave. You’ll need to toggle a few steps to the correct settings.
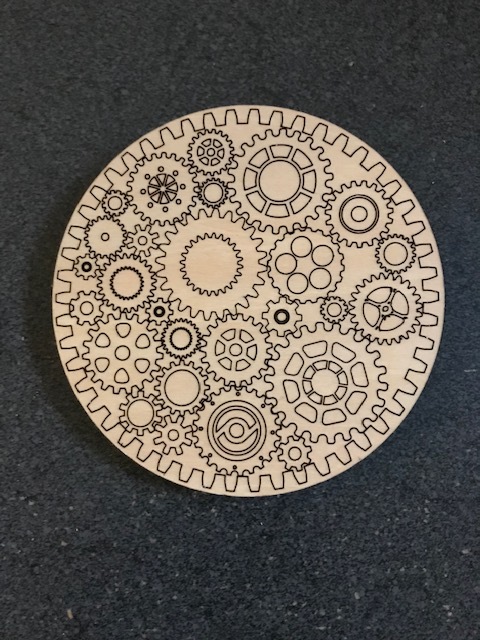
- For the bottom layer front and back; set the blue step to ignore; set the central pivot (purple) to engrave with 2 passes and run job; then carefully flip over without moving the sheet or the design; set blue to engrave and all the other steps to ignore, print.
- To assemble: lightly tap the post in the bottom. Slide the top over it and put a small dab of glue on the post. Glue the gear on top.
- It takes about an hour to run. Considerably less if you don’t print the gears on back.
Let me know if you make one - my inner 7 year old would be happy!


 ) so dinner tonight…maybe this weekend
