Hey guys. I’ve been using my Glowforge off and on for a little bit now and I have loved it. However, something crazy has happened. We’ve had the GF set up on a desk on one side of the office and it’s been great and engraves EXACTLY where we told it to. I could set 6 pieces of material in it, such as coasters, and lay them all out in the “place art” section and it would hit all 6 pieces perfectly.
About 2 months ago we rearranged the office and now it sits on the same desk on the other side of the room. When we turned it on this time, however, it misses everything pretty badly. It does it’s own aligning every time we close the lid I guess but all cuts and engraves are about 1/4 inch up and to the left.
I understand making a jig if you’re cutting something out of PG material but we mostly use things like coasters, mat board, cardboard and things like that. We like to customize existing materials. But even on ProofGrade materials it misses this much. Here are some things we’ve looked at to try to fix it.
One person suggested our computer may be too far away but it’s about 3 feet from the GF.
Some people said the surface of the desk may not be flat but its the same desk we used before and according to a leveling tool, it’s flat.
Some others said that the case is a little flimsy and the GF can flex or twist. We have shimmed each corner and many combinations of multiple corners and we can adjust it a little but it still misses badly.
Yet another said that their door didn’t close snugly and that it made the camera see things off a little bit. We have checked for debris and made sure the door closes nicely and flat.
Some say that maybe the floor isn’t flat. It is in the same room and I think the level would have found an uneven floor.
Finally, several people say “Oh this is just what lasers do. They miss a little bit and you have to figure out the adjustment.” I could believe that except that for the first many months of using it the GF nailed every print perfectly, on the dot. We’ve even seen where someone said they wrote the word “Glowforge” on a grain of rice and I really doubt that was achieved by figuring how far it missed naturally and then clicking down three times and right three times (which is approximately what we’re having to do).
In closing, I’m really curious if there is a way to personally adjust or align it manually to get it back in place. We’ve already messed up a few Christmas ornaments for a customer and had to go about getting them more to replace them.
Thank you in advance, we’re really trying!
The software on your Glowforge is responsible for ensuring that the print lands on the material in the same place as the preview. When you’re done with a print, let a new image load. If the print appears on screen far from where it was supposed to go, you may have an alignment problem.
Most alignment problems come from the material being closer or farther from the camera than expected. While the software is still improving, you can take these steps for the most accurate alignment results:
Use Proofgrade™ materials.
If you don’t use Proofgrade materials, use a precision set of calipers to measure your material, and enter the thickness in the “uncertified materials” dialog.
Use material that is not warped or tilted.
Place your design near the center of the bed.
Clean the area underneath your crumb tray, particularly the four indentations on the floor.
Reboot the machine. Alignment can drift over time, particularly if you bump the head of your Glowforge while removing material.
We’d like to have you try a few troubleshooting steps for us:
Turn off your Glowforge.
Check for small pieces of debris or dust.
Check the lower door to make sure it closes all the way. It may require some force to open, but open it, wipe any dust off the edges, and close it all the way.
Remove the tray and clean any dust or debris from the surface underneath. Pay careful attention to remove all debris from the four dimples where the tray rests.
Check the lid to make sure it closes all the way. Small particles of material, such as dust or debris, can prevent it from closing completely.
Check the surface your Glowforge is on to make sure it’s flat. Ensure it is not twisted slightly and that there is no debris propping up one side of the machine.
Turn your Glowforge back on.
We included an extra piece of Proofgrade Draftboard with your materials shipment for troubleshooting. Place the Proofgrade Draftboard in the center of the bed and print the Gift of Good Measure using the default settings.
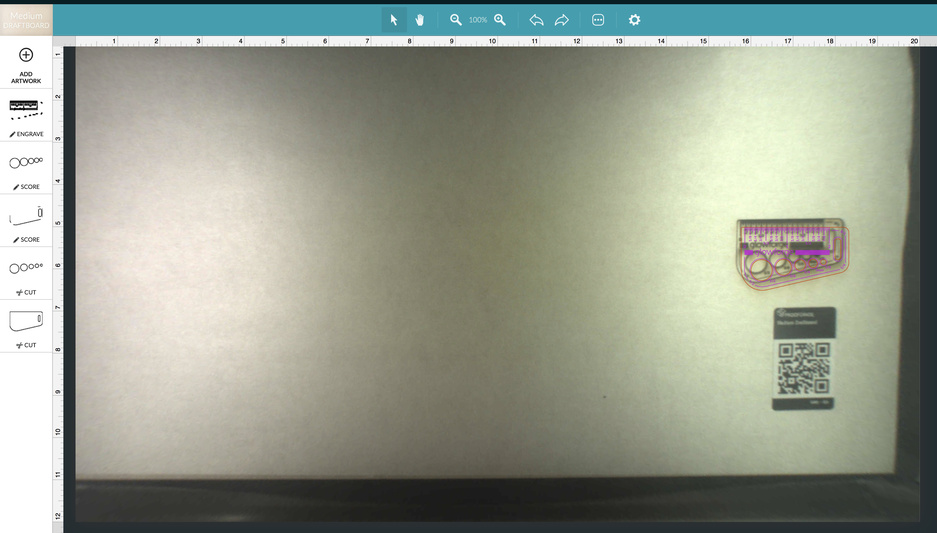
When the print finishes, leave the lid closed and wait until the fans stop and the picture updates. Without moving your artwork or your material, take a screenshot of the Workspace to show us the difference between the artwork placement and the actual print placement. Make sure to include the rulers in your screenshot and show as much of the bed as possible.
Mac: Press Shift-Command-4 and click and drag a box around your image. You’ll find the screenshot file saved on your desktop.
Windows: Click on the Start Menu and type “snipping tool”. Open the Snipping Tool > New then click and drag a box around your image. Click the Save icon and name and save your file.
Send us the screenshot along with the date and time of the print, and we’ll investigate.
Should you finish all of these steps, and find that you have an alignment error of more than 1/4", please contact us so we can investigate.
Chuckle! Actually that’s exactly what I did. (One click up and one left.)
Jigs are the way to go for something like engraving on coasters and cheese boards, boxes or whatnot…things that already exist without having to cut them out. You basically create a file that has your engrave design in it, with the design placed inside of a shaped hole the same size as the object that you want to engrave on.
Then you cut the hole out of a piece of cardboard or something, drop the coaster into the hole, and engrave it. Take that coaster out. Drop another coaster in and engrave it. Etc, etc, etc. As long as you do not let the jig shift, everything you drop into the hole will be perfectly aligned. But the secret is, the hole shape and the design have to start out in the same file, in order for the alignment to remain correct relative to each other.
There are a couple of tutorials that describe how to do it:
And of course, once the Snapmarks are enabled for everyone, you’ll find it even easier.
You had good alignment and then it changed after you moved the unit. One thing that affects alignment is leveling. Make sure your unit is perfectly level, and make adjustments (like putting sheets of paper or spacers) in strategic areas of the feet to get it level. Too bad it’s too late to see what the leveling status was before you moved it.
The test with the Gift of Good Measure shows that your Glowforge is performing within the range of accuracy that we expect right now. As we make improvements to the software, I expect you to see further improvements to your alignment.
I’m going to close this thread - if you find that you have an alignment error of more than 1/4", please contact us so we can investigate., or go ahead and post a new topic. Thanks for letting us know about this!