Okay, I now understand what everyone raves about. This is just too cool for words.
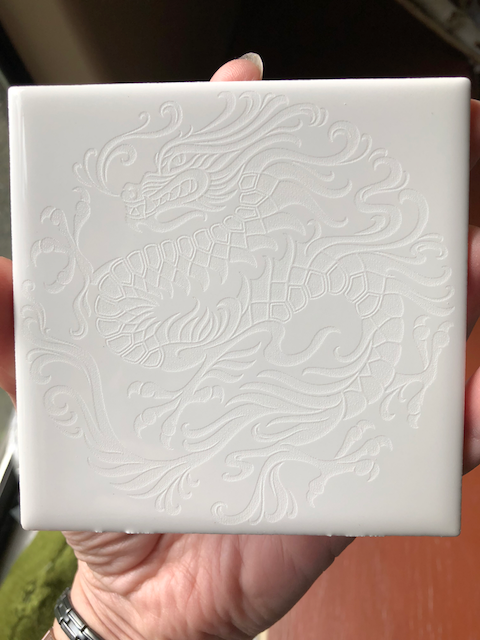
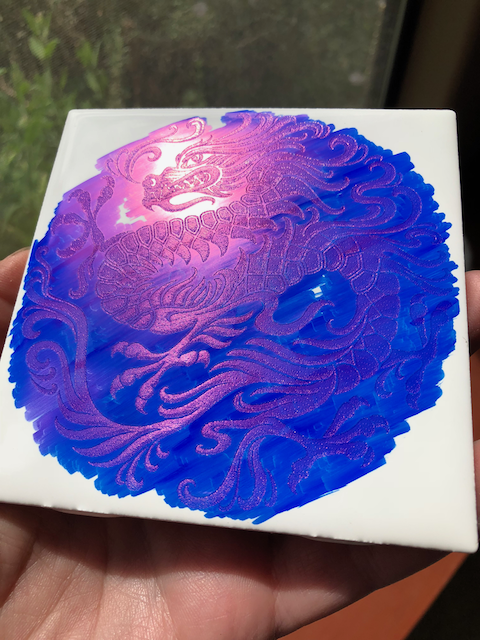
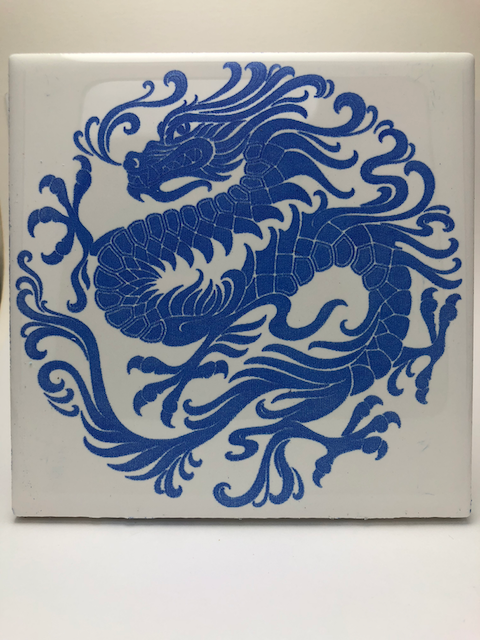
My first try was with a very awesome (but unfortunately very not mine) dragon image from Google Image Search. I’ve gotta track down the designer and see if it’s available for purchase, because I love it:
Buoyed by my success, I made this for my Harry Potter-crazed amazing administrative assistant, who is (according to the online Sorting Hat) a Slytherin. Because if she ever leaves me I will be rendered helpless and forced to retire, and therefore I must continuously shower her with love, appreciation and shameless bribes until I can (hopefully, some day) afford not to work any more:
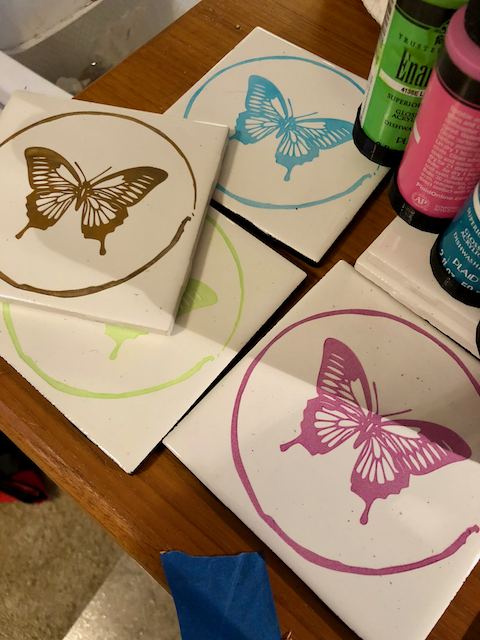
There is no need to mask the tile. Masking could be handy if you want to do multiple colors and use the mask for no-go areas. I used multiple colors on the ones I did without any masking, which is impressive for me as my coloring ability is rated at: eats paste in corner. But as for lasering, not required.
In regards to settings, read the first several posts of the thread that kicked this craze off:
As you’ll quickly see, a wide range of settings works. Also, multiple methods of removing the excess color. I use off-brand magic erasers.
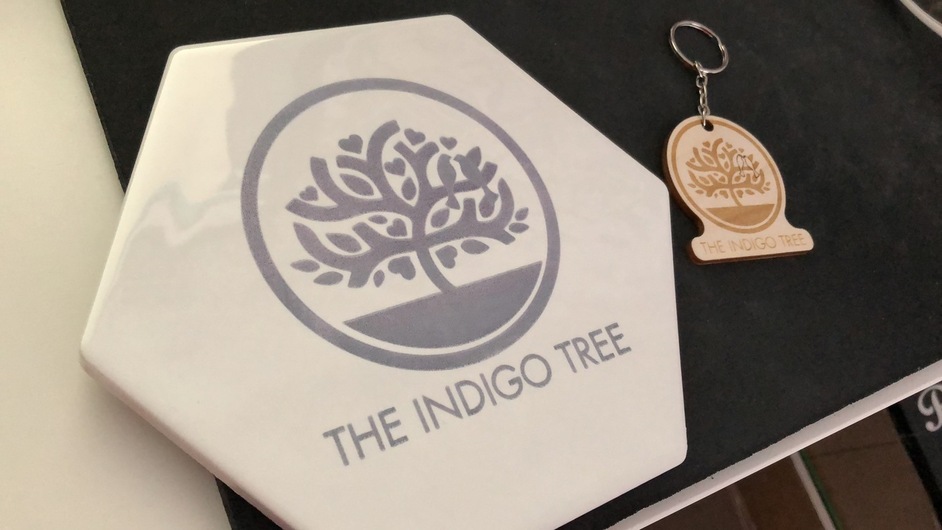
So I was working on a stack of tile coasters with the logo of the practice where I work, and someone happened to mention that the new owners are changing the logo…
sigh
I guess I can cart them down to Portland and give them to our sister practice that’s staying under the previous owner.
The acrylic paints are there because I tried them for coloring (see the gold tile). Not as easy to clean up as Sharpie, but 000 steel wool does a good job.
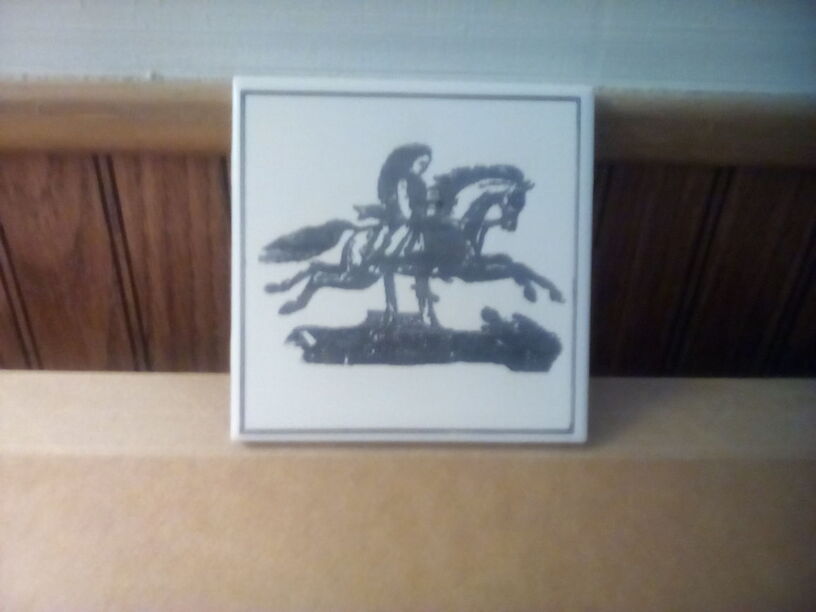
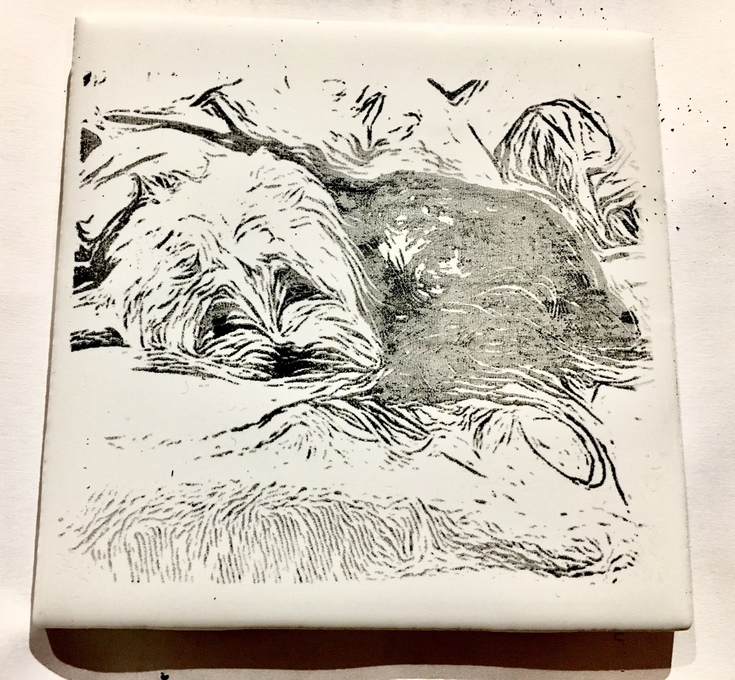
I tried my first tile work tonite. Happy enough with the results. First, I used a phone app called Inkwork to convert a photo to more of a black and white line drawing. Once I had the image I liked, I think brought it into Inkscape to convert to a SVG file (Could have probably just brought it directly into Glowforge).
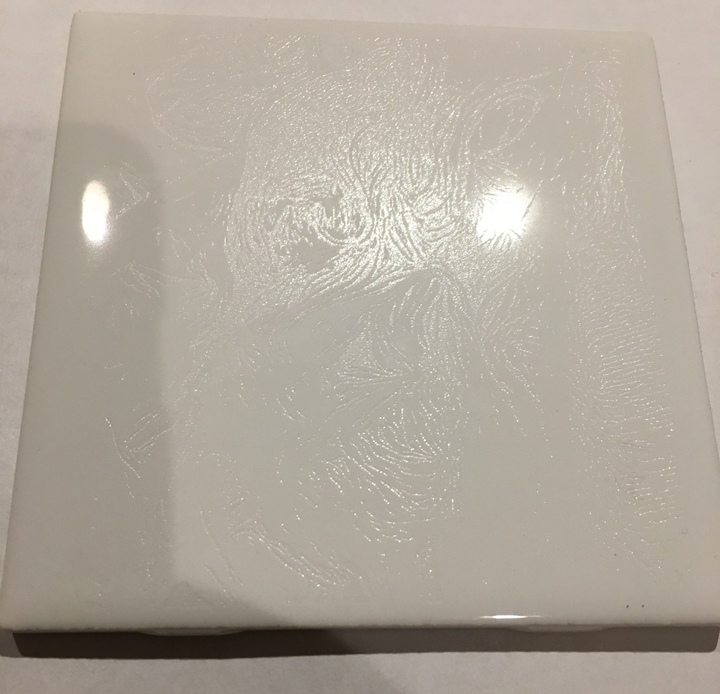
The tile was a basic white gloss tile from HD, roughly 5/16" deep (.312). I used full power and full speed (1000) and had setting set to convert to dots. Lines per inch was set to 195. Took about 12 minutes to burn the image.
It was a little difficult to see the effect at this stage, but I pushed forward.
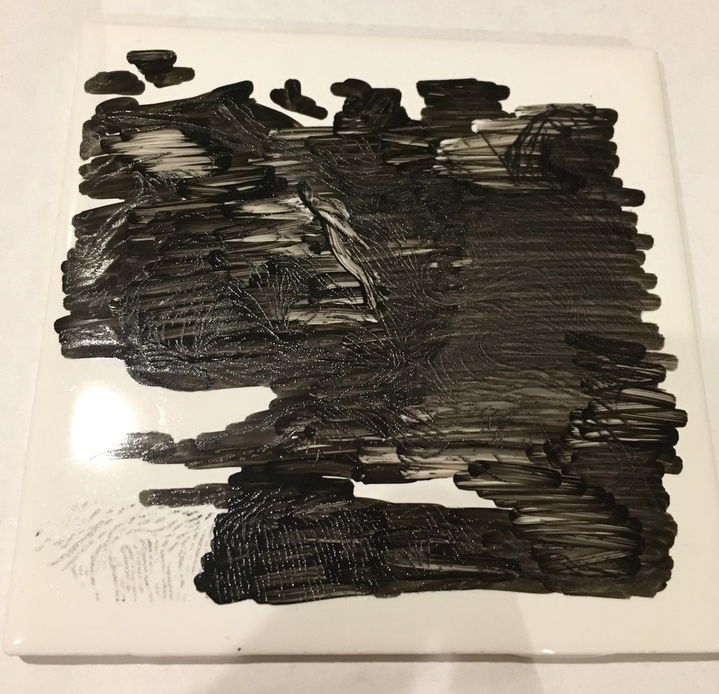
Then, used a black whiteboard marker to wipe across the surface. this got the ink into the laser burned areas, but the glossy areas would still allow it to be wiped off.
My sense here is that a second pass might make the cuts a little deeper allowing more space for ink. I’d also be curious the effect of different inks to stain the tile as that might be useful. It looks like others have used certain colors to good effect. There is also prob a good final step in sealing the tile which Ive not done.