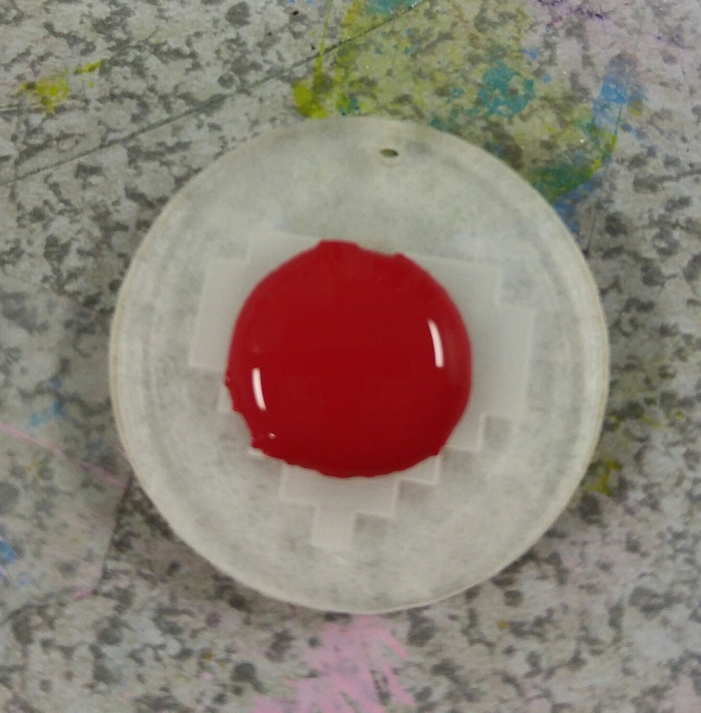
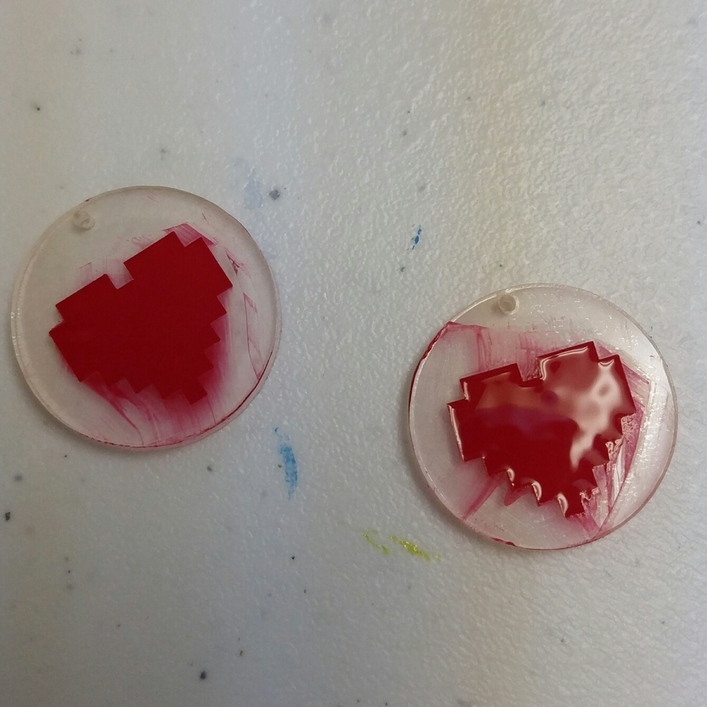
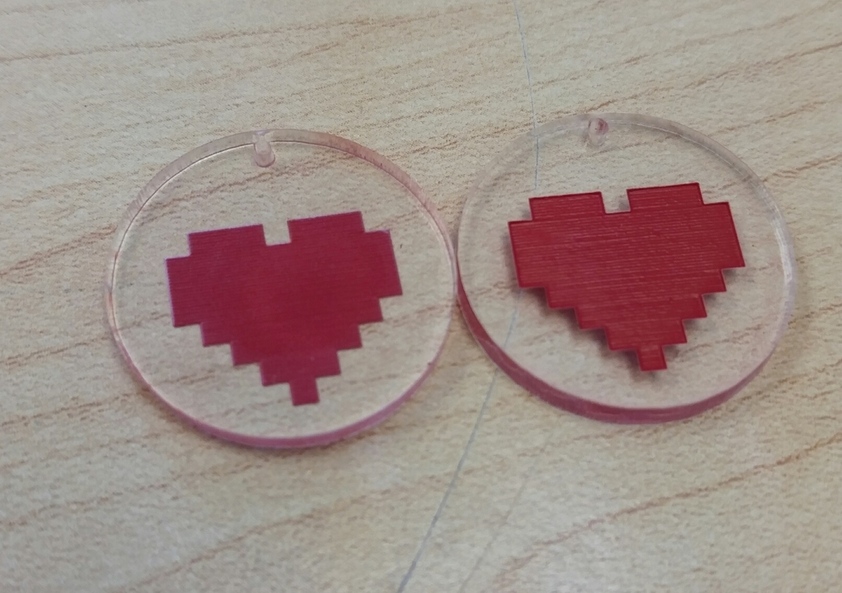
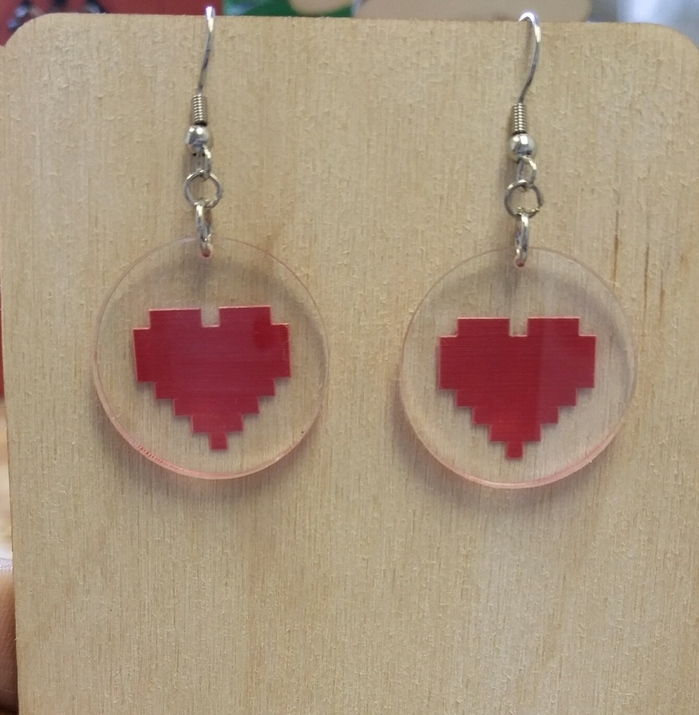
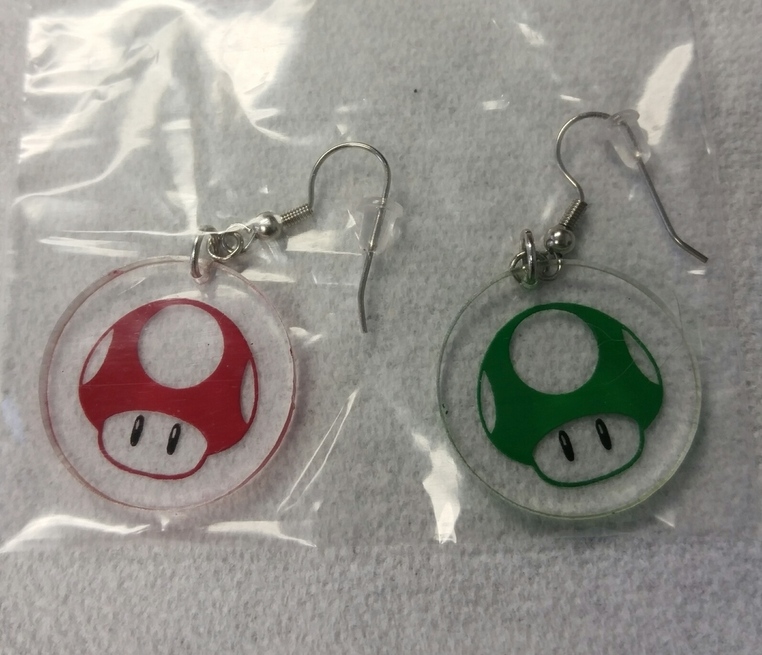
I’ve been making lots of items for an upcoming show. One being quick simple earrings out of clear acrylic.
Etch the design and use inexpensive craft acrylic to color fill. I used cast because I had scraps…this looks way better using extruded since it etches clear…colors are more vibrant.
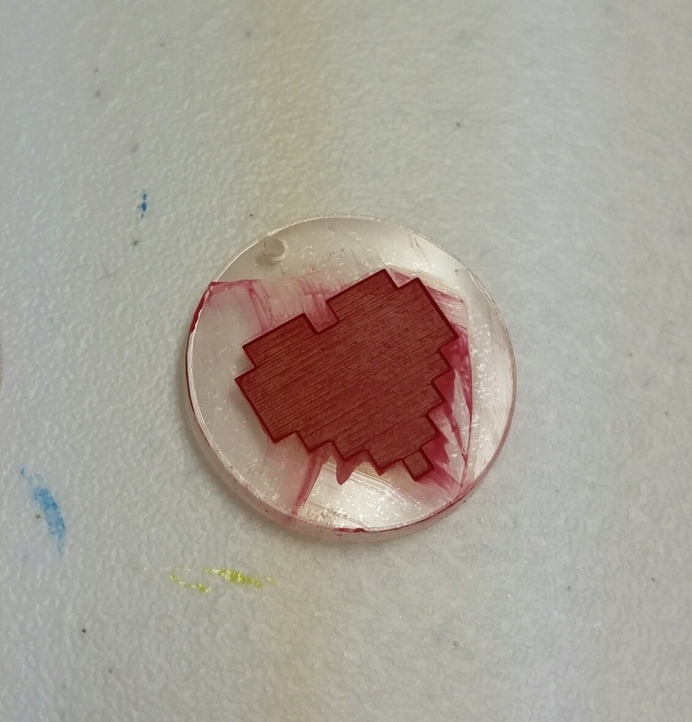
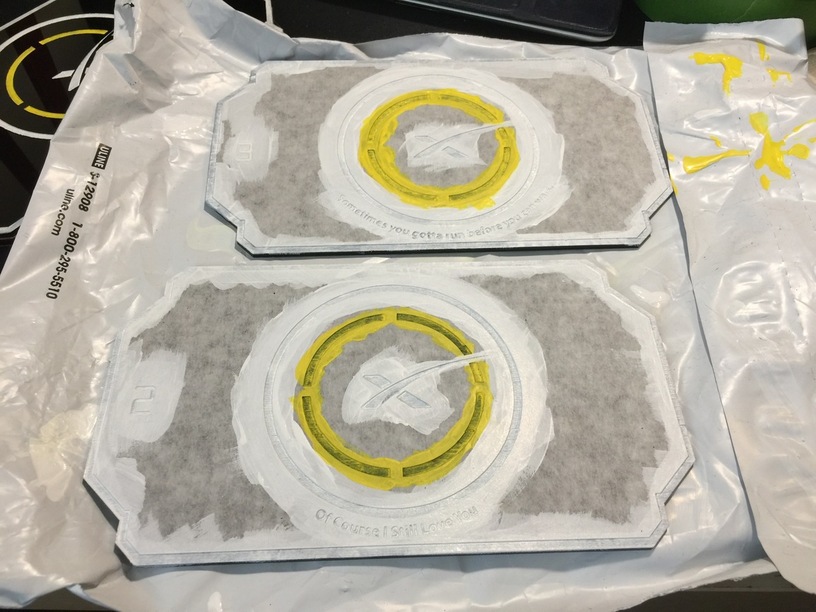
Having abit on it is completely ok.
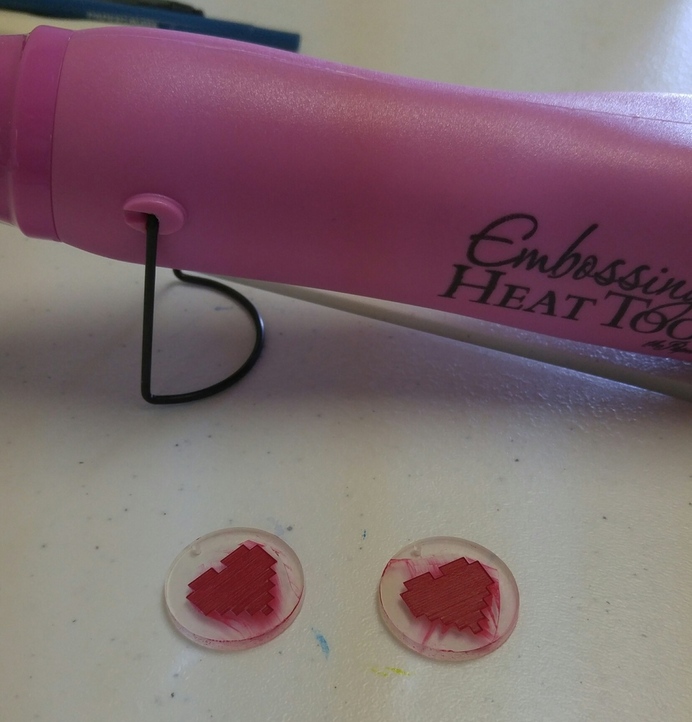
Let dry completely…if you are impatient like I am, use a lower power heat gun like for embossing to dry it in a few minutes. Dont get too close or the paint will bubble…
Since these are earrings and will most likely not touch anything…I’m not worried. But generally acrylics are tough when dried…if you soaked it in hot water, it might lift…its like a plasticy film once dried…
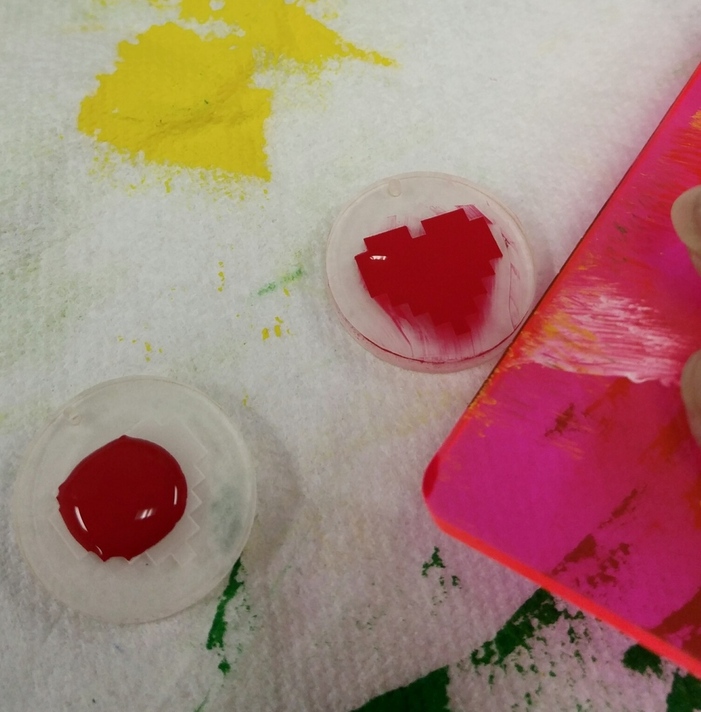
You have to be carefull when doing multiple colors…since you are filling this front to back…what ever color you put down first will be the one that shows…
I was playing around with a set for myself…took a thin paint brush and filled the black…let dry then color filled the red and green with the method described originally. Since black is really opaque, the color fill didn’t come through so it stayed black…
I clearly have Alzheimer’s. …I do remember that post now…Did you use craft acrylic?? Thats color fill from the front? How has it held up with moisture from the glasses??
Thanks for this! I’ve watched YouTube videos from the manufacturer on doing this. But it’s GREAT to see a real actual human person doing it. Seems like the process really is just as they describe.
I wonder if you could use some Liquitex Pouring Medium with the acrylic paint? Then you can use an eyedropper and let it self level. The eyedropper wouldn’t work for smaller details but it is a starting point.
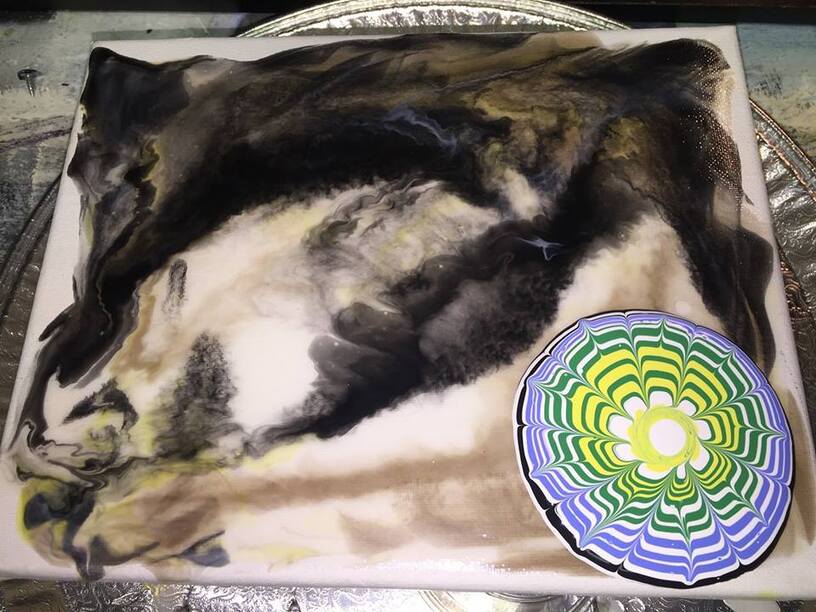
The earth tones were done with pouring medium and then tilting the canvas around to let the colors mix and spread. The medallion was done with acrylic paint mixed with water.
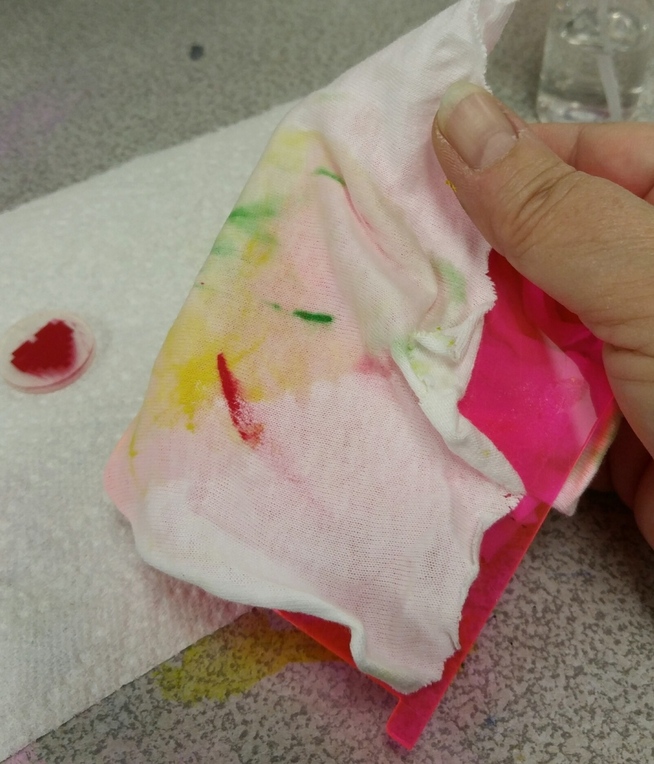
Combining techniques might same some cleanup time.


 …I do remember that post now…Did you use craft acrylic?? Thats color fill from the front? How has it held up with moisture from the glasses??