My machine is past warranty, so you might not want to do what I did. I’ve already gone through cleaning the case fan, and done a few modifications so that it wasn’t such a hassle the next time…and there was a next time. So I’m not nearly as reticent about opening up MCEtcher and getting my hands dirty.
I got my first air assist fan warning, right as I was trying to print the bases for a large (to me) order. I thought I knew what the air assist fan was. I was wrong. In my weekly cleanings, I’ve been cleaning the tiny fan of the bottom of the carriage plate. So when the big white button turned yellow and I saw the message, I was slightly confused because I’d cleaned it last week during the monthly deep clean. I checked there, and it didn’t look bad, but I went ahead and cleaned it again.
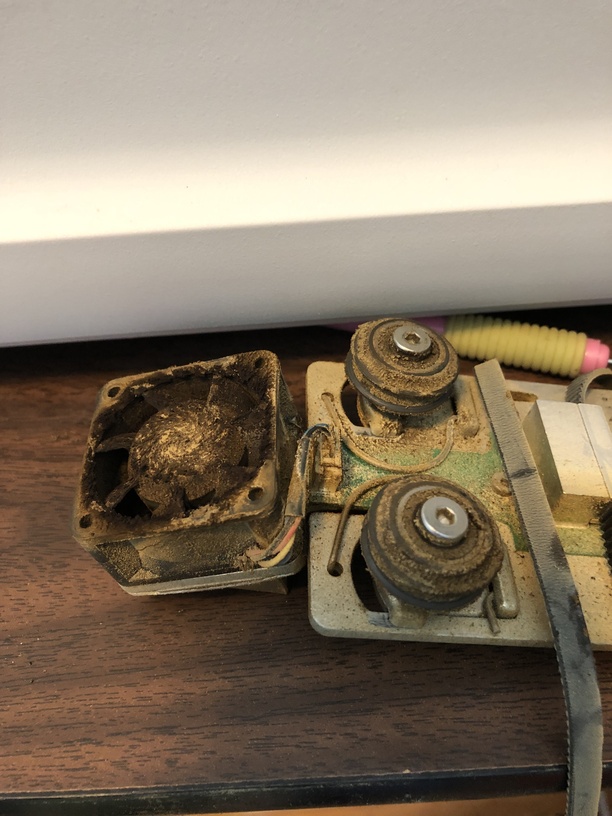
Tried to print again, and got the same yellow button. I actually read the entire error message this time, and went to the “clean air assist fan” page that was linked. What I thought was the air assist fan, isn’t. So I followed the instructions and found this.
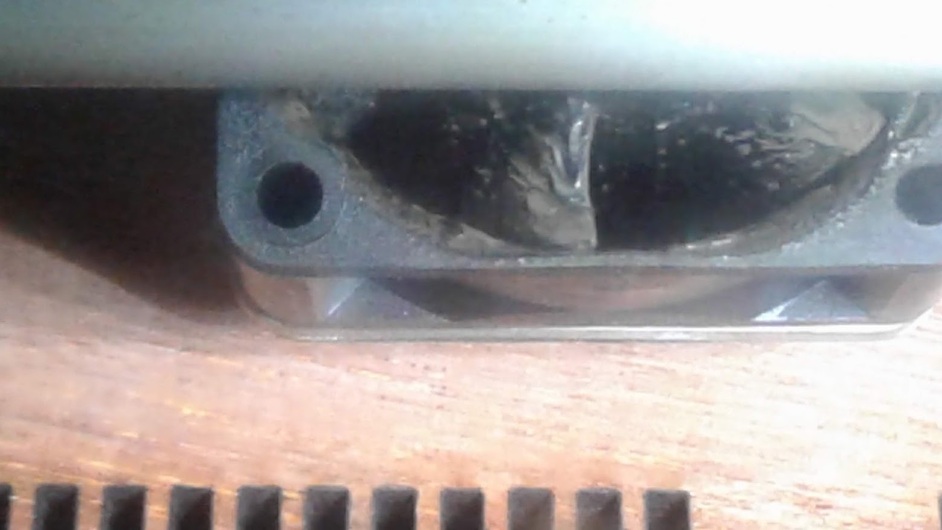
Holy cow! That’s a lot of crud! So I gingerly starting cleaning. After I got all the blades cleaned, I could still see crud further down which I couldn’t clean from the top, and couldn’t even see due to the directional vent on the back. So I took the fan off the carriage plate so I could reach both sides.
That side was so grime caked I forgot to take pictures. I gingerly used the pick from my Cricut to pull out and scape away the grime from the casing on the back. And from the directional vent. And then went back and cleaned everything again.
After re-assembling the carriage plate, re-attaching the drive belt was the hardest part.
I am proud to say that MCEtcher is working like a champ again!
I put a shop-vac hose pulling through the directional vent so it was pulling air through the fan. If the fan is free to spin it will do so. I then pump alcohol hand sanitizer, in which dissolves the crud and get sucked up by the shop-vac with perhaps a bit of brushing to help, Leaving the shop-vac running for a half hour after, every bit of the Alcohol is evaporated away.
At that time it should e very much cleaned and free to move and look pristine.
So, I’m curious, what does the rest of it look like? I’m not very good at cleaning mine, but I only use it sporadically. I think I’ve done 1 “deep clean” in the last year.
Every day that I turn it on, I clean:
Camera lens in lid
Main lens in the print head
Twin windows on bottom of head
Window on side of head
Mirror up in the left side
Weekly
Lid, just because I hate not having a clear view
Empty crumb tray
Wipe the floor
Monthly
Clean mirror inside the print head
Pop left side and clean case fan (NOTE: if you’re still in warranty, leave the left side top alone, and follow Jules’ fan cleaning instructions! I was already out of warranty when I started using this method)
Run the shop vac with brush head lightly over stuff in left side before I replace top
Clean what I thought was the air assist fan on the back of the print head
And now, remove carriage and clean the REAL air assist fan
I’m sure more stuff will get added to my list as my unit gets older.
So I also had the exhaust fan grill face-load and almost completely restrict airflow, and pump smoke out of every crack. Ok, that thing is in the way, causing the fan to blow directly into an obstruction. Not anymore.
Increased airflow, improving cooling with less turbulence - less smudge deposit on the fan.
Same here. That smoke out of every crack scene was what prompted me to do a little post-warranty modification. That aluminium grill on the case back doesn’t seem to be a problem now!
It’s funny you should say this. I got that warning twice last week in the middle of a project. At first I thought it was an issue with my magnets, but it wasn’t stopping anywhere near them. Disassembled everything to find a pretty clean fan (and the assembly process wasn’t exactly smooth on my end, so that was a pain). Tried to run it again. Same problem. And then I realized it was my magnets… because I hadn’t understood where the air assist fan actually was, I kept ruling out the magnets!
That’s odd. I use tiny round neodinium magnets, bar neodinium magnets, and some larger ceramic magnets, about thumb sized. I’ve never noticed a problem with any of them. Can you describe what’s happening? Could be that I just never noticed.
I just looked at your linked article. That is the exact post that started me down the modification path. But I don’t have a jewelers saw. I had to use a Dremel. Mine doesn’t look pretty, but I’m the only one who sees it.
Thank you for the prompt. I’m a lot more comfortable with my machine now.
I had never had a problem before then, but a few months back, they added an alert (and a pause) for when the air assist fan isn’t functioning to full capacity. When it travels over an unshielded magnet, it can slow down, triggering the alert. People have been commenting on it for awhile, so you can find other examples on the forum. But it had never happened to me, so I assumed maybe my magnets weren’t that strong (and they aren’t relative to some other folks’ magnets).
It’s a giant pain, of course, because you can’t adjust the magnets without opening the lid and cancelling the print midway.
The alert caused me to realize a problem that had been there all along and may have done-in my previous machine. Thinking about it it was obvious why it would be a problem but I had thought it was crud that was causing the fan to slow down intermittently. And every time it did the smoke would burn and cause incomplete cuts and messed up engraves and eventually melting the crud into the fan.
I have since had a problem with it which was no fun. I do wish you could continue the print after removing the magnets. There are some boards that are too big to hold down with the pins and too warped for anything else.
You can buy very strong shielded magnets, that should not interfere, make your own shield, or in a pinch experiment with a washer that was bigger than the magnet, I have not tried that last one but I think it worth the experiment,