I did the calibration of the camera. And I use set focus on every job. My problem doesn’t seem to happen on every job, but randomly.
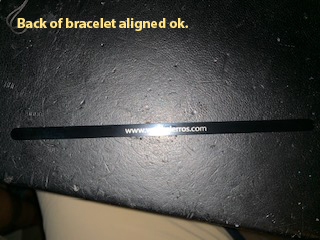
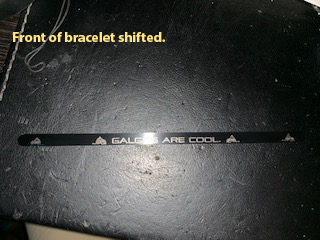
Attached are photos of a bracelet blank I just lasered. I set it up and got it perfectly aligned (had done set focus as I do everytime). The back with my .com was fine. But when I did the front, as you can see by the photos, it has shifted, and then when the job finished on my dashboard, this is what the visual was, even more off center.
The camera visually looks for light colored material to take it’s measurements, and unfortunately with black or dark items, the camera and algorithm can interpret it as a hole. The camera needs the thickness measurement on the material, and it shoots a little red laser at it, but if it’s black, the little red dot might not be seen. Bad measurement, bad placement.
As thin as that is, you’ll also need to make sure of the auto-focus. It might fall off of that skinny little bracelet and then it will still be off. Your best bet is to create a jig out of similarly thick material, cut out the shape of the bracelet, and then sink it down into the cutout. And use masking.
If you are working on lots of skinny little bracelets, that’s likely why the focus keeps shifting on you. They’re hard to work on.
I also have needed many attempts to get the focus right as it will shift some as it makes the change. If several tries are very quick and do not change and land where you expect the chances are that it is good.
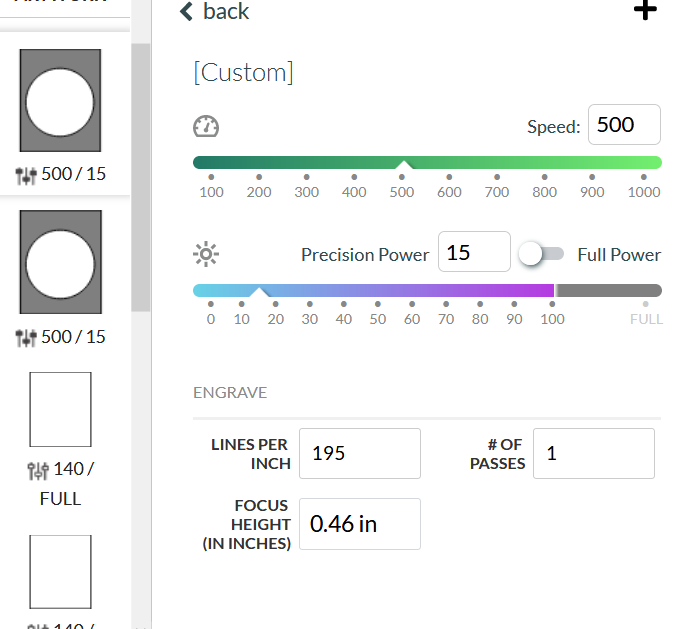
I think Jules is right on track about it being thin, dark material and that making auto focus tougher. I just want to mention that you have to pay attention if using set focus and a saved custom setting as well. A previously saved setting that had a measurement in it will override the auto set focus setting and mess with alignment. You can fix it by going into the setting, clicking in the measurement box and putting in “0” and it will revert to “auto”. I got caught by this just last week so it’s fresh in my mind lol.
I didn’t think it should matter either and I’m obviously not understanding what’s happening between set focus and the focus height then. I’m probably using the wrong terms too. :-/
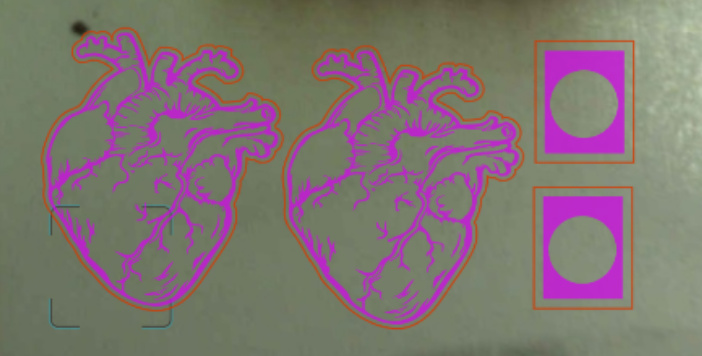
So what is causing the shift of the engraving in the right heart and the bottom rectangle? They’re the same files with the same settings and the only difference is the focus height of the offset engraved elements. What am I not getting?
I have done your suggestions, but still having the same issues. I also did the recalibration of the camera, and still, same issues.
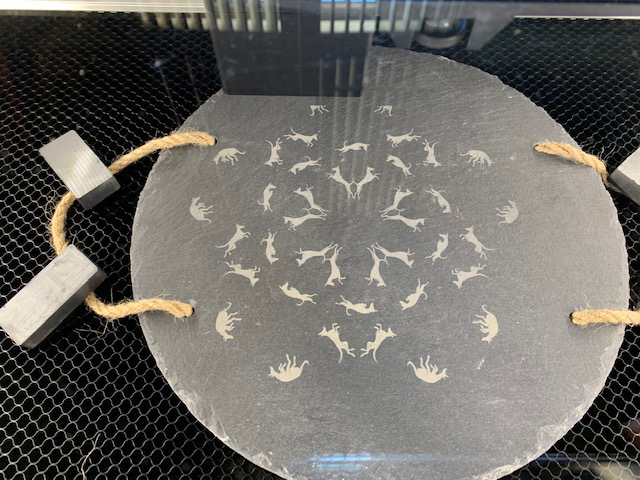
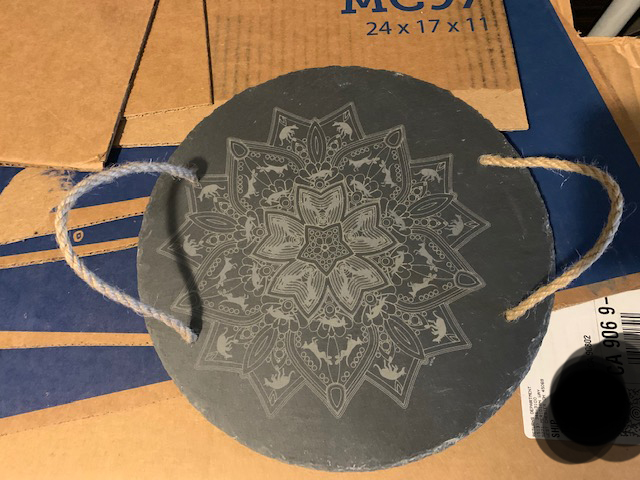
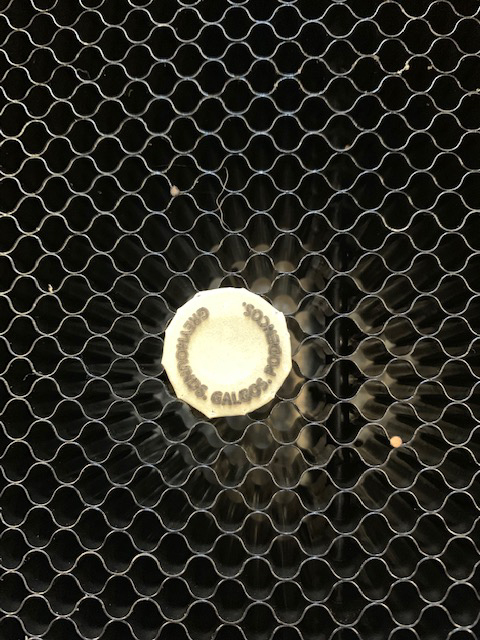
For the first job, the round slate pc., I didn’t mask and you can see how very far off the pc became.
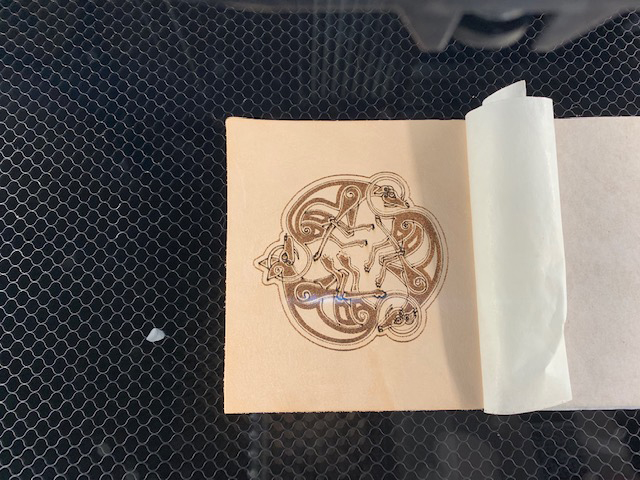
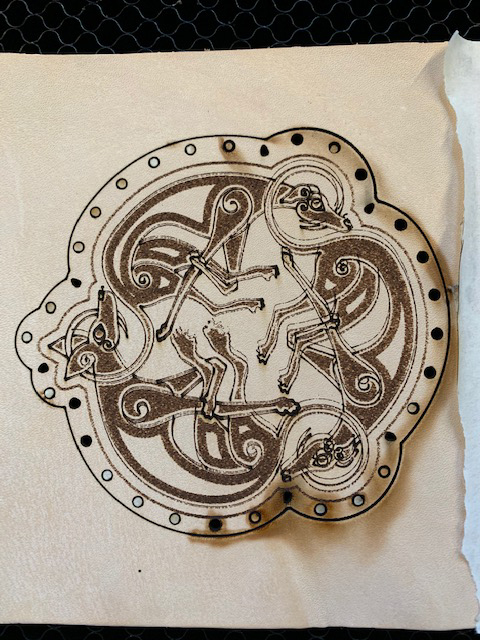
For the second job, the rectangular bamboo cutting board, this is the first one I did post recalibration. The front came out spot on, but the back, way off to the side.
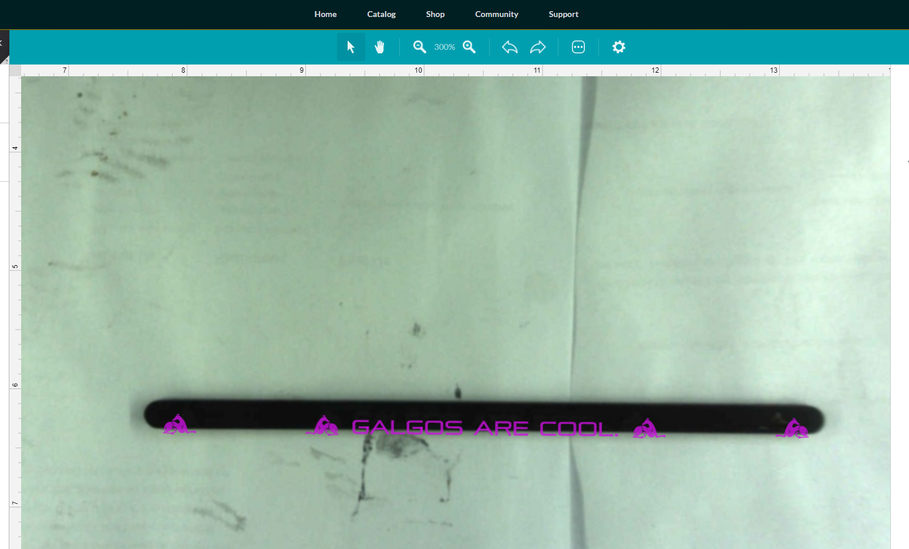
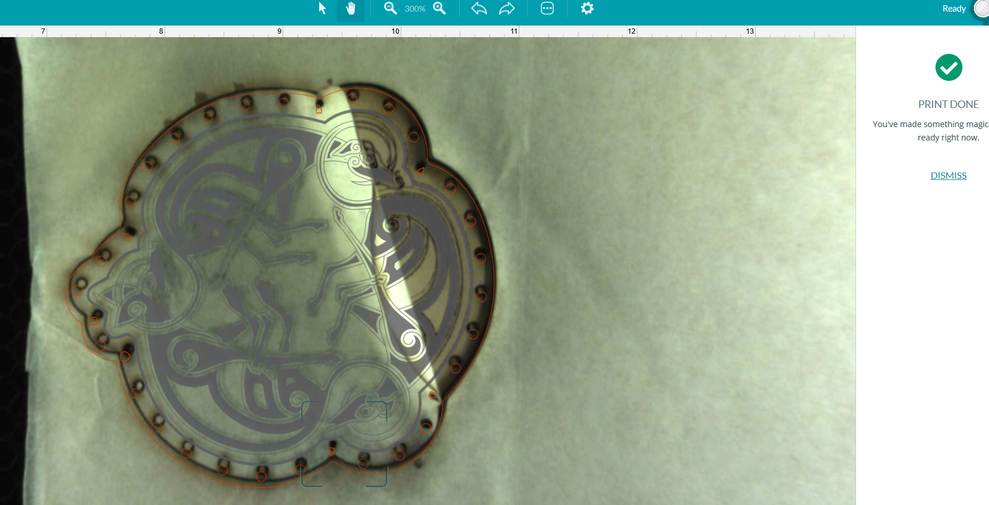
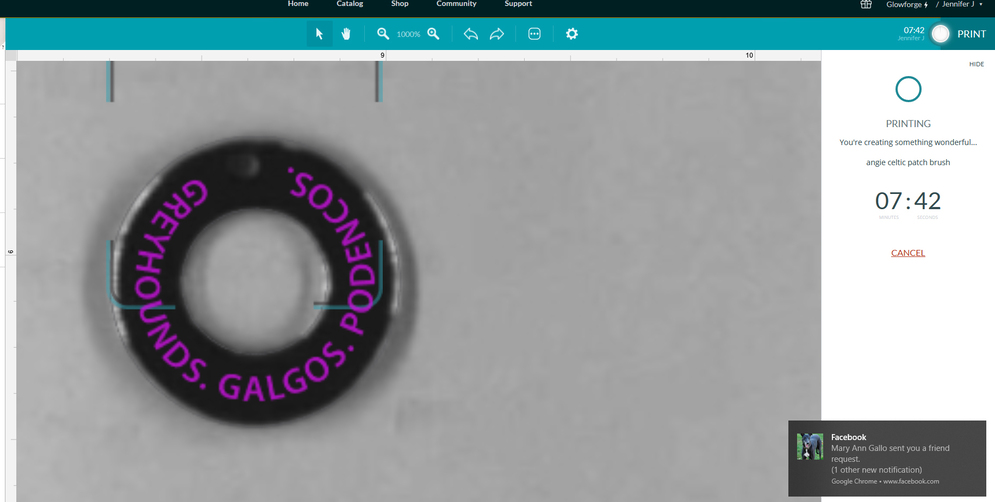
And the most recent job is the proofgrade leather patch. What is fascinating about that job is that is became off center, as you can see from the screen cap, and then I left it in the GF and just did a print again at the same everything and it engraved and scored it again at the exact same amount it was off in the first round of printing.
First thing I have done this morning was again, reboot everything and mask the disc I tried yesterday at the end of the day. As was before, I set focus (this time I did it 4 times) and started centered and you can see by the screen caps and finished product it is off as always.
I don’t believe this is a masking issue. Please help.
So, in my frustration, I took a break, after shutting everything down, turned it all back on and read more alignment issues on the forum. I decided to go back to square one and loaded the proofgrade board in the GF, prepared the gift of good measure to print. Started and by the time it ended, you can see here from the screen cap how much it is out of alignment. I cannot do anything with my GF right now. Please, please help me!
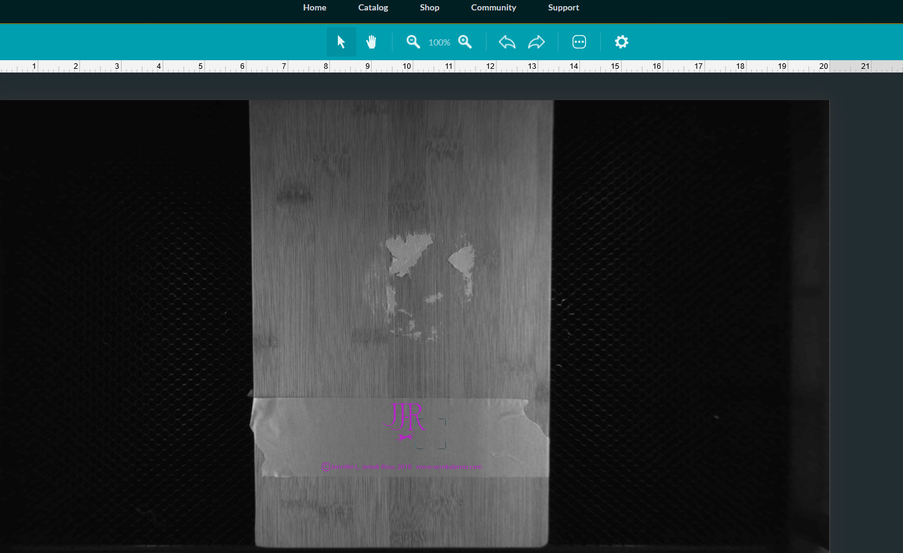
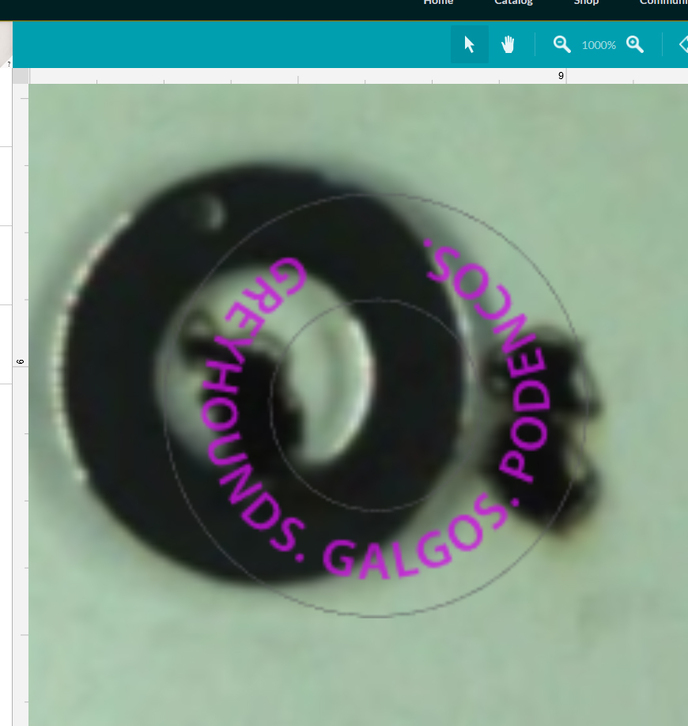
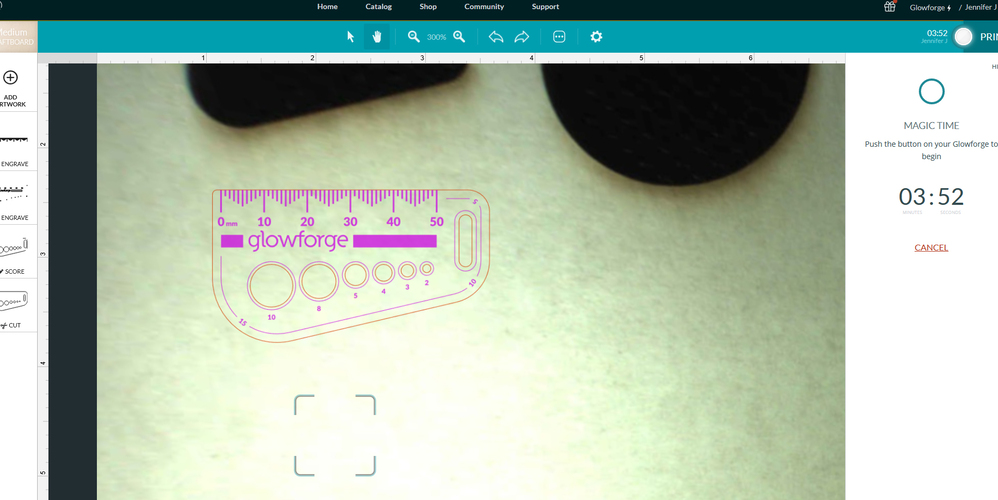
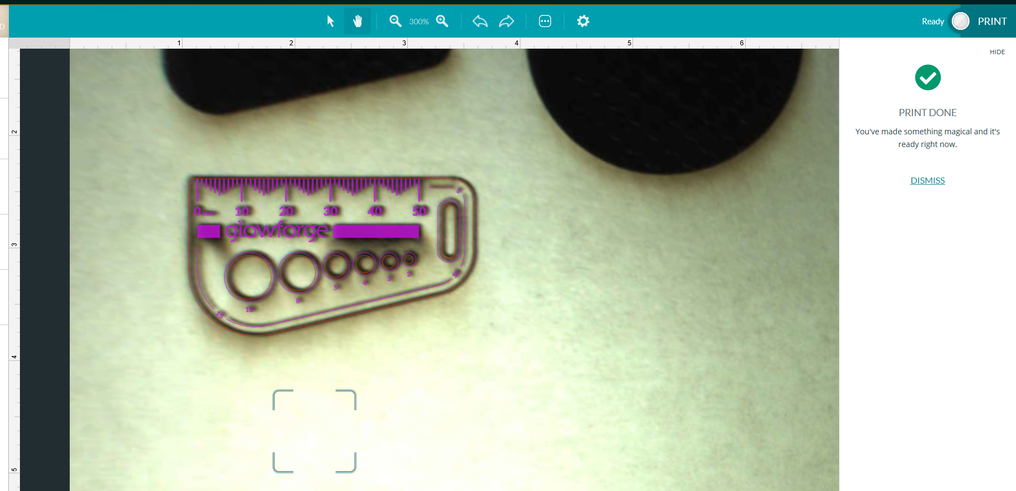
It’s not out of alignment at all. The little rectangle you see is where the auto-focus took a measurement to set the height for the algorithm used to correct for fisheye effect in the lid camera. It has nothing to do with placement.(Although you do want to make sure it landed on the material, and not off in a hole.)
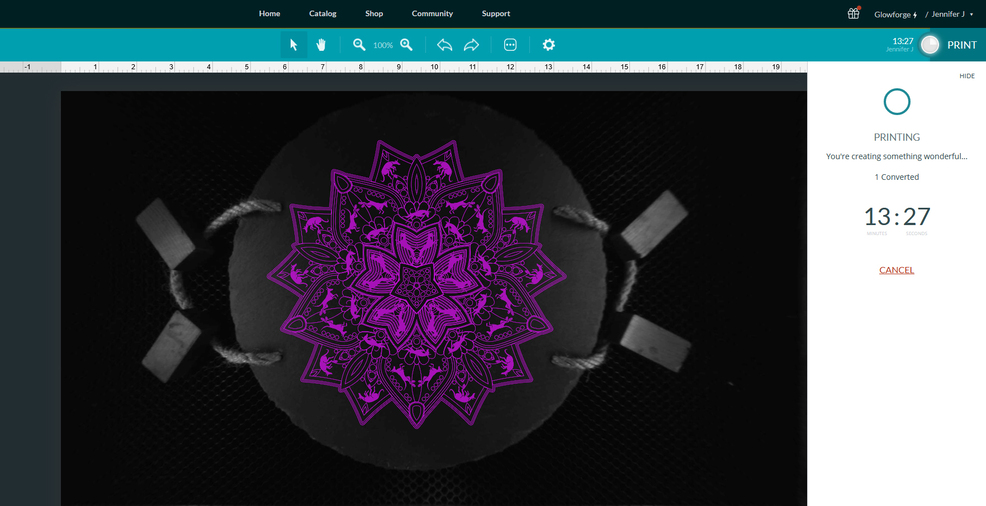
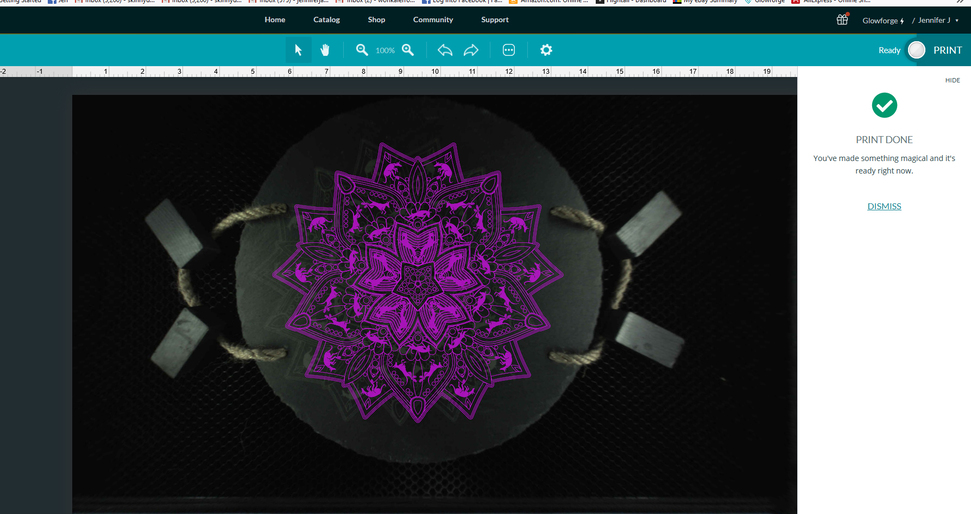
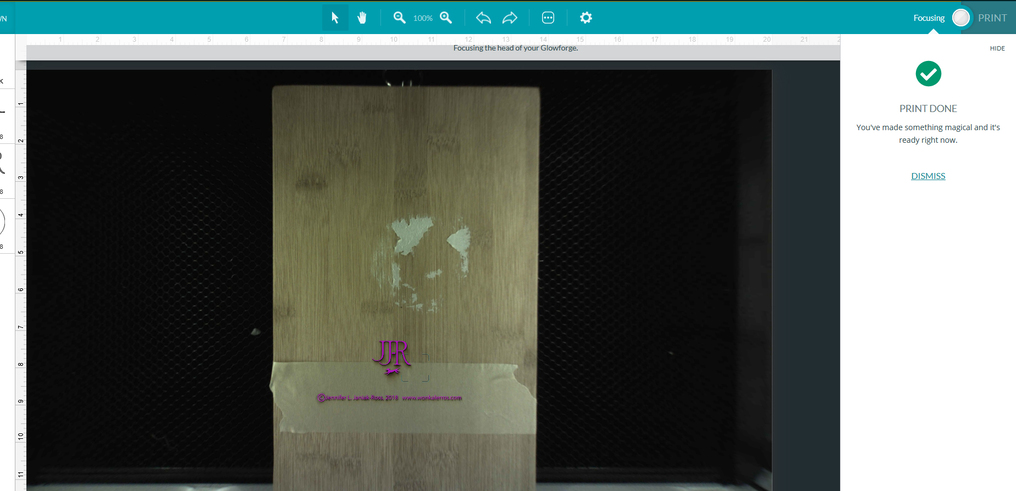
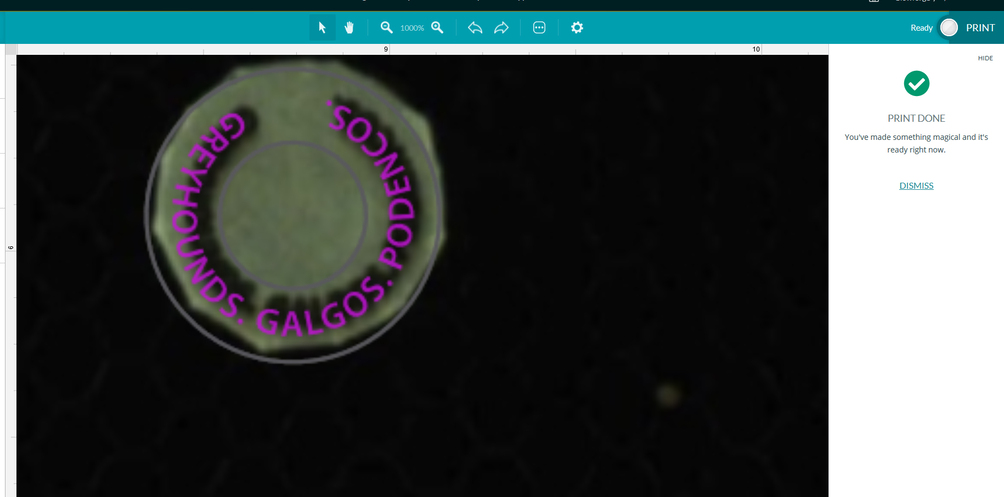
Do you see how the pink outline landed right on top of where the darker image was printed? That’s damn near perfect.
When you are lining up your prints, do this:
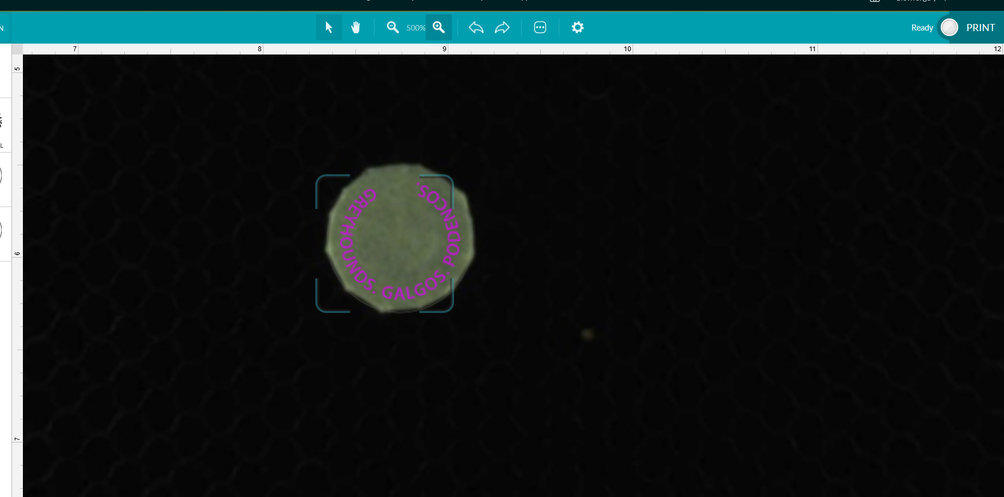
Don’t try to place a design on a small circle sitting in the middle of an empty bed. When the machine tries to auto-focus, it’s going to try to hit that little circle, but the odds are that it’s going to miss. And when that happens, the view you see on the screen is going to be wrong. So when you place your design over the little circle, it’s going to be out of whack, because you are putting the design in the wrong place.
Instead, for small items that have been precut, you will be best off creating a jig out of material that is fairly close in height to the item being engraved, cutting a hole in it, then dropping the item into the hole to be engraved. If you keep the cutline and the engraving in the same file, the alignment will always be perfect. But you need to recut the jig each time you close the file.
There is a tutorial here that tells how to set up engraves inside a jig, and save them together in a file so that you can get perfect alignment every time. Hopefully it will help explain the concept.