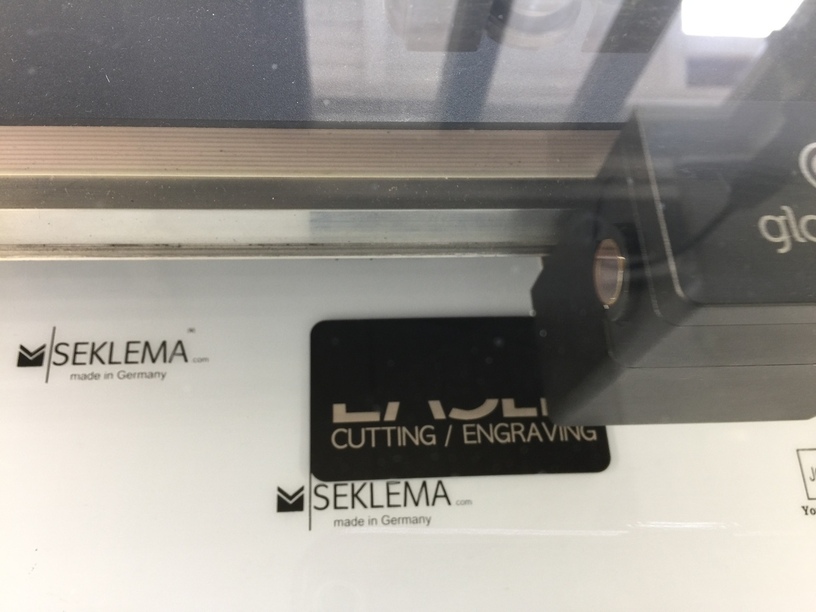
I wonder if I’ll ever land on a favorite material and stop the constant quest for new laser experiences?! Naw…I don’t think so. It’s too darned much fun. So…anodized aluminum was my next thing. I bought some business card-sized ones to try and wow…they came out beautifully. Only thing that I was displeased about was that when I did the reverse side, no matter how carefully I tried to place some text or an image, it was always not centered. I moved it always toward the left side to compensate, but it was still never enough. Tips? Anyway, the engraving came out amazingly well. Anodized aluminum is now one of my big favorites. Now, if I can just figure out the centering issue, it will be wonderful. I bought a 12"x12" Seklema mat, as was mentioned here on the forum by @cynd11 in reference to a gift from @shollg. The mat was very expensive, but I can sure see myself using it a lot. It was fantastic when doing these aluminum cards. I didn’t want to lay them on the metal grate…and also, because they are black, I needed something that would allow me to see them in the UI. Perfect solution…and they hung onto the mat like a charm.
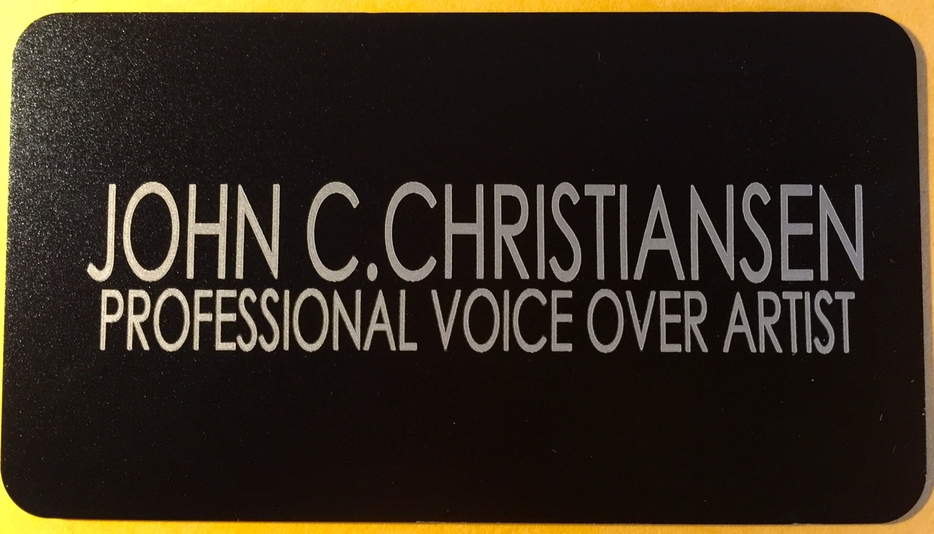
I made one for both of my brothers and one for my son (the voice over guy)…and have decided that ‘pocket art’ could be a thing. I’ve actually seen these same kind of aluminum cards for sale on Amazon for $17…engraved with a special sentiment or verse to give as a gift for someone to carry in their wallet or pocket. Hmmm…go figure!
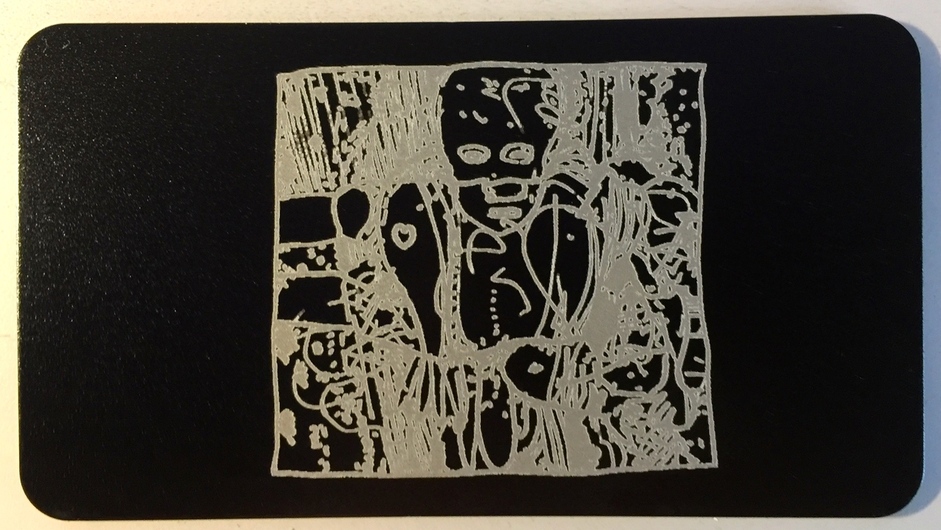
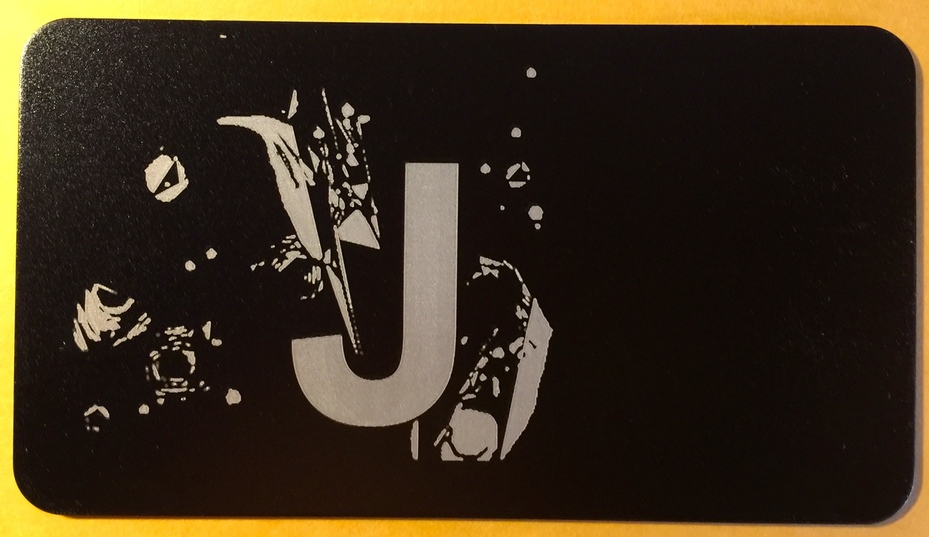
This is my son’s logo on the back…to which I will have to dedicate more time to making it work for engraving. Looks pretty horrible here…but hey, this was an experimental run!
you might consider making a jig with a design that takes up the entire workspace. that would let you place these repeatably if you end up selling them. you could do it in cardboard, as suggested above, and remove your cardboard cutouts, replacing them with the aluminum ones.
@Scott.Burns and jrnelson…it’s not a problem aligning an individual card. Engraving the original image/text on one side, then flipping it over to do the other side is where the difficulty comes in placing a second image/text on the reverse side dead center. I would agree…a jig for multiple pieces would work, but there’s still the centering issue. I did the jig thing for some things I made for our family get-together recently and it worked very well.
Thank you…I had forgotten about that thread and reread the whole thing. A very good test and as soon as I can lay my hands on some graph paper, I’ll sure give it a try. I copy/pasted your post and downloaded your crosshair file.I did use the keyboard nudging when trying it ‘freehand’, but could never quite get it right. Frustrating.
If you have a printer and Word or Excel (I expect the OpenOffice variants work as well), you just need to create a table that’s something like 30x30 and set the column width and row height to 1/4" and print it out. Insta-graph paper
The jigging suggested above works for front & backs. Just do your front work in Affinity then save it as the back and replace the text/graphics. If you outlined your object (aluminum card) leave the outline in both so the alignment is correct - just ignore it in the GFUI.
If you do this on a 20x12 document in Affinity and don’t move anything in the GFUI you’ll get spot on placement for the backs. Just use the file once to cut out your rectangle(s) from your cardboard and you’ll be good from there on.
It’s very easy if you do it with vectors, especially if the card is a standard square shape like a rectangle. (Or a rounded rectangle.)
The way to set it up is like this:
Create a rectangle the exact size of the little aluminum cards. (Measure them with calipers.)
Add the text and graphics for the front of the card. Convert the text to outline. Make the fill color for the front text red.
3.Create the text for the BACK of the card. Convert that to outline. Make the fill for the back text BLUE.
Here comes the freaky part - align the backside text inside of the rectangle, right over the top of the graphics and the red text. It’s not going to matter to the GFUI.
Save the file as an SVG.
When you open the file in the GFUI, this is the sequence of operations:
Put a piece of scrap ply or cardboard into the machine and TAPE IT DOWN. You don’t want it to move.
Cut the rectangle. Set everything else to Ignore.
Open the lid and remove the center cut for the rectangle.
Put your tag into the hole.
In the GFUI, set the cut to ignore, and set the FRONT (red) text and graphics to engrave. (Leave everything else as Ignore.)
Engrave the front of the tag.
Open the lid and turn the tag over.
In the GFUI, set the BACKSIDE (blue) text to engrave. Set everything else to Ignore.)
Engrave the backside.
Everything will align perfectly.
Here’s the trick though - you can continue to use the jig you created as long as you don’t close the open file in the interface or turn off the machine, or move the jig. If you have set up the file using a 12" x 20" work space like James mentions above, you can probably re-use the jig as well after you close everything out, but you’ll need to make sure that the jig is anchored against two points so that you can place it exactly the next time.
(Also going to help to not try to do 20 at a time, especially with the current temperature wonkiness on the PRU units. You have to be able to continue to process the file after it finishes the first pass - you do NOT want it to throw a temp error halfway through getting them done. I’ve been fighting that battle on double sided engraves for about a week now.)
Thanks for both tips. I can’t believe how dense I feel sometimes. People suggest the obvious and I just don’t seem to ‘get it’. It hadn’t even occurred to me to outline the cards…which seems would help aligning, immensely…so apologies to Scott and JR…they had the right idea, too. Your solution has been suggested to me before, but as I said…dense. Thanks! The old create and ignore process!
While you can do what you’re talking about - (use the camera to realign for the engraving on the backside of the tag) - it takes a LONG time. You’ve got to zoom in, place, tweak, zoom out, check, repeat …yadda yadda yadda.
It’s fine if you just have to do one item - I do it myself sometimes - but if you’ve got a bunch to do - the vectors are the way to go.
If you create a simple vector file that has all of the information to start with, it’s 100% accurate, even at the farthest edges of the bed, and much faster than trying to line it up visually.
And while they might do a few more tweaks on the cameras, I think they’re getting pretty close to having them ready now. So that is probably as good as it’s going to get for a while. Maybe permanently. I don’t know.
It’s up to 1/4", and that generally occurs at the very outside limits of the bed, if the person doing the cutting hasn’t entered the correct height on the material they are cutting.
I’ve never had a cut or engrave placement be off by 1/4". Most I’ve seen is about a millimeter. And that was long ago, with a PRU, before the latest updates to the cameras were made. They are pretty much on the money now.
But having said that - it’s still a LOT faster to do it by vector.
Don’t sweat the alignment issue - it’s excellent now.
If you look carefully at the two cards I made with names on them. you should see that they needed to go just a bit more left. I usually have a good eye for things like that, so I think they really are off center…but I don’t think it’s any 1/4". Still, even the most minuscule amount makes me crazy.
The easiest, fastest and most repeatable way I have discovered of doing something is cutting out a jig and using the 12x20 artboard. And as Jules said, put the reverse engraving directly over the front engraving just as a different color.
To be able to repeat this without having to cut a jig every time. start with a piece of cardboard or wood with two sides that make an exact square corner. Align the bottom edge of the cardboard to the front garage door. Use the right side of the crumb tray where the honeycomb meets the plastic tray as the other registration line. Cutout the spot for the card, drop in the aluminum and process front and back.
Also you can register to the back side of the Glowforge too on the top edge. I think that is how I did the clothespins.
@macphee just taped cardboard on the bed and then cutout the shape for the tongue depressors and did 8 at a time, repeatable. This works repeatable as long as you are using the 12x20 art bed and don’t move the jig between prints.