Here is the method I use to compensate for the slight offset I currently experience with object placement. This method will probably be obsolete when precision alignment is available but in the meantime it can help if you want exact (or at least extremely close) placement of artwork on the bed.
Using this file:
Upload it to the GFUI. Set up a score.
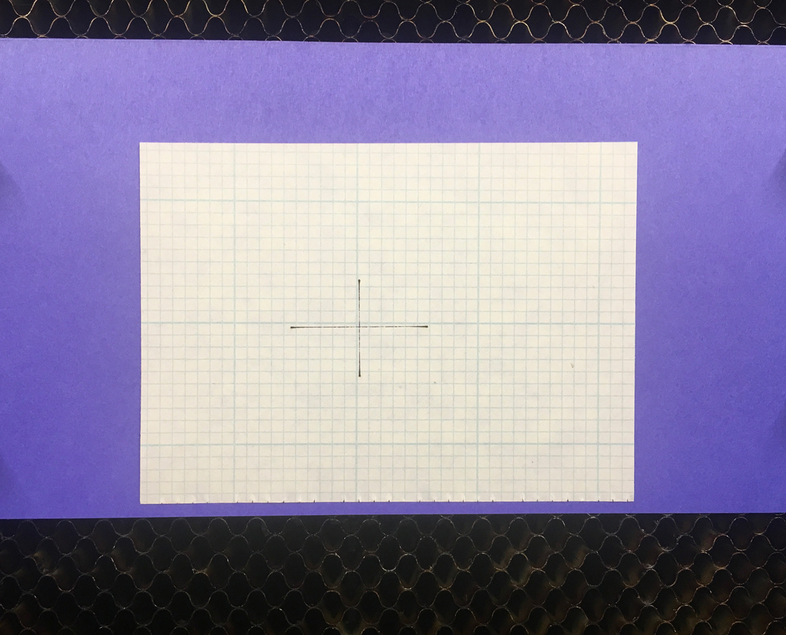
Attach a piece of graph paper (here I’m using 1 inch grid divided into tenths) to a piece of card stock and measure the thickness with calipers (here I measured 0.013").
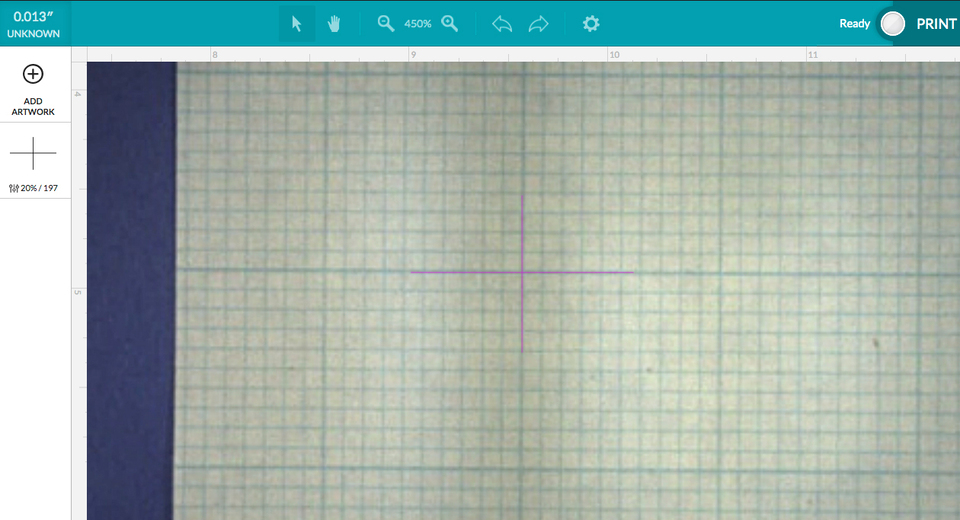
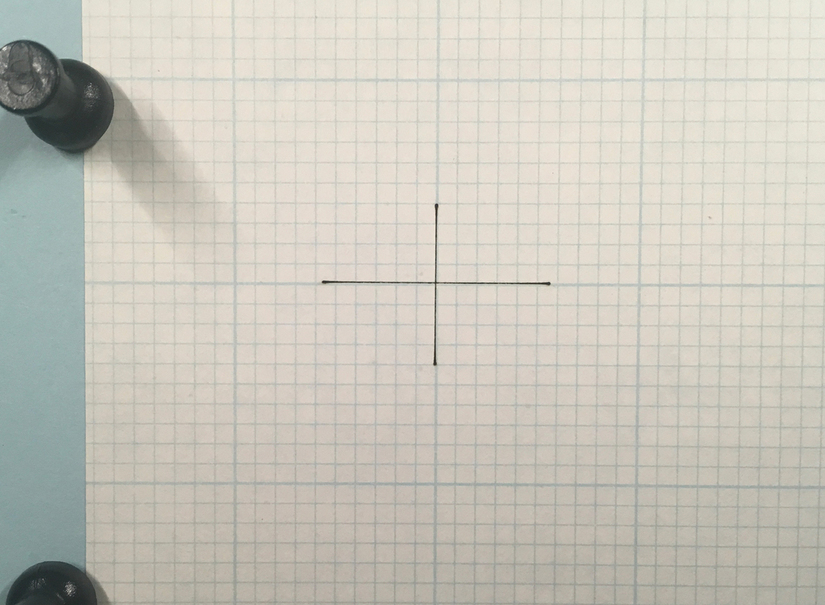
Place it on the bed, centered under the camera. (Resize to smaller to fit your desired score size). Zoom in to at least 450% and place the cross hairs on an intersection, using the arrow keys.
Using the arrow keys and still zoomed way in, make note of the number of clicks it takes to re-center the crosshairs over the score line. In my case it was 4 clicks down and 3 clicks to the right.
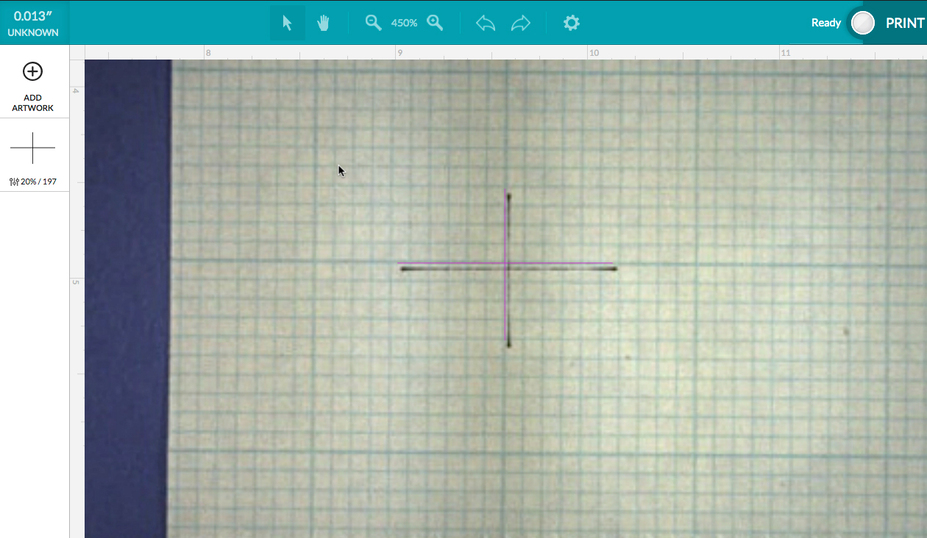
To put the crosshairs (or any object) exactly where I want, I need to zoom in to 450% (or whatever you zoomed in before), select all, and click 4 clicks up and 3 clicks to the left (or the opposite of whatever your result was). Here is the result with a fresh piece of graph paper:
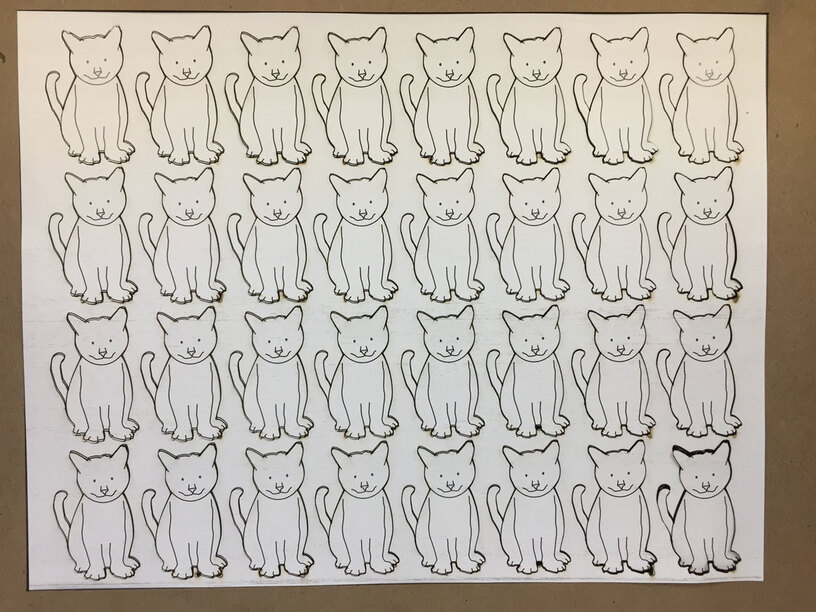
I have found that this works extremely well with anything centered under the camera. In fact, in my machine I have found this to be fairly consistent across the bed, so if items are placed precisely right under the camera, they are also pretty close much further away. Here is one example:
In this case the cats were pre-printed on card stock and the cut outline was placed over the top, with the cat closest to the camera positioned as described above.
It seems that it’d be quite possible to put together a software fine-tune calibration that would remember that offset. Cameras do it for front/back-focusing on individual lenses. I’m sure there are many other examples. Hmm… only potential issue would be the fine-tune needing to be recalibrated in the event of imaging updates from GF.
I use two different draw-on-the-screen devices, and they are both calibrated pretty much the same way - you touch the center of crosshairs in various points around the screen. If you change the angle of the screen, sometimes you have to recalibrate it. But it takes, like, 30 seconds.
Is that sort of what you’re thinking as far as a software fix? Like, a little test to set the accuracy, and then the program tweaks things accordingly and remembers it?
another way to do this is to include the dimensions of your material in your SVG, and run a score of the that object first on some tape on your bed, then put your material exactly on top of that. Then ignore that layer in the design and engrave/cut the rest and it will be almost 100% perfectly aligned with the material
Yes, ma’am! That’s exactly along the lines of what I was thinking. We calibrate all methods of imagery to displays, so why not this? It’s just a software tweak to match the screen to the hardware.
You’ve nicely formalized the Kentucky windage I’ve been using since my day one. I’ll bookmark this for when I need to be dead on.
BTW, I used “Kentucky windage” in a note to @Rita and it sent her off to Google. I had thought every red-blooded American knew that term but obviously, I was wrong.
I have found it’s a bit different depending on the thickness of the material so I did two - one for the bed (paper on top) and one for 1/4". There’s a click difference on my machine.
Yup, a lot of people are not getting this, it needs to be emphasized. A $20 pair of digital calipers works wonders. A couple of thousandths, not a big deal but enter a number that is way off and focus and registration goes to hell.
I only have Proofgrade materials right now. I used the teardrop keychain pattern from the catalogue and cut that shape out. I just left it in there and let the system re-read the bed again then placed in my image to engrave just like I had done with the proofgrade maple.
I hit the print and off it went. The pre-render thing looked off but by then it was already lasering and too late to save it so just let it finish. Was really just proof of concept really to see how it looked.
A previous one I had done on maple centered perfect.
Instead of cutting the keychain shape out first and then trying to add an engraved image to it afterwards, try this instead…
Open the keychain file and immediately click the Add Artwork button to import your image. Resize the image and place it inside of the cutlines shown in the file, and center it there as well as you can. (Use the zoom to get good placement.) Then take both the cutlines and the artwork and run the job at the same time, engrave first, then cut it out.
I think you’ll like the results a lot better. It helps to get the relationship between the parts set up before performing the operations.


 those cats, btw, are still so stinking cute