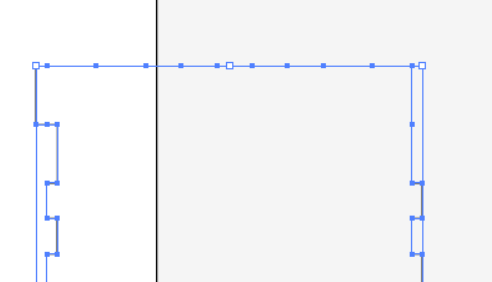
I’m waiting for my glowforge to be delivered and am working on prepping my first project for it using Adobe Illustrator. I used a parametric box creator to generate a base model. I wanted one of the finger joint edges to be a straight edge, so I added a rectangle to cover the joints and merged the shapes. This worked but left anchor points on the path where the finger joints used to be. Here’s what it looks like with the path selected.
So my question is this: are the extra anchor points problematic or can I leave them in? Will they impact how the laser head moves as it cuts the file? I know having separate paths results in some differences, but this shows as a single path in the layers window, just with extraneous anchors.
A few extra nodes won’t matter. If you’ve got thousands of them (which can happen with some curved CAD files that get imported) it can get stuck rendering.
It really depends on the design. It can add a little bit of extra processing but if you don’t have an absolute ton of them, it’s not that big of a deal.
Thanks yall! I figured I could either experiment and potentially find problems myself, or I could ask you awesome folks and get a quick easy answer :-). This place is great.
You could always use the direct selection tool to select the extras and do a “delete anchor point” operation. If it’s a file you will use a lot it might be worth cleaning it up a little.
Yeah, cleaning up that kind of thing is pretty easy on something like a box where you have lots of straight edges. I usually try to clean up all of mine.
Cleaning up the kind of mess you get from a CAD export or an auto trace can be a lot more work. (But also more likely to be necessary.)
Yes, just yes.
Extra points can cause issues for any computer controlled cutting device. Get in the habit of sending the cleanest, simplest files to your devices to avoid myriad headaches. (Have spent hundreds of hours troubleshooting bad files for CNC, vinyl cutter and laser. I don’t recommend for the sake of your sanity.)
Three possible cleanup methods in Illustrator:
A) manually remove extra points with Delete Anchor Point Tool (grouped in with the Pen tools, looks like Pen with a minus sign)
B) select your object, then in the menus Object>Path>Simplify and play with the sliders keeping an eye on the result to make sure you like what it’s doing.
C) Use the Smooth tool (grouped in with Pencil) to selectively simplify (select your object first or it won’t do anything), click drag over complex lines and watch extra points disappear. This is the method I use most.
I believe there is a simplify operation in illustrator as well? My CAD programs have it so I assume illustrator does, would be another quick way to remove them
As mentioned, you can use Simplify. Might take a little tweaking of the settings to get your desired result. Here’s a little movie to show you where it lives. You can also just use the remove anchor tool (press minus key to quick access it) and manually click on points to remove.
there are several AI plug ins and scripts out there for excessive point removal ranging from free to >$100. You could always roll your own, how’s your AppleScript/JavaScript/VB Script?
I write javascript at work. Technically typescript, but it’s a superset. Though I think I’ll just use the built in tools or already written plugins rather than reinventing the wheel . Thanks for the tip
A counterpoint here is that I do very intricate cuts with kerf adjusted inlay that snap in, and I have found that often more anchor points help especially on “long stretches” or around curves. The added anchor points appear to help the machine cut very specifically on the line, so that the inlay slots in well. I haven’t done a full science on this. It might be related to how quickly the laser cuts on straight vs curved paths, and the colors of acrylic I inlay (I think some colors cut hotter, ergo more melt?) so for now, it’s been a lot of trial and error, and at some point, I’ll try do a science on it all and figure out if there’s a more organized way for me to get the inlay to cut precisely correctly the first time - based on colors and charts.
First I just want to say that resurrecting a thread after 7 years is maybe a new record! Impressive.
I have, and I wrote about it!
I want to see! Got any projects to share? I think the only project you ever shared was your sleigh which is great but I’d like to see your inlay for sure.
LOL about the 7 year resurrection. Neat that you have confirmed what I figured was the problem - the laser needs lots of points in order to follow the path (I use Illustrator, so “anchor points”)
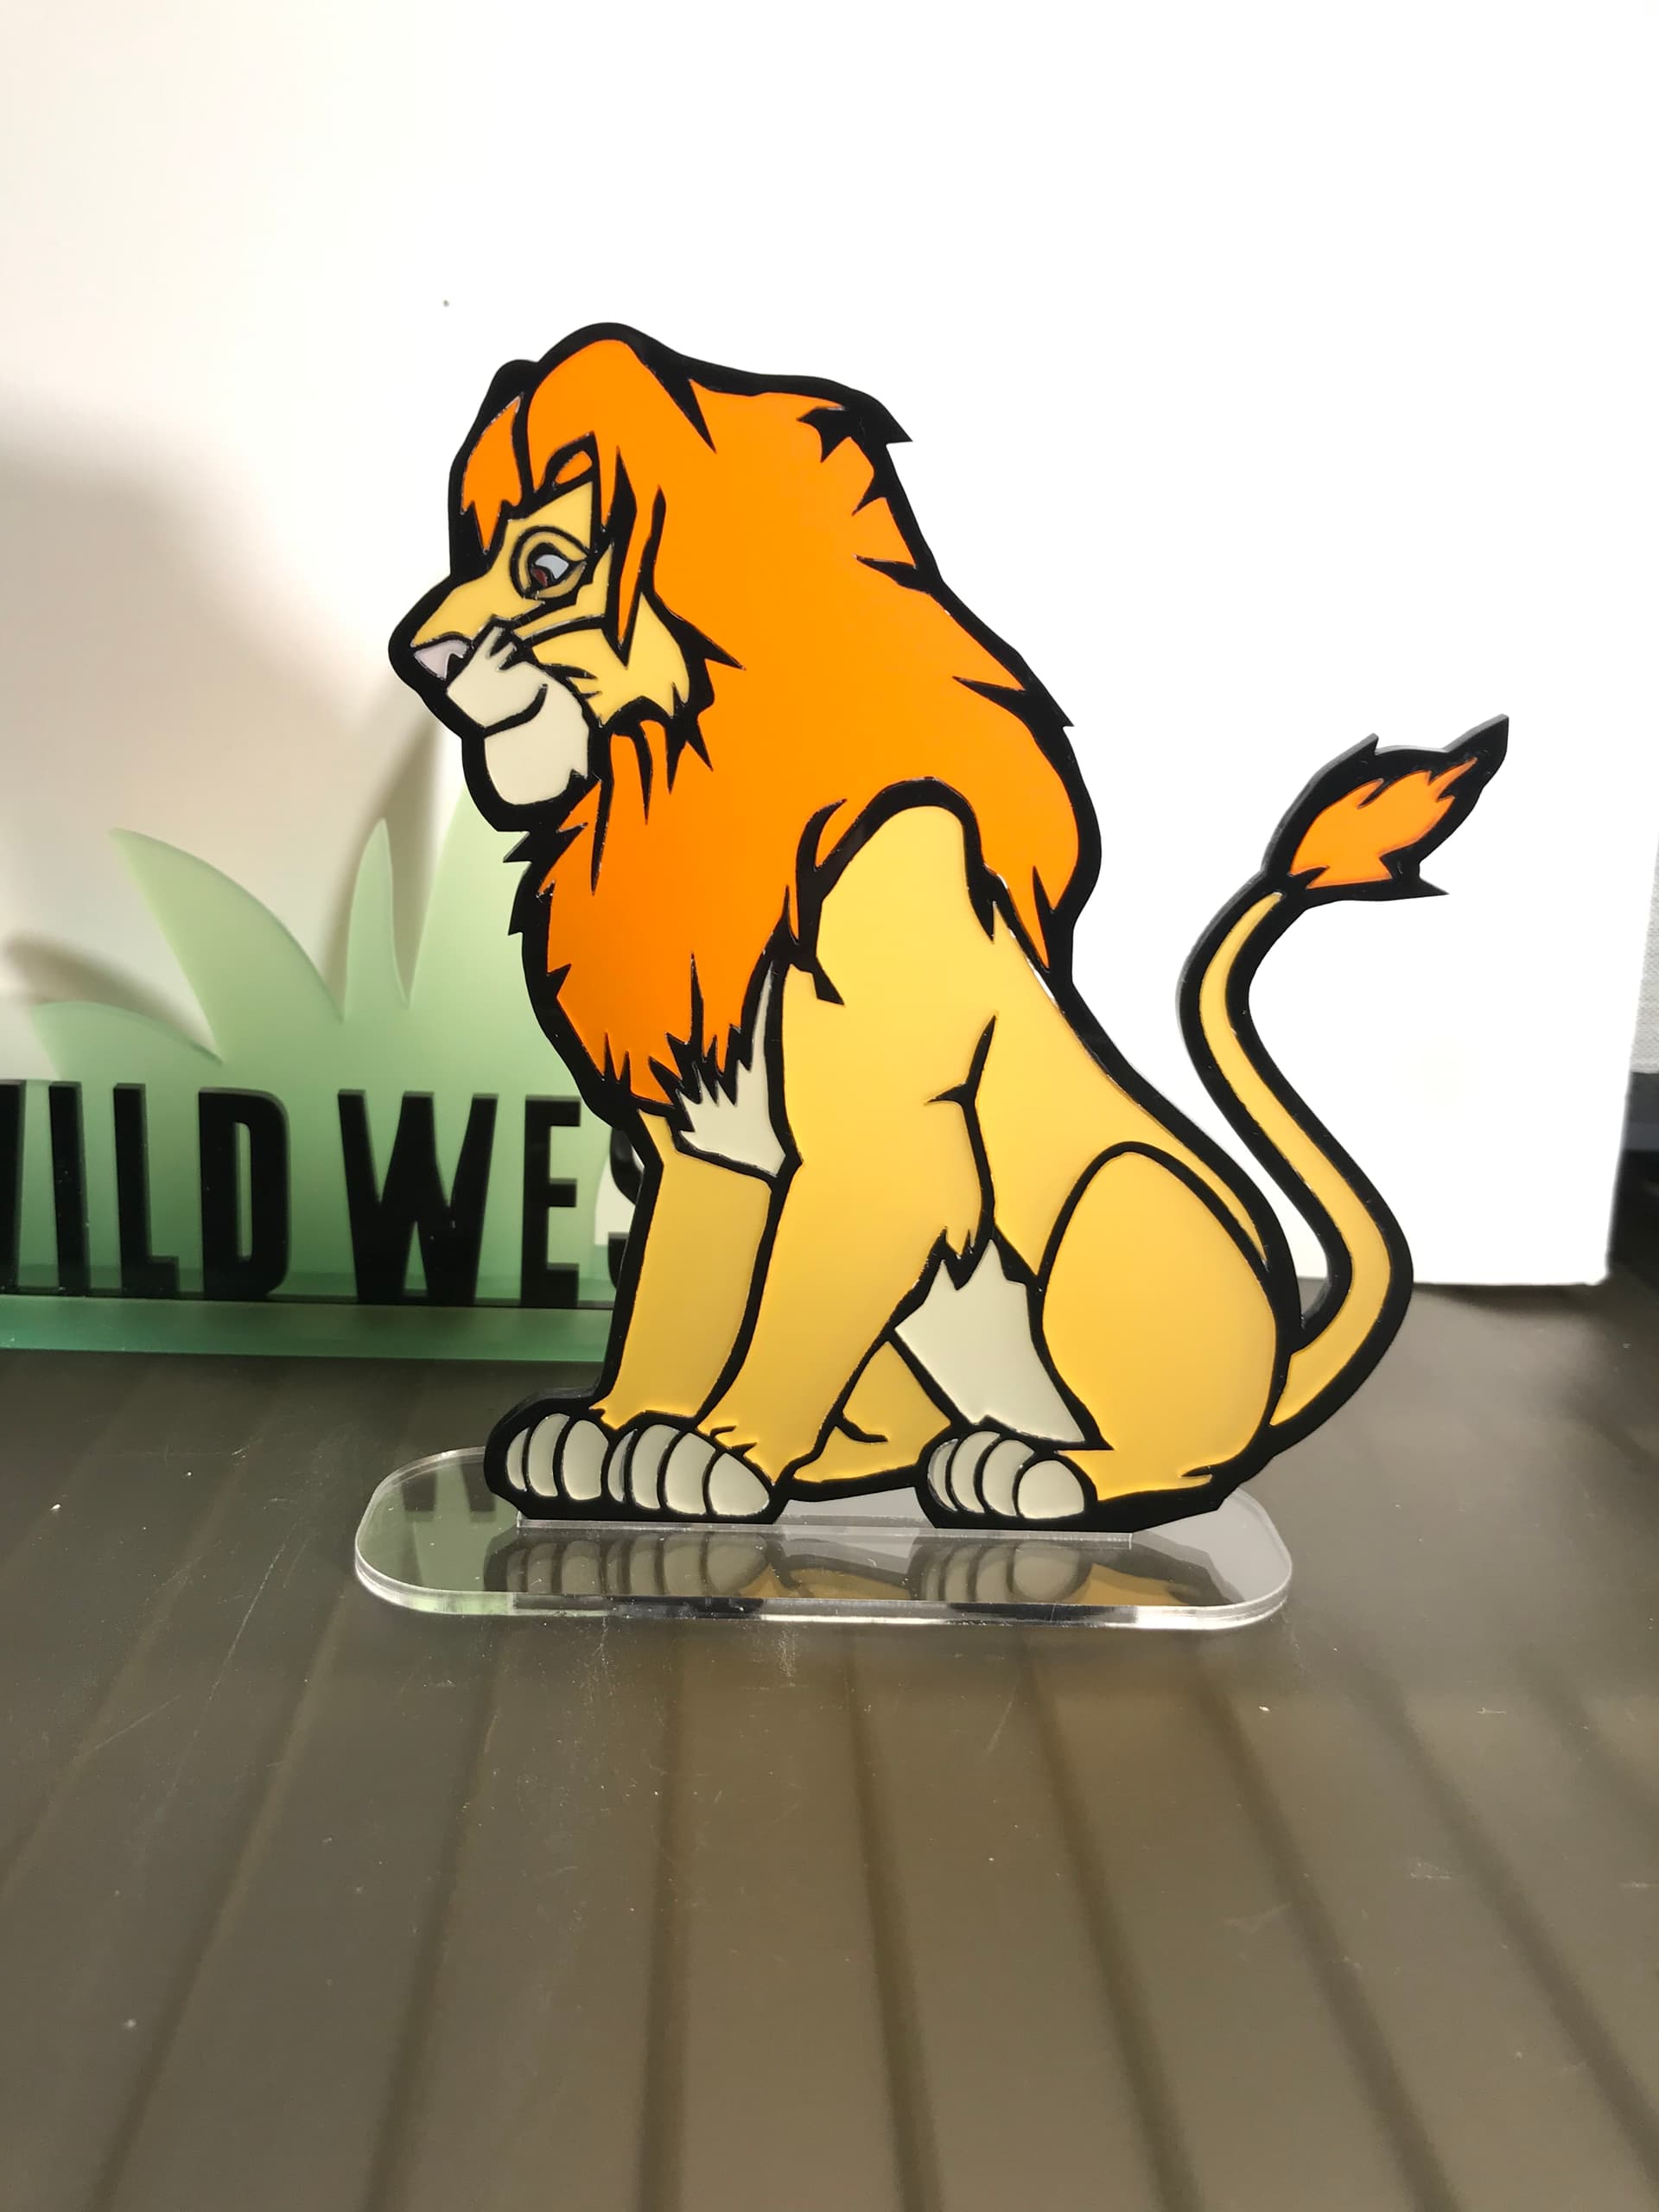
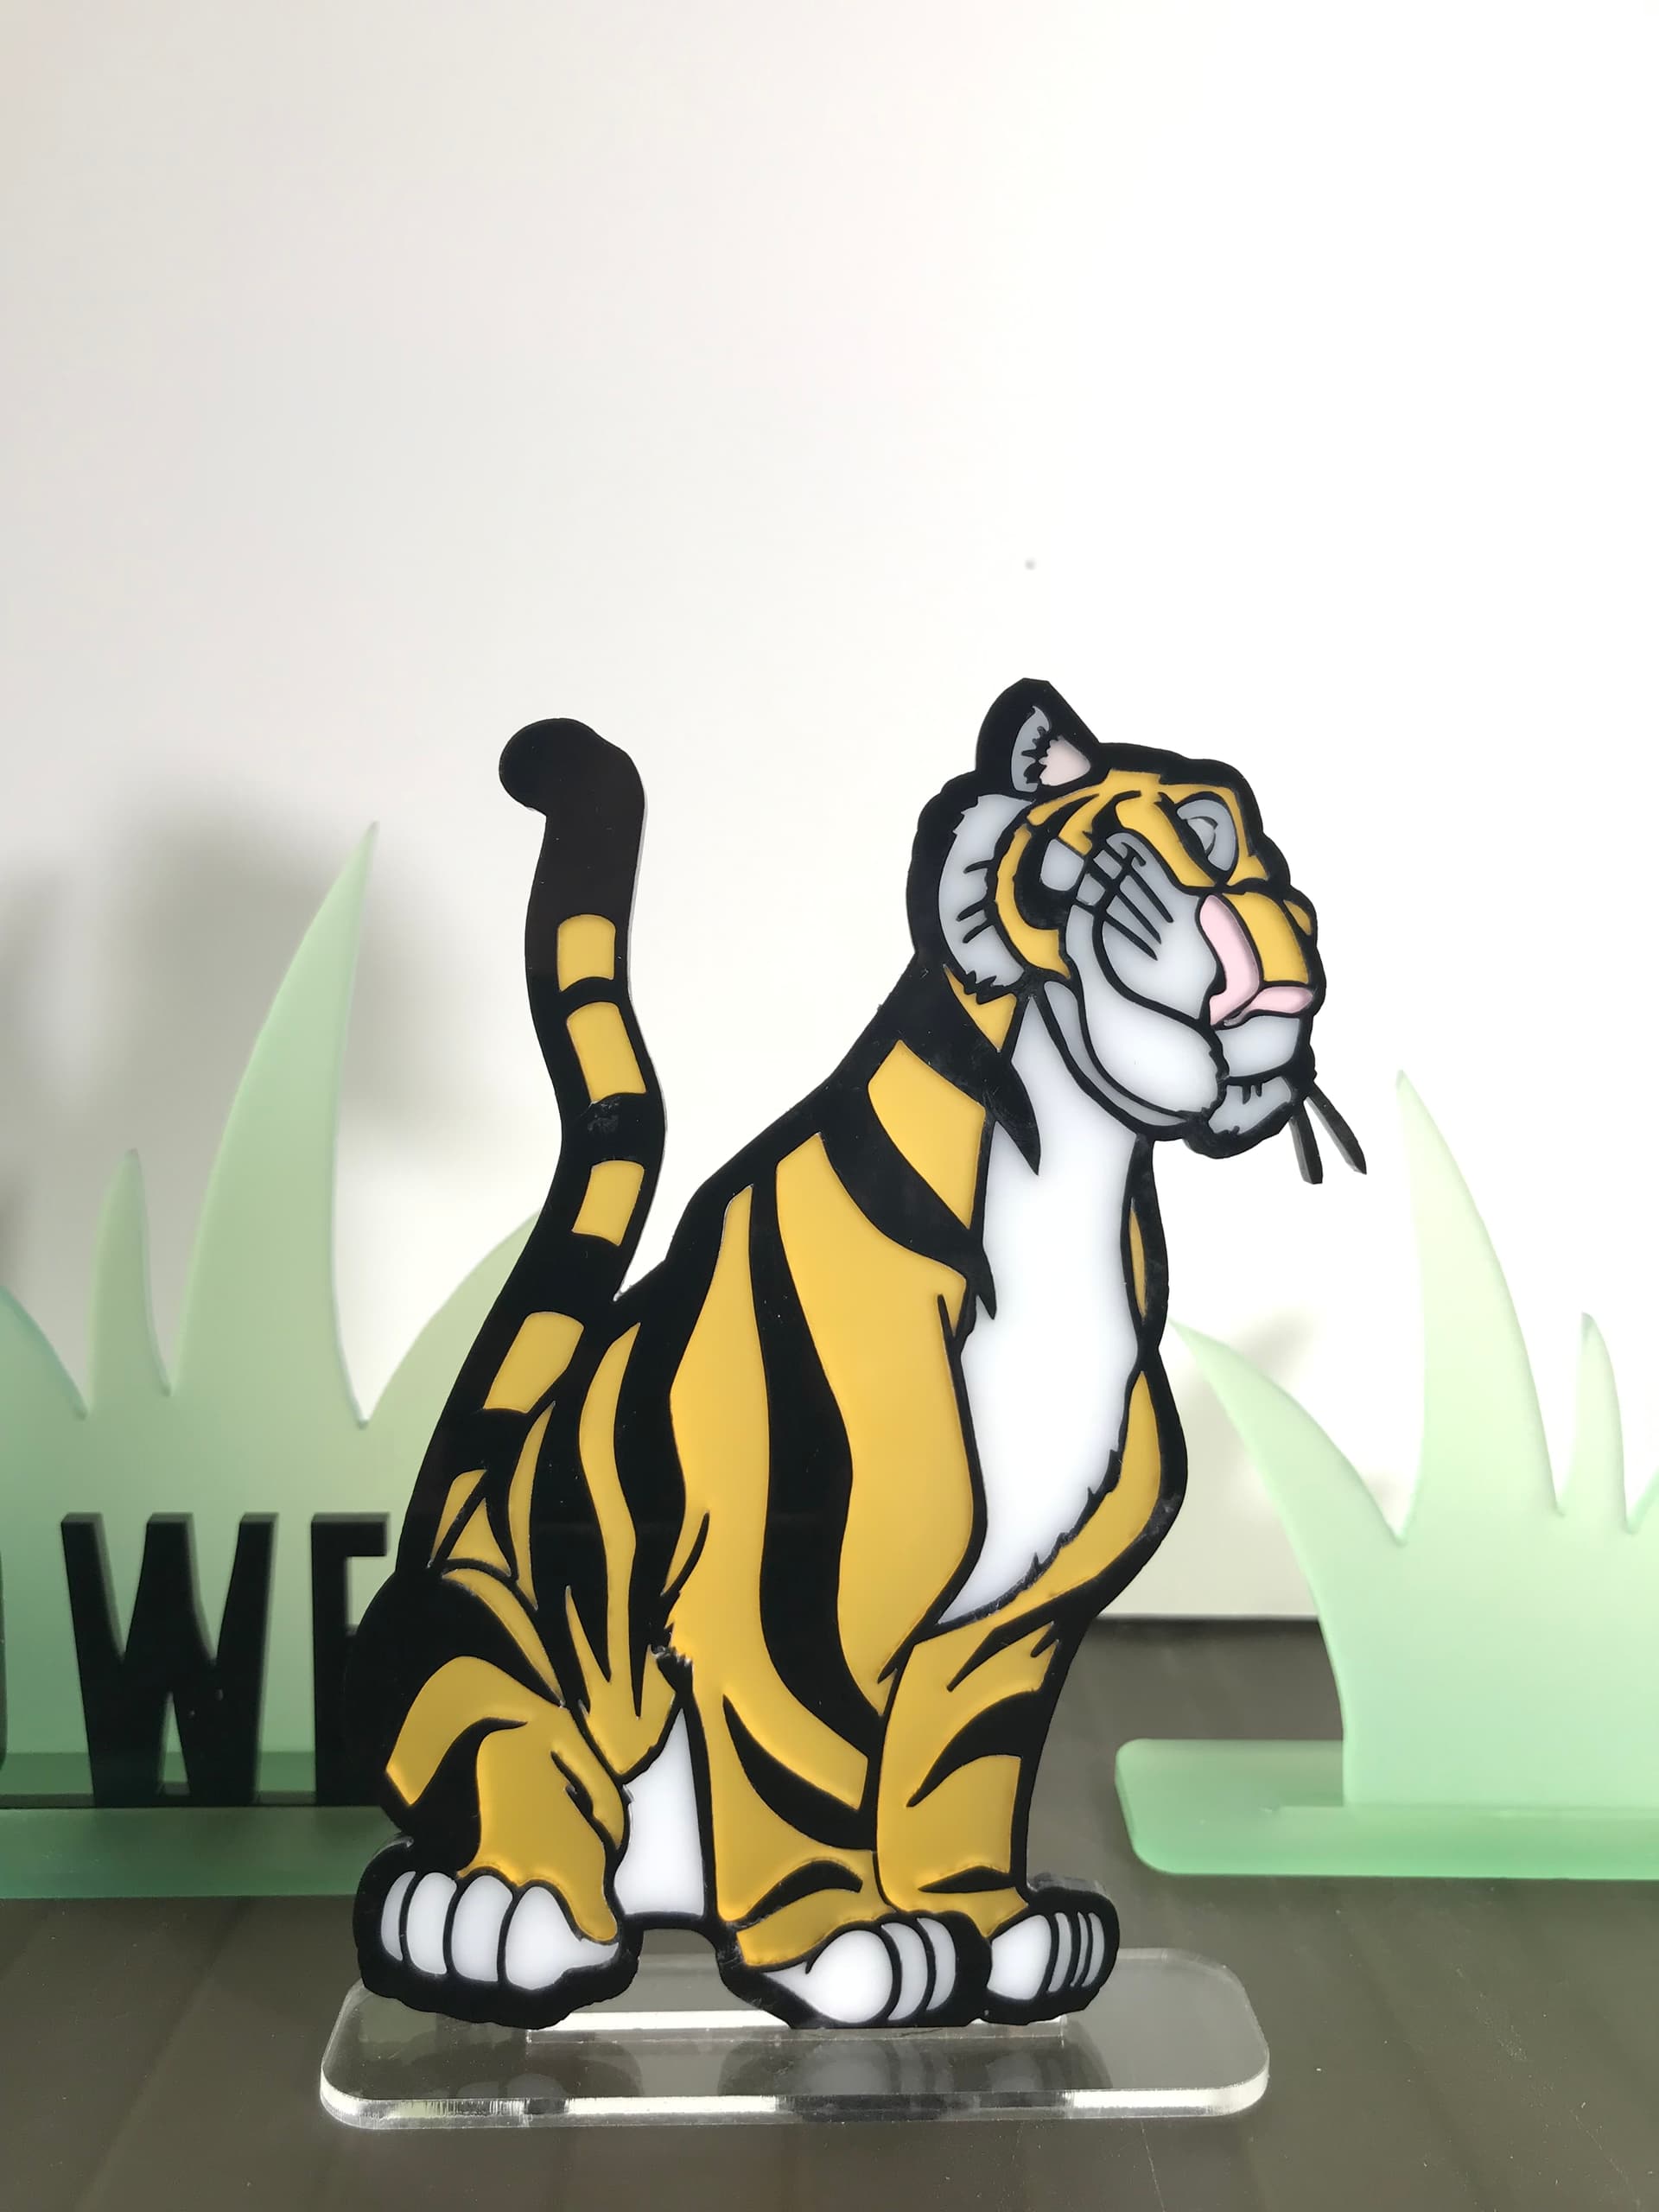
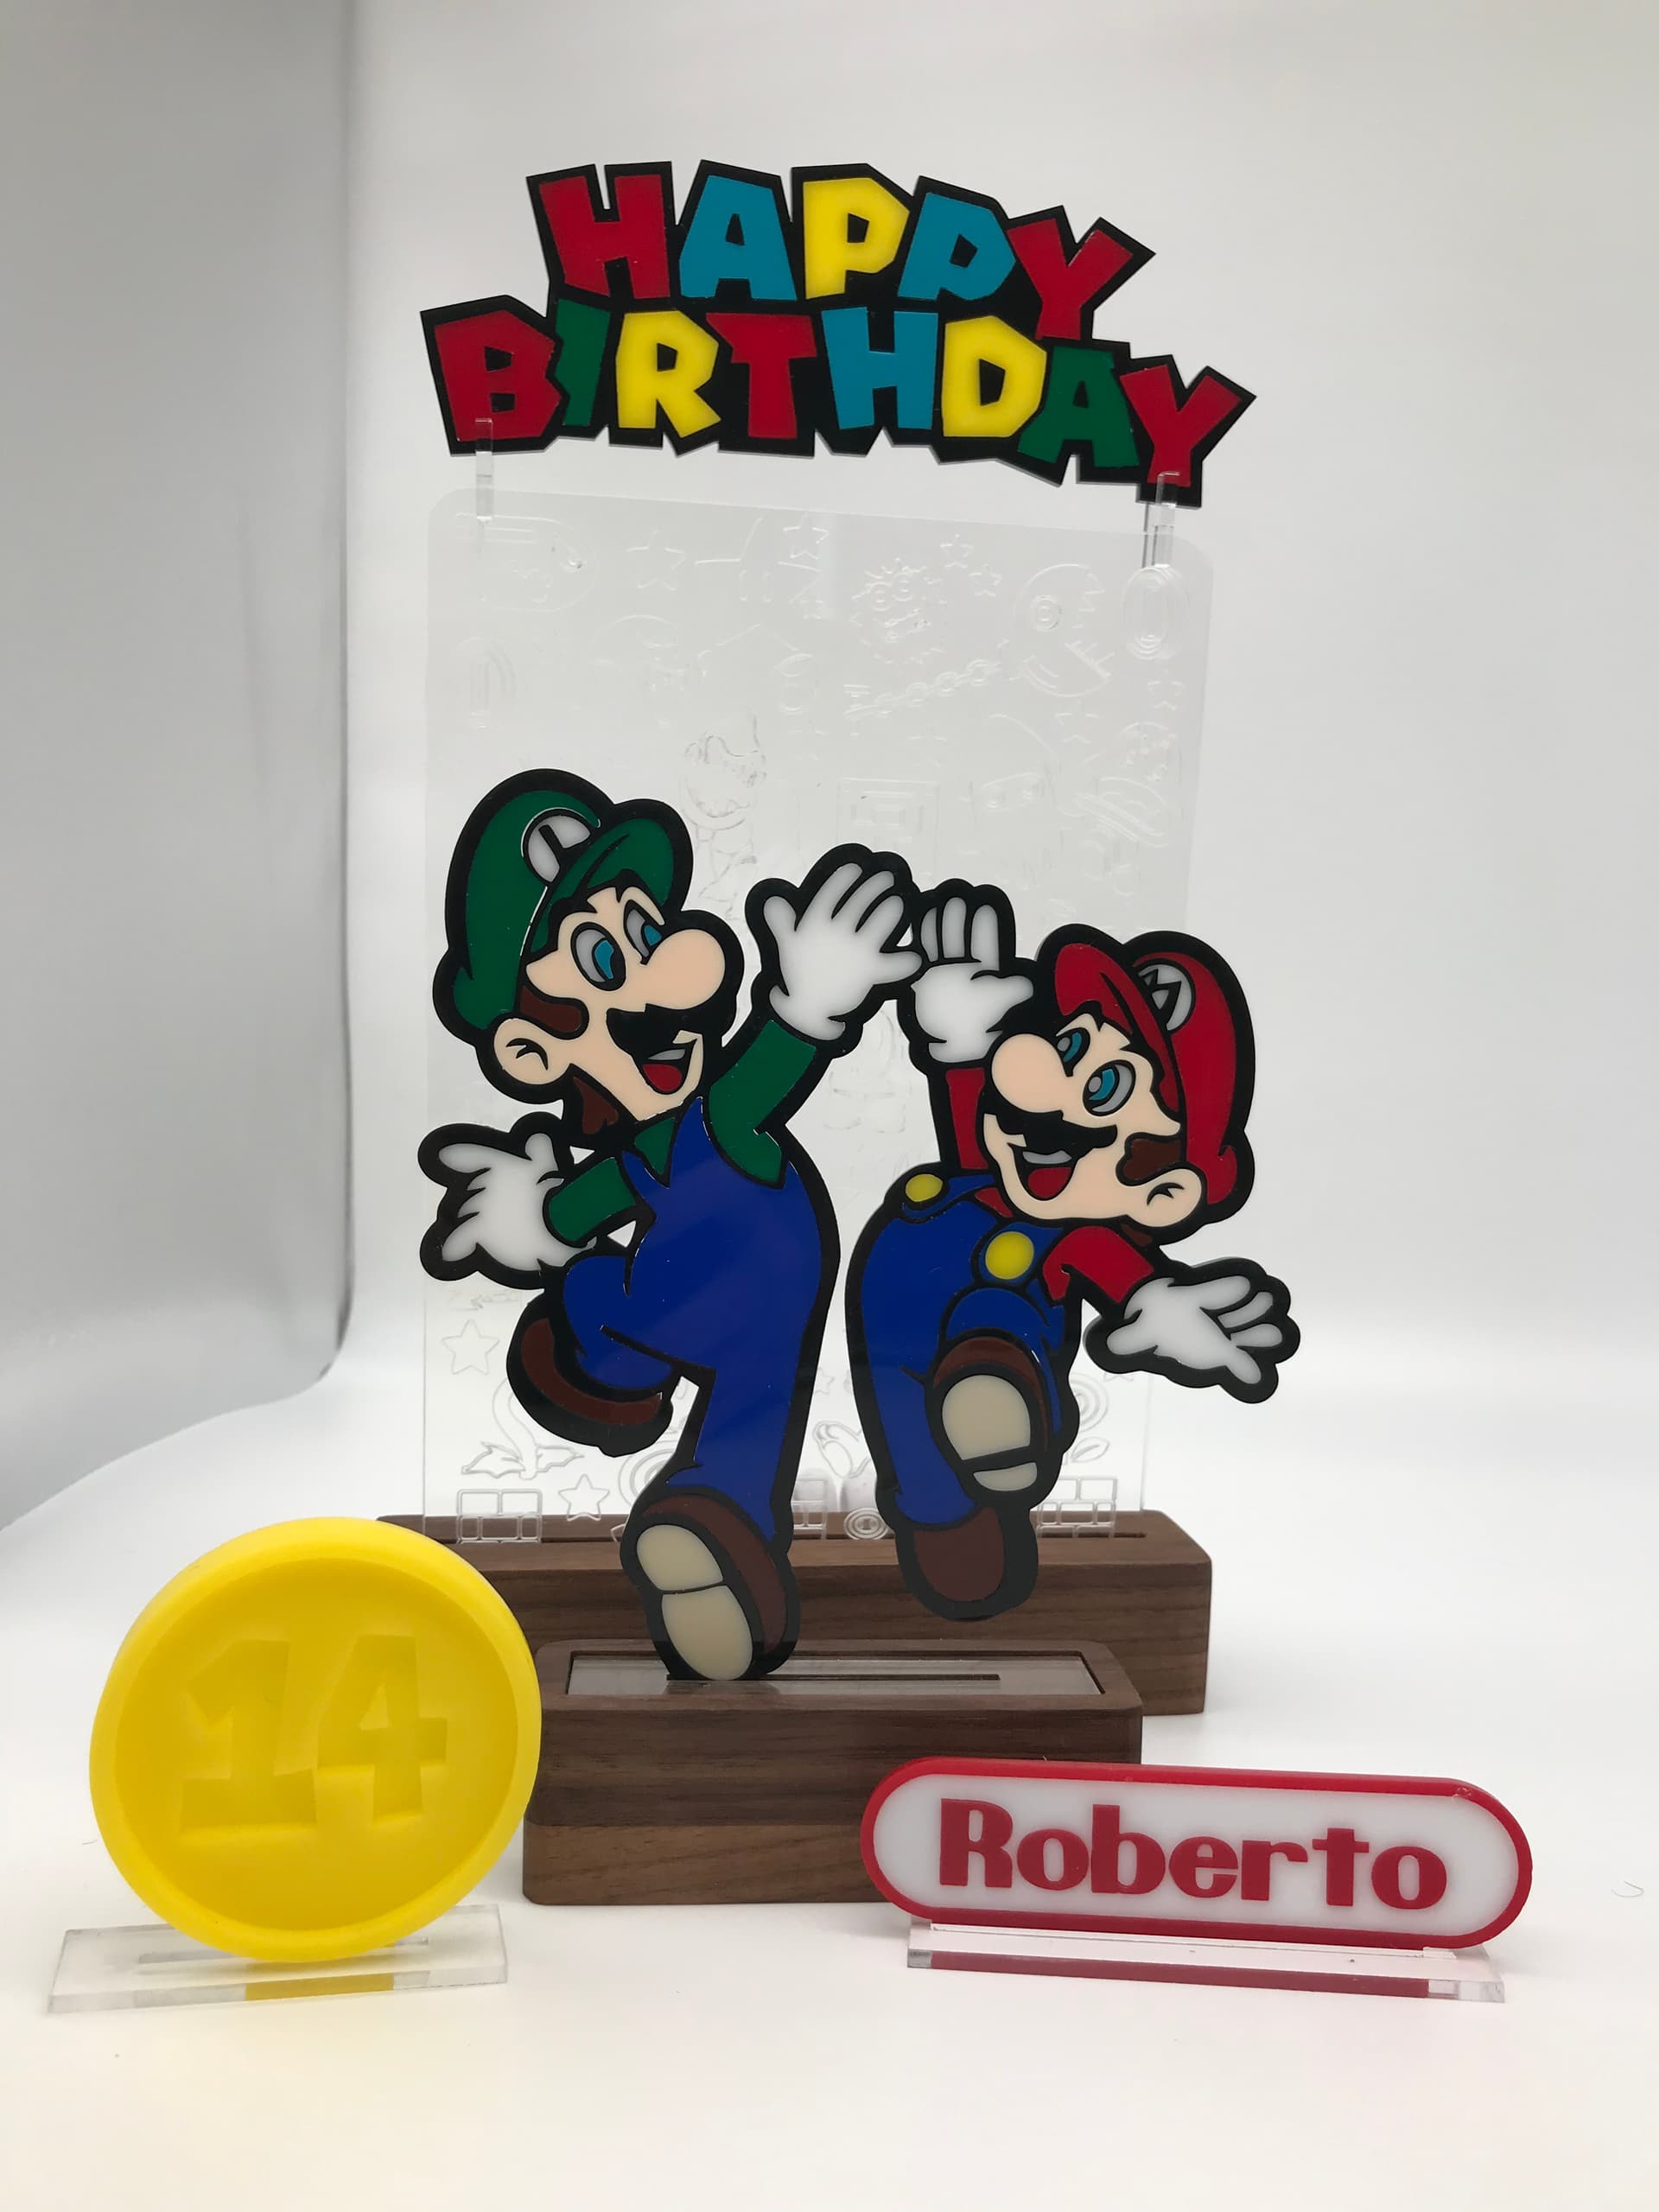
Glad to share a few. Here are some random things I made - used as cake toppers for friend’s kids usually.
I assume those are acrylic in lace? That’s inlay on hard mode because the material is so unforgiving, so good job. I also don’t see any marks of glue which is also impressive.
Yes. 1/8" acrylic. Thanks. I get a little bit more insane each time. How miniscule can I get a cut. I have to put a bit of card below the acrylic when cutting as some pieces are so small they fall through the grate. I’m having so much fun with this. Specially making cake toppers for friends. I do actually glue the inlay bits in, although they usually snap into place tightly. But as these are going on a cake, I don’t want something to accidentally fall out and a child swallow it. Right now my project for neighbor boy is a mash up of spiderman and Link from Zelda. Having fun with that, and am working on curves and that’s why I looked up this topic on Glowforge, as I decided I really needed to sort out for once and for all the science of this.


 there are several AI plug ins and scripts out there for excessive point removal ranging from free to >$100. You could always roll your own, how’s your AppleScript/JavaScript/VB Script?
 . Thanks for the tip