I like to dabble in jewelry making projects, and I’ve long wanted to try engraving masked copper pieces, to then submerge the pieces in an etching bath. But you can’t put copper in a CO2 laser, even to engrave off a mask, due to its reflectivity (it can damage the lens). So I was excited to try the project in my new Aura instead. Being a 6 watt blue diode laser, copper has a higher absorption/ lower reflectivity. Although putting copper in the Aura is not endorsed by Glowforge, I decided the risk was low enough to give it a try.
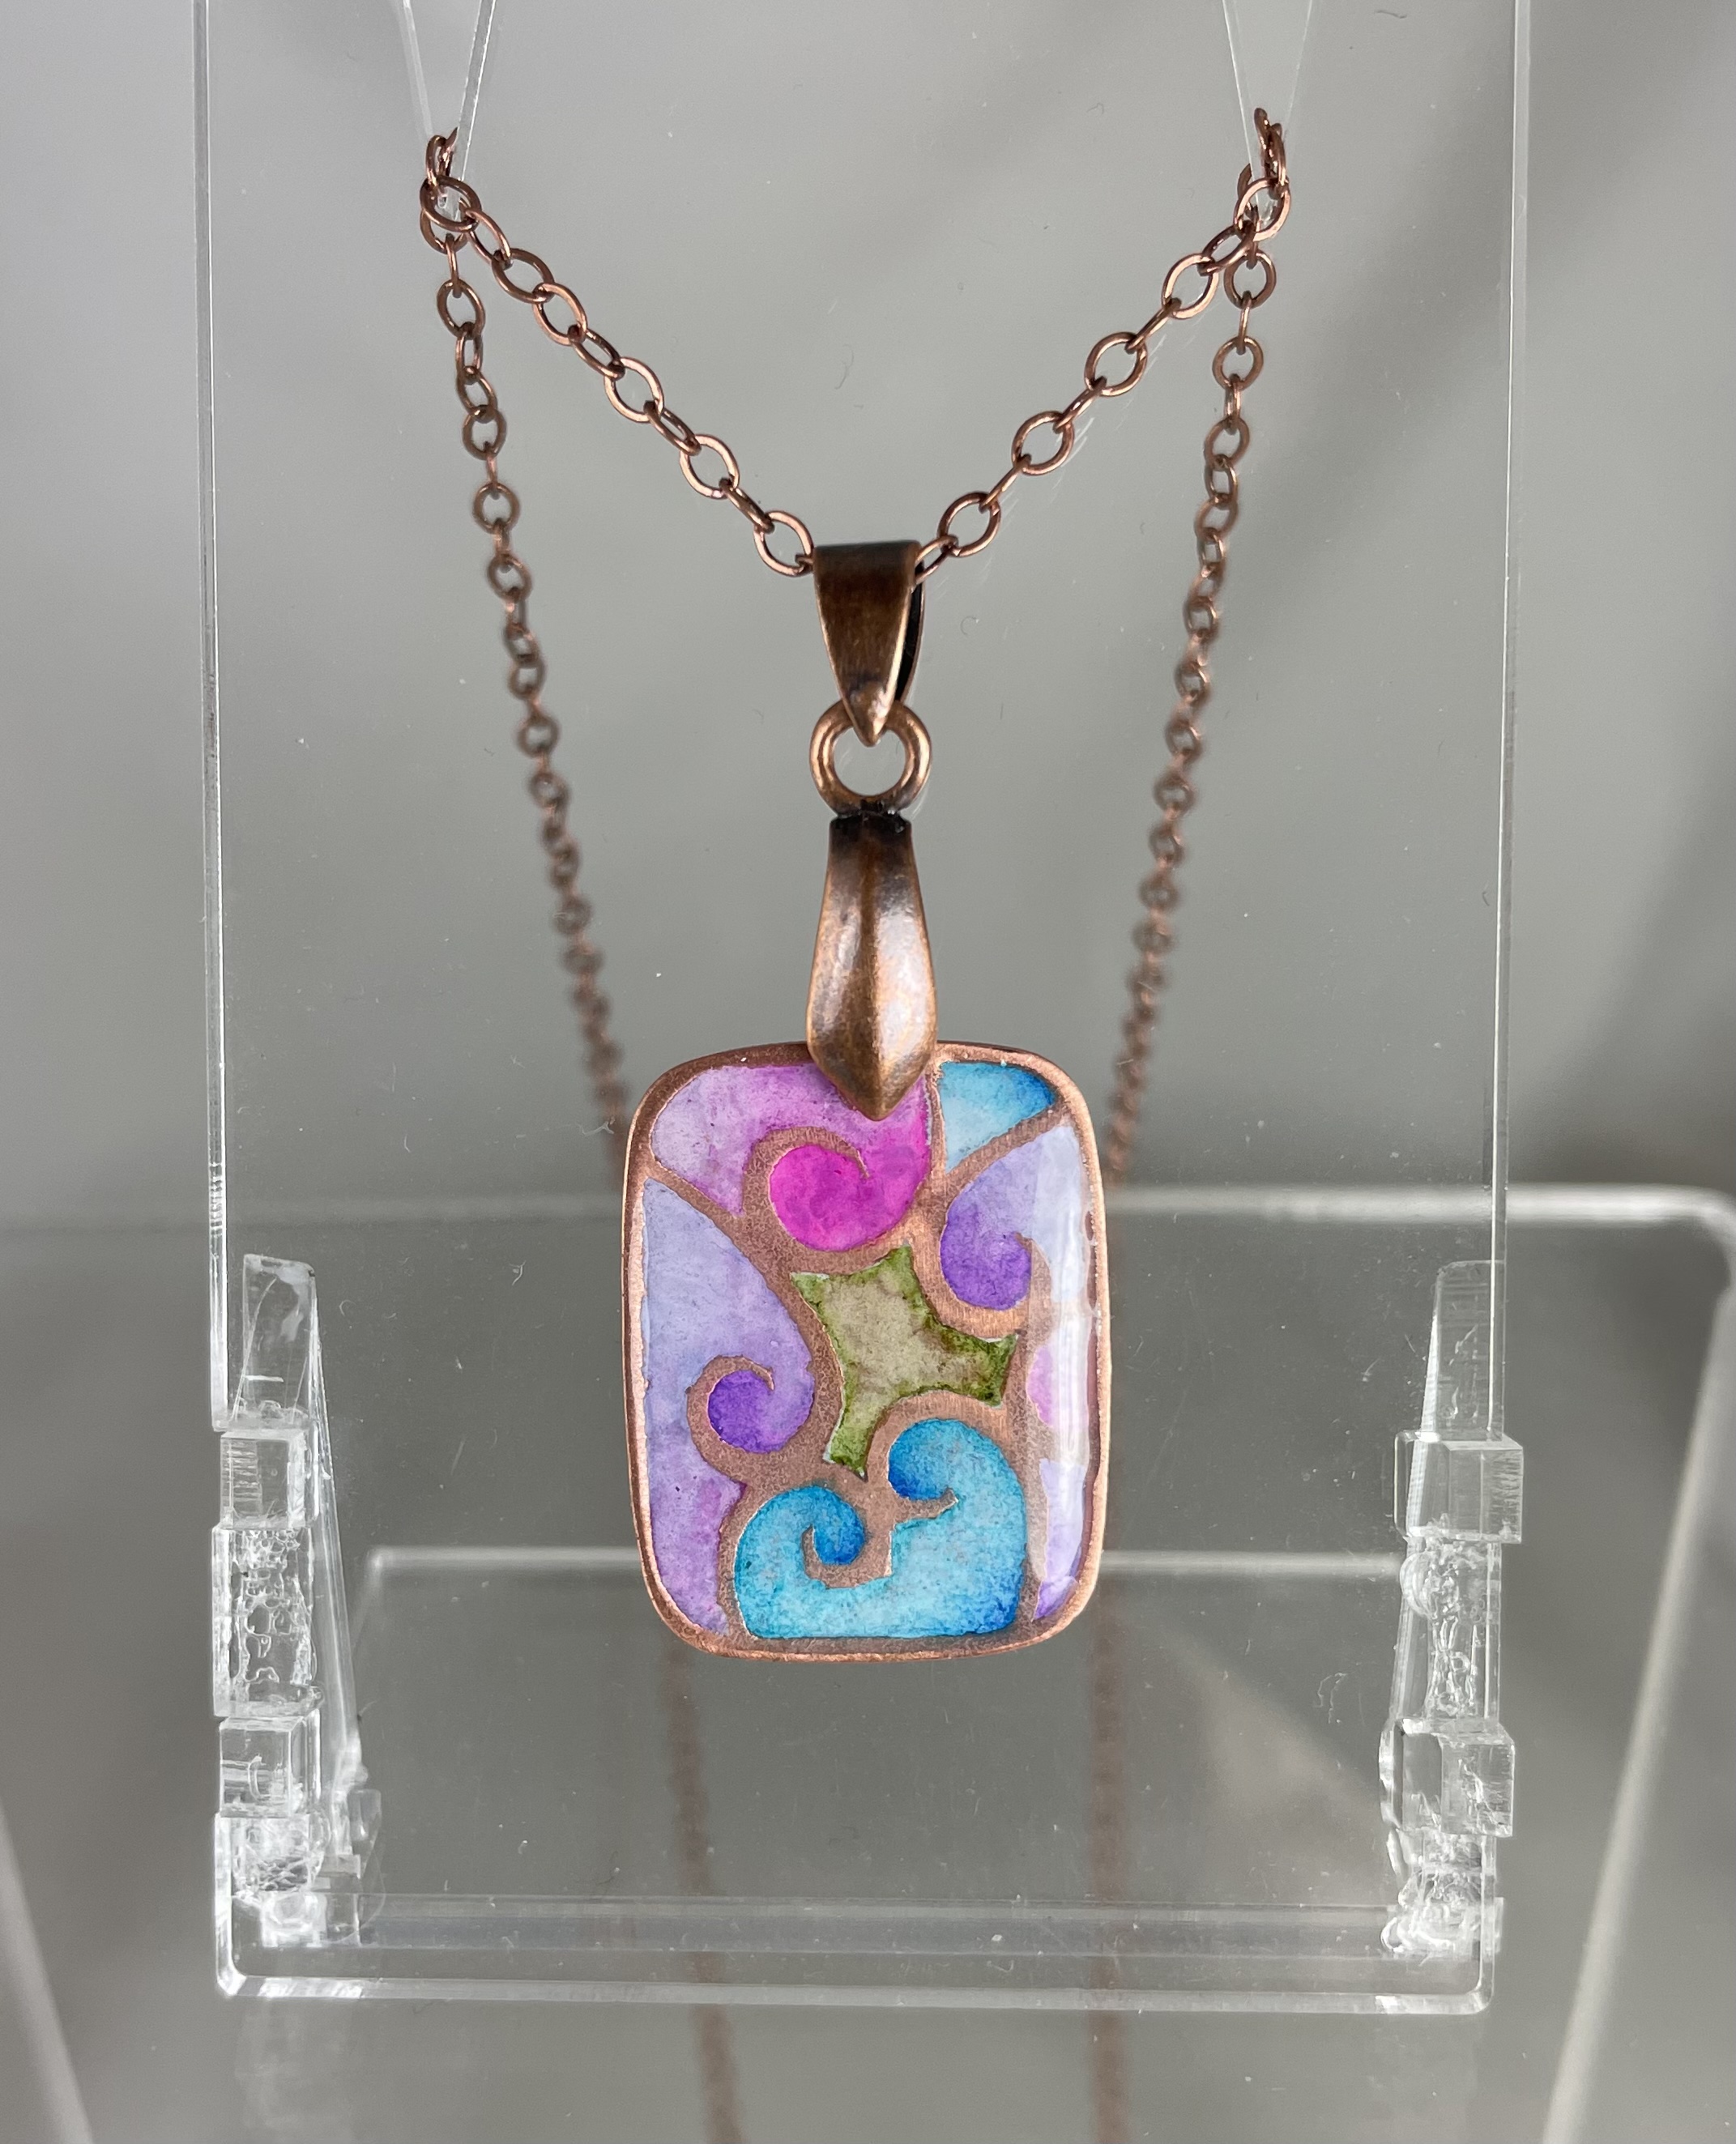
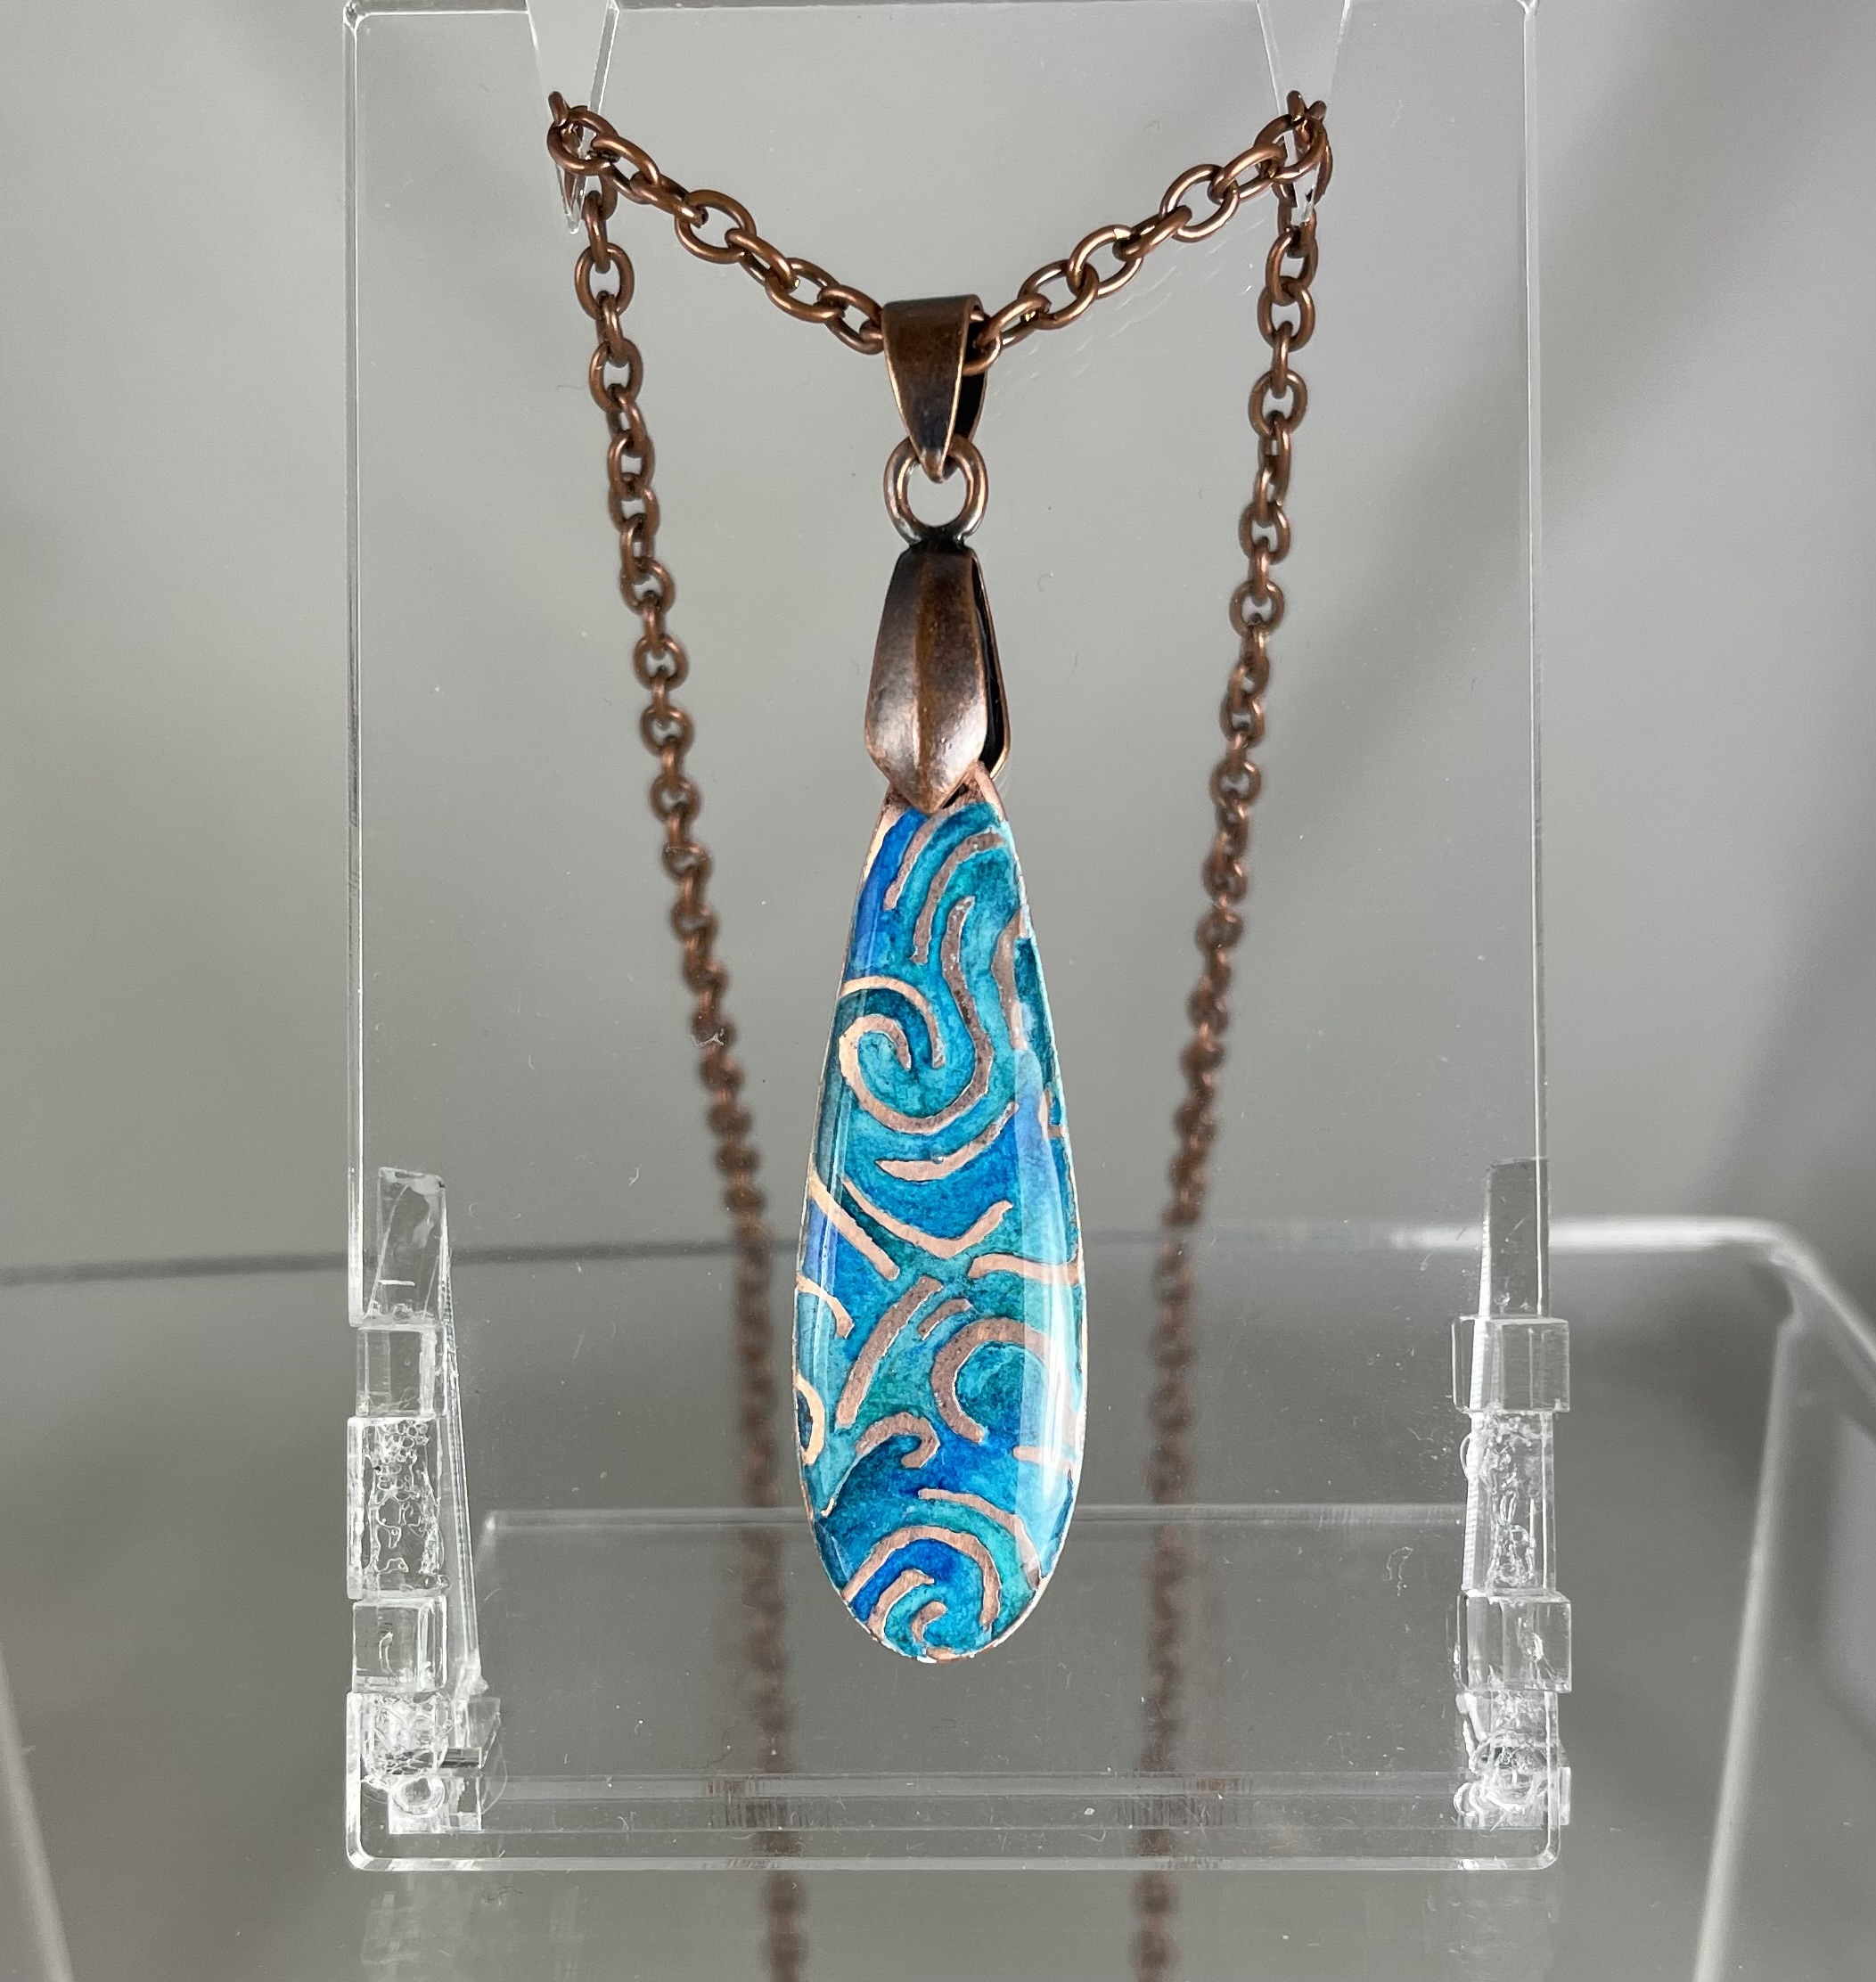
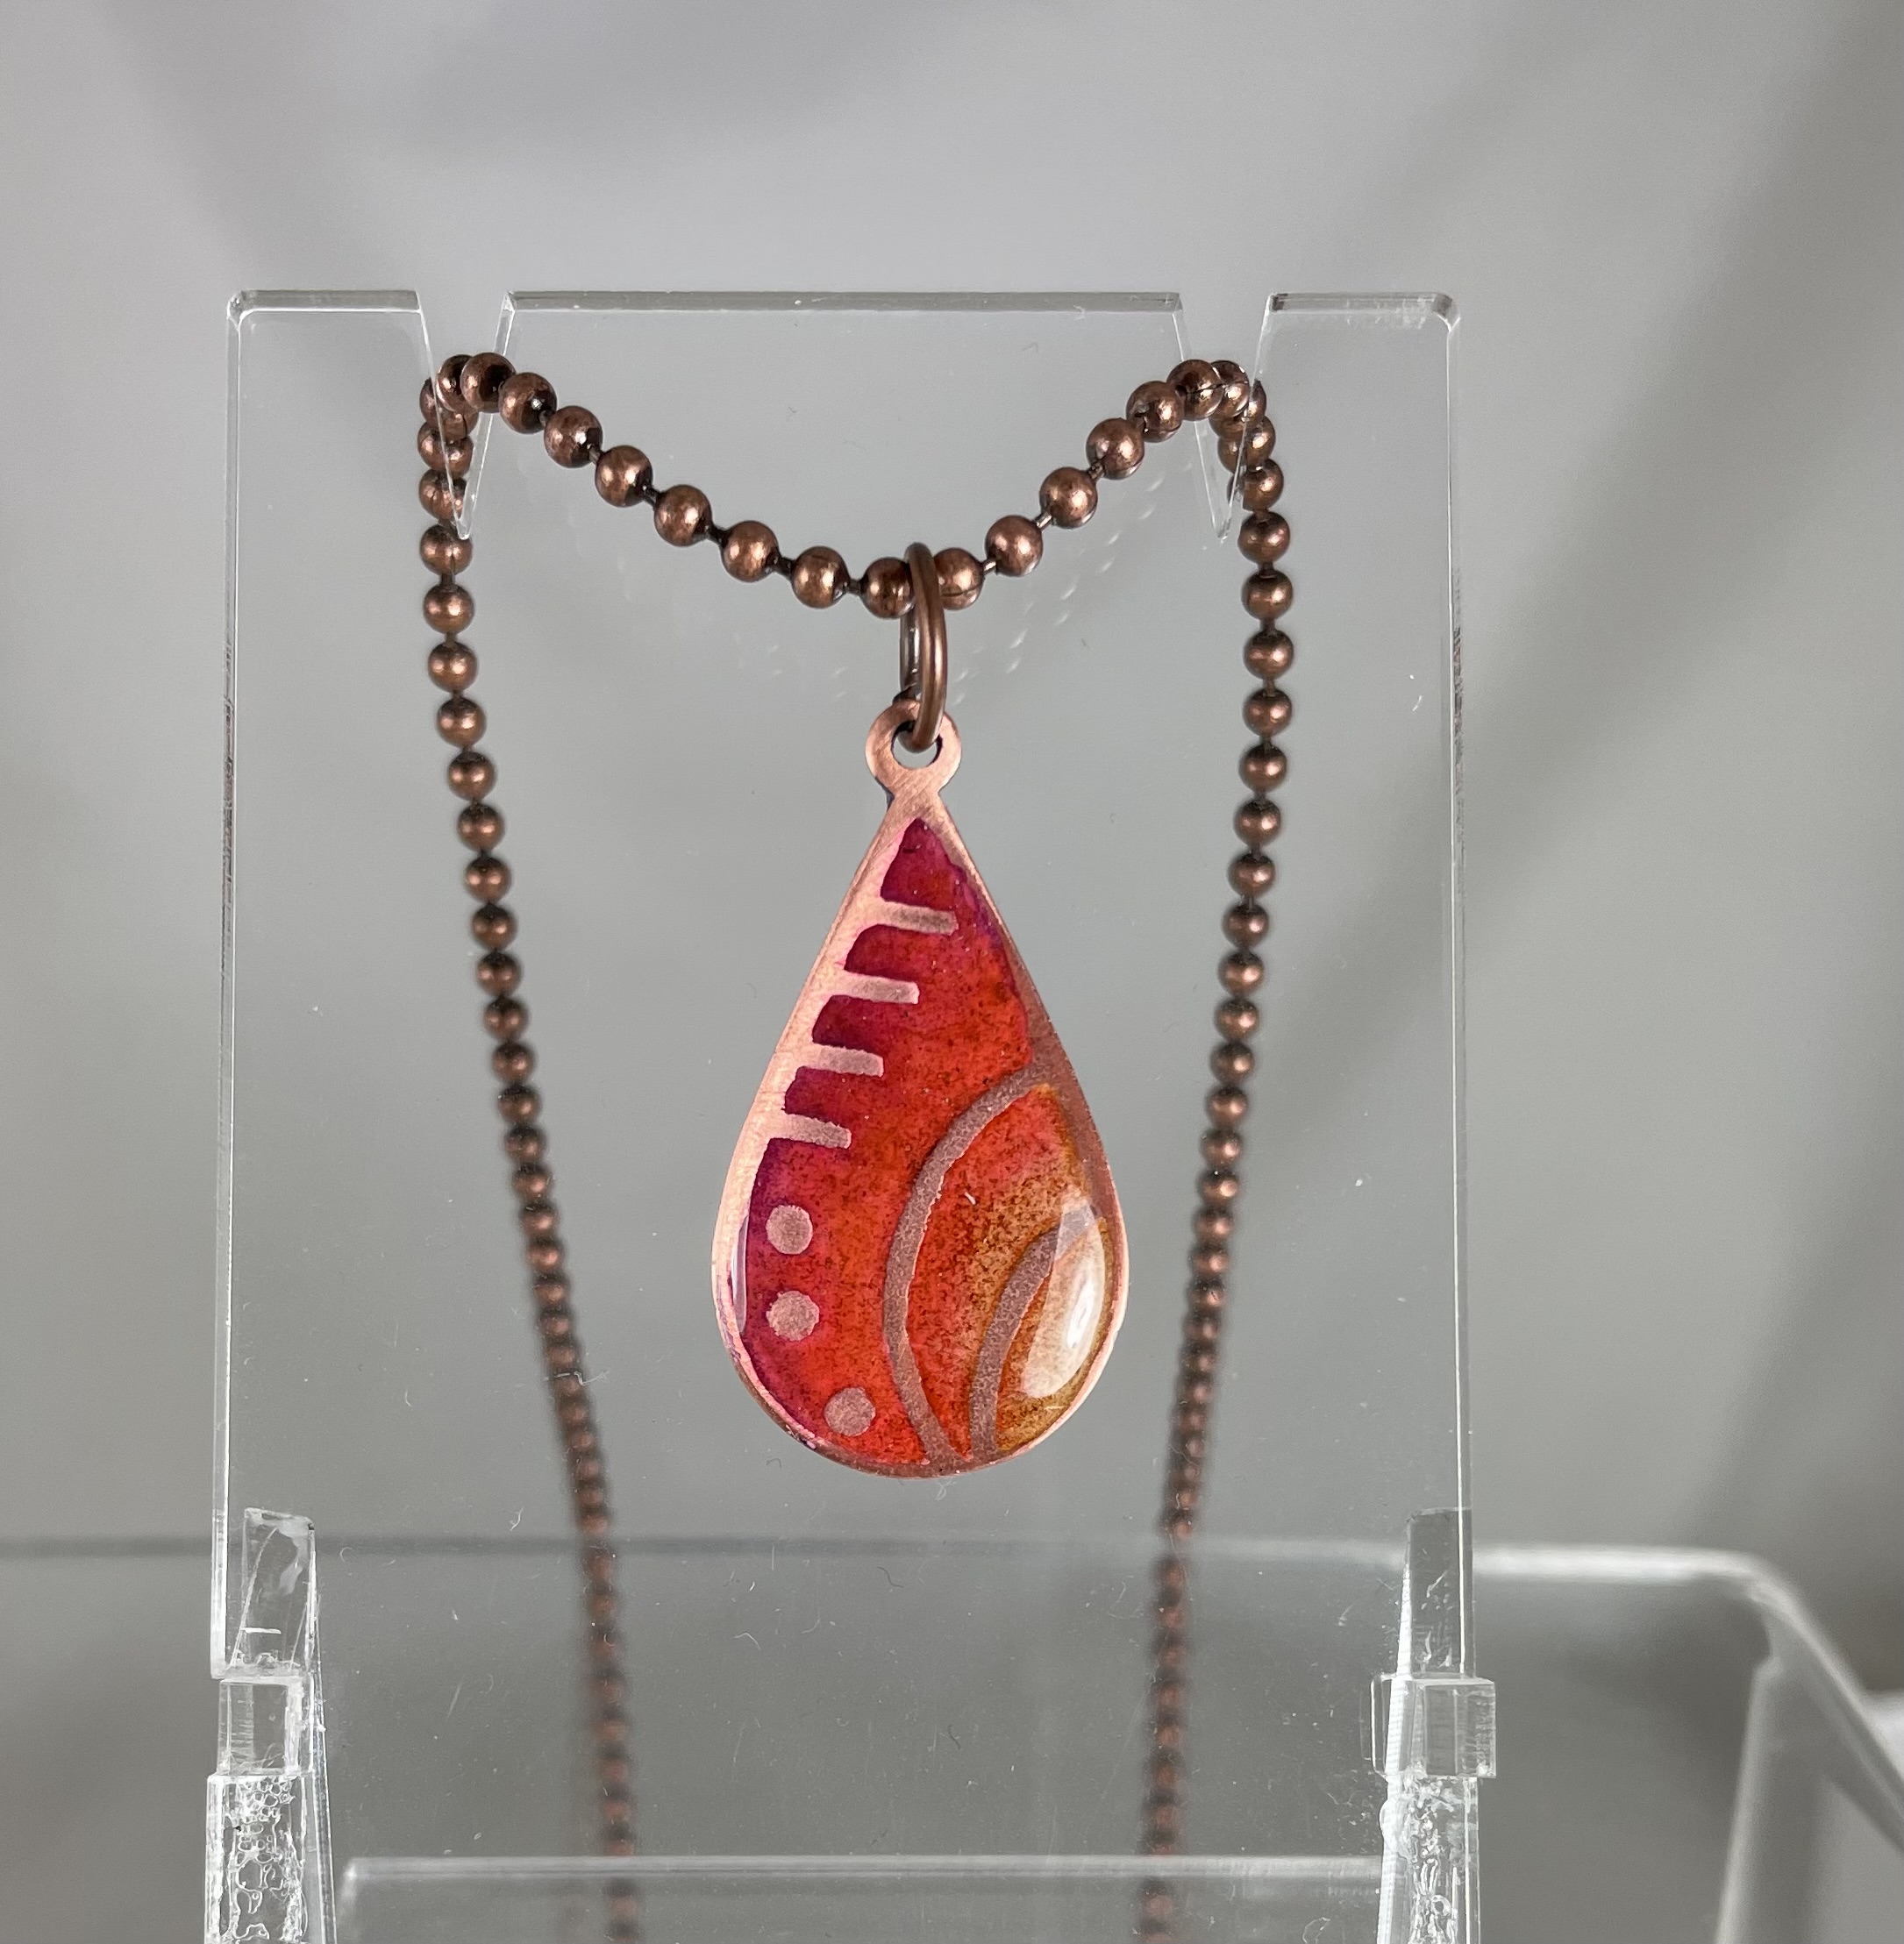
The process: I used polyester-based Oracal 352 brushed chrome film for a mask. The Aura had no trouble getting through it either by scoring or engraving. I firmly pressed the film onto the copper blanks and trimmed to fit. Made a quick jig with a piece of cardstock, and placed the blank in the jig. Then either scored or engraved to remove the mask. In the case of scoring, the negative parts were weeded. Then I covered the back of the blank with more film, and painted the sides with fingernail polish. Suspended the blank in Edinburgh Etch solution for about 90 minutes, and removed and cleaned up the blank. I used various different methods for coloring in the etched parts. Then coated the pieces with resin to protect the color.
Here’s the settings I used for Oracal 352:
Score: speed 50, power 8, 2 passes.
Engrave: speed 83, power 8, LPI 205, 2 passes.
These settings are by no means optimized, but they worked okay for me. Engraving does leave a gummy residue on the copper that has to be removed with a toothpick, but you can get better detail with engraving.
Beautiful and another advantage of the Aura; papercrafts and etching copper. If I make the list long enough maybe I can convince myself and my hubby that my Glowforge needs a baby sister.
Cyndie…those are really amazingly beautiful! I love that you did something with copper and the results were so pleasing. I don’t really understand the process you described, but did appreciate that you wrote it out.
That’s very cool! I’ve never used the glowforge to carve a resist on copper because I didn’t want to mess with dialing it all in, but a perfect use of a diode laser. I really like your pieces.
I love those!!! So very pretty, and the designs are fabulous! I’m with @Xabbess in that I don’t understand the process you used (well, as far as the film/solution, I do understand the jig!), but it sure makes me want an Aura.
I do love a good process post, this is really great. I have questions about the end result… here’s what I’m curious about:
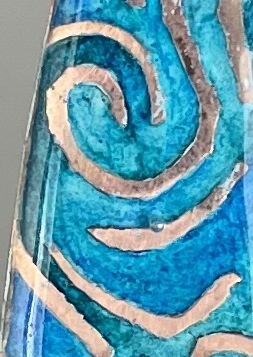
In this section:
You can see that the curves are “rough”. Was that in the artwork? If not, is this an “aura can’t do smooth curves” thing, or perhaps a byproduct of how the oracal scores/engraves, was it a part of the very analog nature of chemical etching, or something else I’m not thinking of?
Did you agitate the pieces while they were etching? Would it have mattered? Never used that etching stuff so don’t know what the instructions say.
I think the non smoothness is due to a couple things: 1) the resist removal process is not perfect and a little adhesive residue is left behind on the copper, which has to be removed by a toothpick dipped in mineral spirits. It’s hard to get it all and bits are left behind. And 2) the etching process is also not perfect and some areas do etch a little faster than others even though I have the etching bath on a magnetic stirrer.