TLDR: I used the trace function and I cut through 0.5" of wood in a single pass.
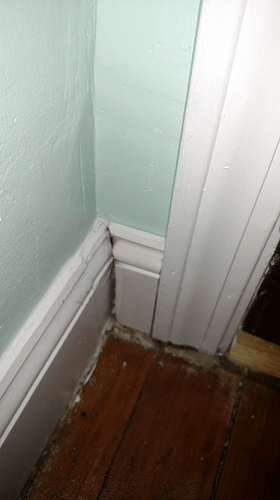
When we were fixing up the nursery for my daughter, I replaced all the baseboard trim in the room. Unfortunately, I missed a small section behind the door. It was only about 2" in length, but I had the other trim up, and I returned the Miter saw I borrowed.
What to do?
I decided to cut the profile into the short segment, that way it would fit flush. My plan was to do it with the dermal or jig saw.
But wait, I have a laser now, with an amazing trace ability that I haven’t tried yet!
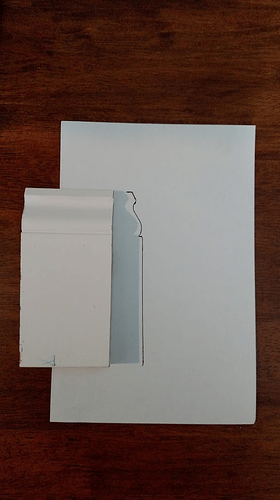
So I got a piece of paper, and traced out the profile.
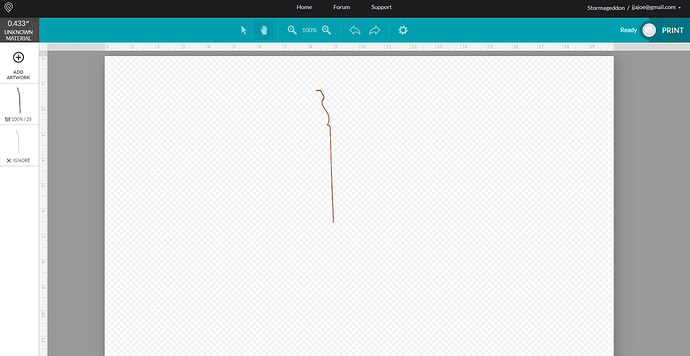
And here it is traced in the Glowforge!
Now, here’s the tricky part. The thickness is just slightly about 0.5". So, will I flip the part or try multiple passes? Since I am planning on painting it, and caulking with take up any slop, I figured I’d try to cut through the 0.5".
Setting I used were 100/10 at 3 passes. I figure that should be able to do it.
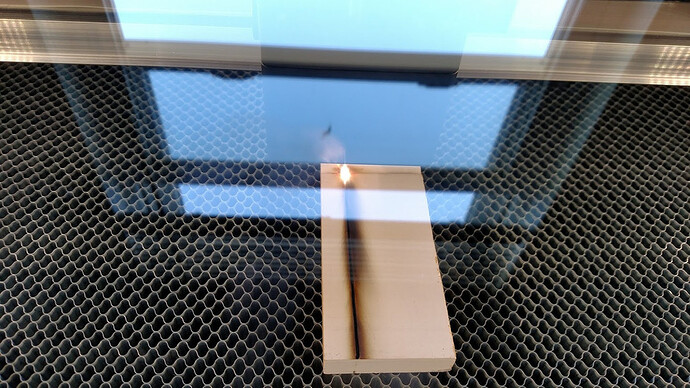
I marked the piece of trim the length I wanted, then aligned the cut to that. And off we go!
I stopped the print after two passes. It went all the way through after the first pass. The second pass just added more charing and smoke damage I would have to clean.
So I decided to take a step back and run a couple of experiments on the scrap that was left over.
All done at one pass
100/10 - Cut through
100/20 - Cut through
100/30 - 1/8" material left over
100/25 - Slight material left, easily breakable.
So I decided to use 100/25 for my settings.
Pew Pew Pew!
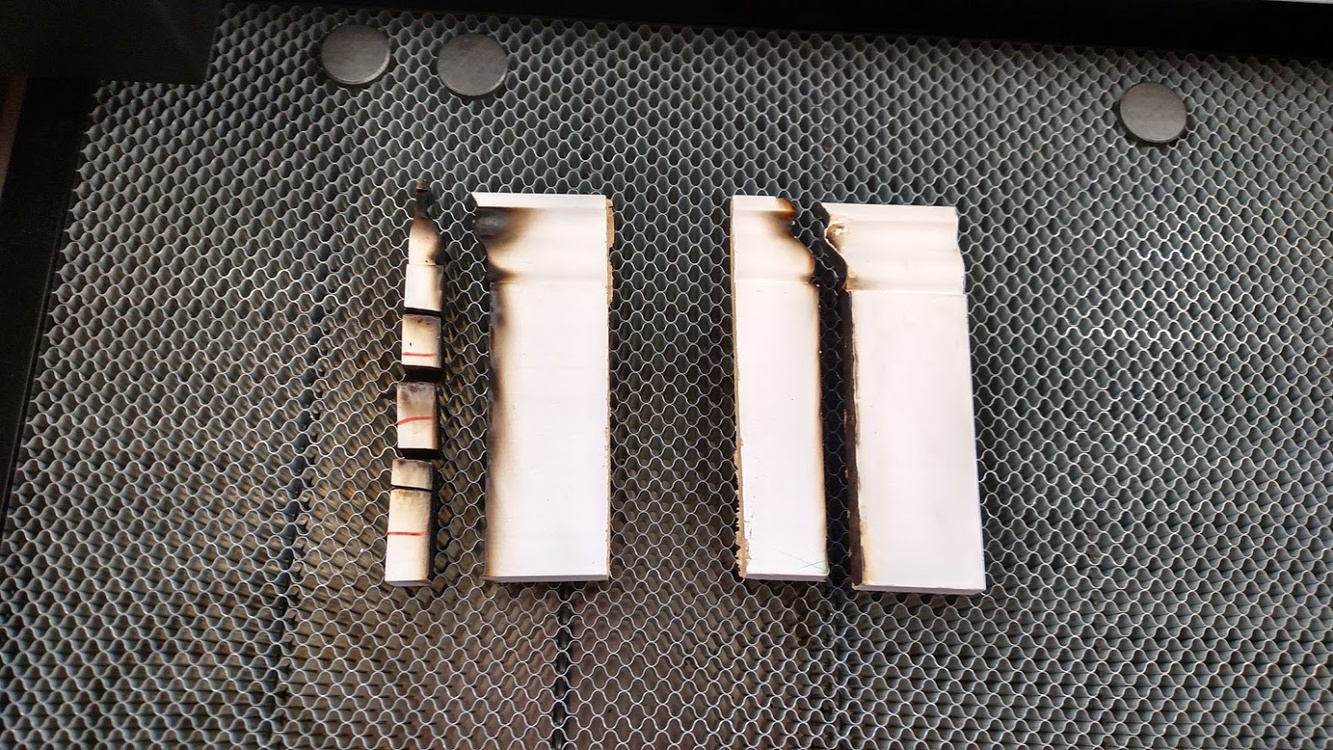
The one on the left is the first cut I did and the experiment cuts. The one on the left is the final cut.
And here it is in place. Fits like a glove!
Things I learned:
- I should experiment upfront so I don’t run into these problems
- I need to take more pictures
- Trace cuts are outlines, so my single pass was 2 cuts almost on top of one another
 .
.